Tag Archives: beauty

Review: 3CE Blush – #My Muse

IMG_1456IMG_1367IMG_1496-3IMG_1383

I’m a Peach Girl

When it comes to blushers I’m a one blush kind of girl. My blush has always been pink-based and always matte.  I don’t know what it is about glittery blushers that turns me off, but I don’t really like looking sparkly.  In any case, when my one blush runs out, then and only then, would I go and buy another blush.  And so the process continued.

But…something was missing.  One thing about being a one blush kind of girl is that sometimes your blush just doesn’t match every outfit, or every lipstick, or every eyeshadow.  Sometimes you’re looking for a warmer tone, something to match your summer vibes and glow.  3CE’s #MyMuse might just be the perfect orange-based blush you’re looking for!  Mmmhmm, I’m officially a two blush kind of girl!

Colour: ✩✩✩✩

I really love the colour of this blush, it’s a perfect matte peach colour with really warm summery tones.    In terms of wear, the colour does not last the whole day, so you will need to reapply at least once during the day.

Texture: ✩✩✩✩

The product feels smooth and silky when applied onto the face. The blush comes on light, but you can build it up to your desired intensity or to even create an orange neon-like blush.

Packaging: ✩✩✩✩

I think the packaging is really classy and I love how big the the blush pot is – I can fit my entire brush inside it and coat it in one swipe.

Price: $24 ~

Buy It Here

Review: Rimmel Magical Stay Lip Coat

As life has been reduced to my “poor student, no stable income status” existence again, it is a bummer to keep fighting the urge to spend my savings on something cool or chic based on the perfectly logical reasoning that “I must have it because it is so unnecessary” impulsion.

No job, no income and in shopping heaven. I am on dangerous levels of unemployment poverty right now to enjoy much of what Tokyo has to offer unfortunately. It truly pains me! Well, at least for now anyway.

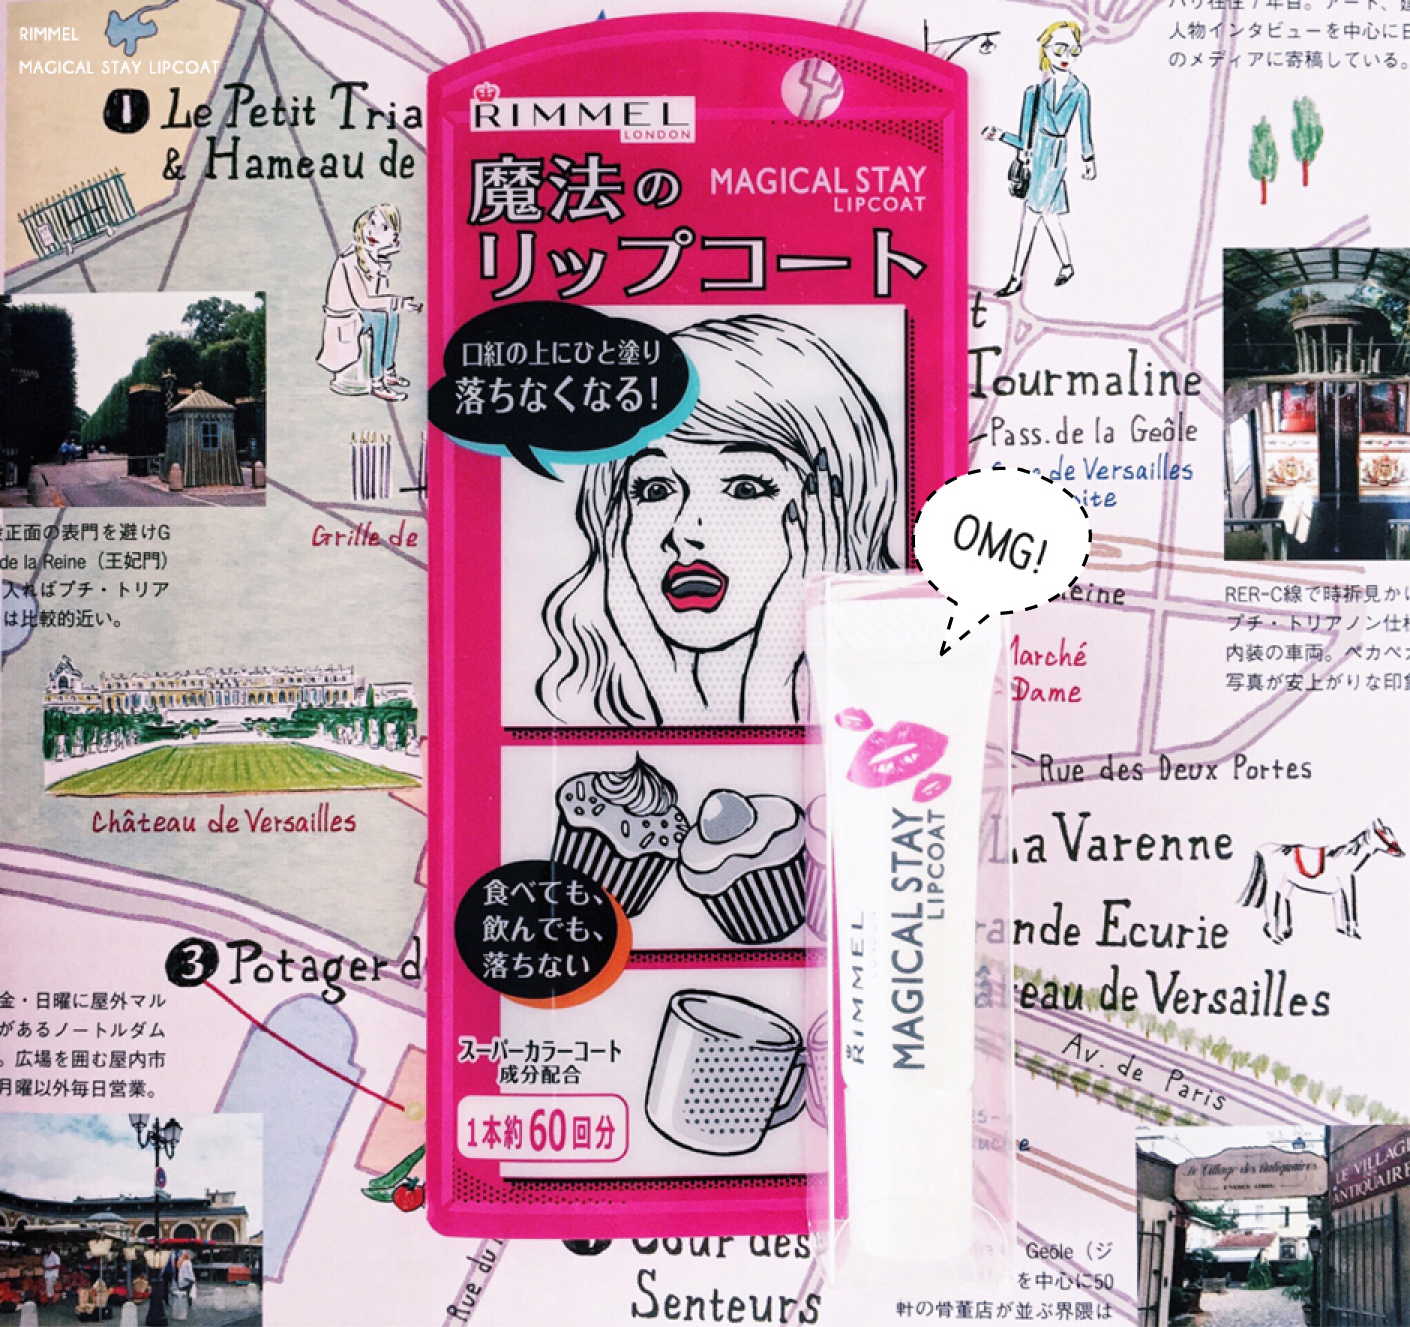
While smart budgeting in the interest of stretching my cash, I discovered this Rimmel Magical Stay Lip Coat which perfectly emulates my current state of penny saving heartache but also, does this thing really work?!

Processed with VSCOcam with c1 preset

With a promise that your cherry stain will still be there when eating or drinking could one application be the answer to cure all our first world lipstick woes?

Let’s test drive and see!

Processed with VSCOcam with c1 preset

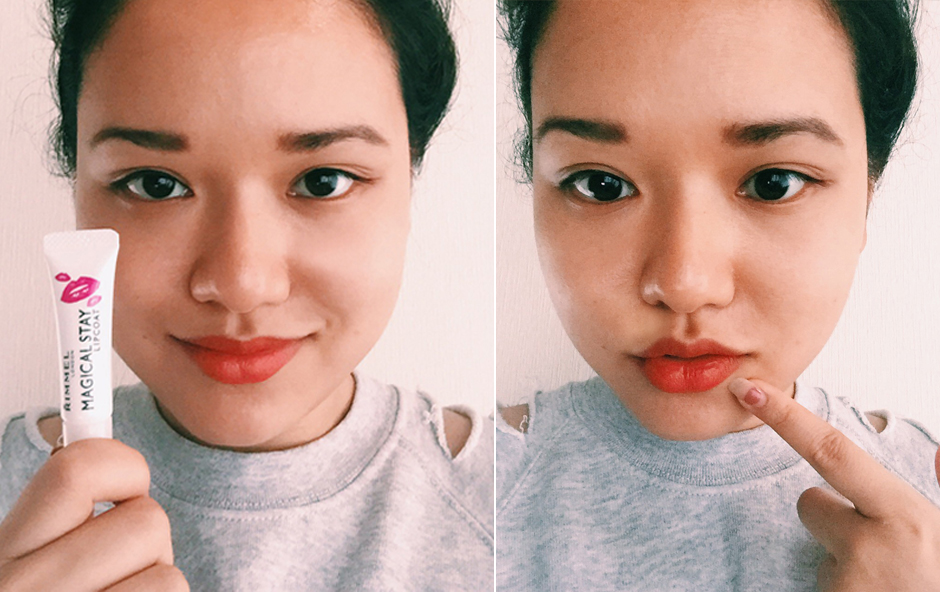
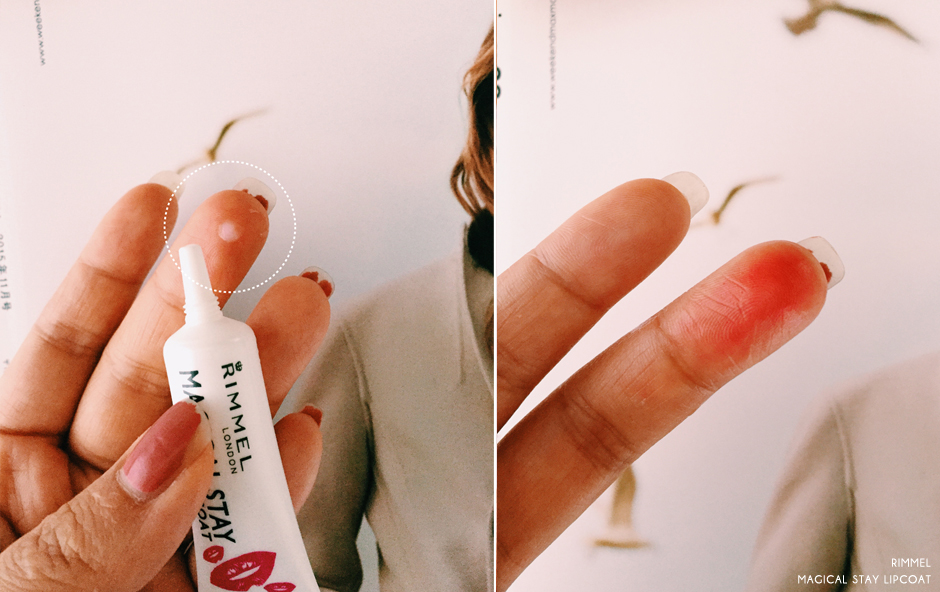
The Rimmel Magical Stay Lip Coat formula came out quite runny at first, a sign that I didn’t shake the bottle enough so application can be a bit messy if you are not careful and only a small amount is needed which is roughly the size of a grain of rice. All you need to do is rub the formula over your lips evenly and when dry, you are ready to go! I’m using the 3CE lipstick in the shade #cometome since it’s bright and will be easily visible on surfaces.

Processed with VSCOcam with c1 preset

I was a bit alarmed to see that my lipstick ended up on my fingers when I rubbed the formula on. If first impressions count, I would have thought that the Rimmel Magical Stay Lip Coat failed even before we started! Moving on however, the first claim on the package is the drink test.

Here we go:

Processed with VSCOcam with c1 preset

Processed with VSCOcam with c1 preset

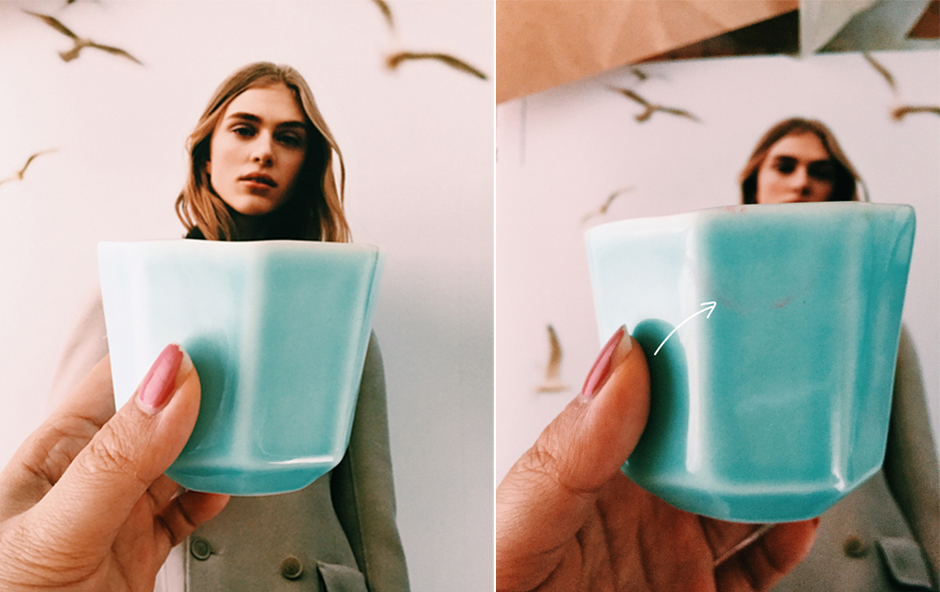
And holy crap was I impressed!! As you can see, the lipstick really didn’t transfer much onto the cup and the ring of orange was from the inside of my mouth were I didn’t put the formula. The lipstick was still looking fresh after I drank the rest of the water in the cup so I would say that the Rimmel Magical Stay Lip Coat holds up to its claim after all!

Next up is the food test:

Processed with VSCOcam with c1 preset

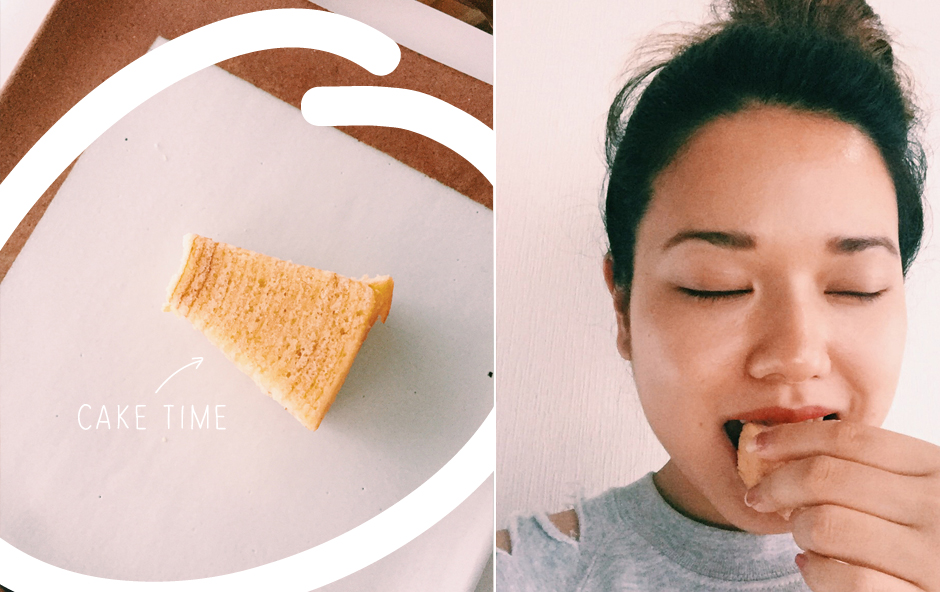
 Huzzah! A perfect excuse to eat cake since the package also had dessert on it. Itadakimasu~

Processed with VSCOcam with c1 preset

Processed with VSCOcam with c1 preset

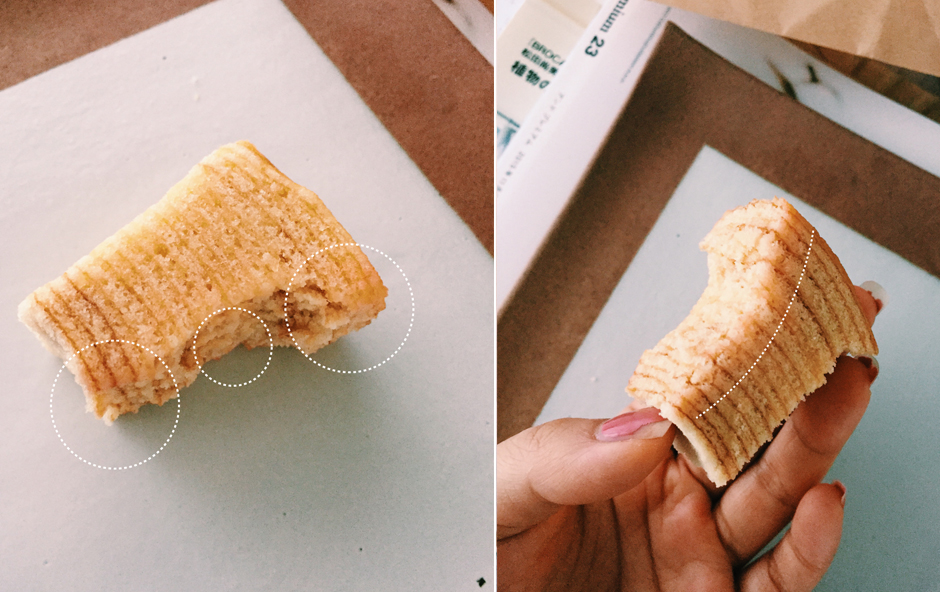
And again, the Rimmel Magical Stay Lip Coat has shown its amazing holding power! There was a faint orange tint around the eaten side but it was minimal compared to eating food without it ordinarily. What can I say, I love it!

If you are coming to Japan and are looking for cool cosmetic products to try, definitely give this a go!


Overall: ✩✩✩✩

PROS

Great value for money

Actually does what it says

Can last for 60 applications in a tiny tube

Lasts for 4 hours+

CONS

Application is a bit messy if you do not shake the bottle properly

Be careful when dispensing the product

Price: Around 1200 yen

Until Next Time!

Xx

Siree

Review: 3CE Lip Crayons

010203040807

Big Girl Crayons

If there is anything I find myself slightly obsessing over these days it’s lipsticks.  I don’t know if it’s a coming of age thing now that I’m past my mid twenties but seriously, give me them all.  I have no time for sticky glosses, only a one time intense affair with colour, thank you.

Whilst I feel like a complete poser in the above pout shots, it’s really all for your benefit.  Behind the above illusion are naturally thin lips and no one wants to see that in a lipstick review. Just be thankful I didn’t go all Kylie Jenner on you.  Besides dear readers, I’m wearing lipstick, let me flaunt it!

Colour: ✩✩✩✩
Intense colour that lasts.  A good matte finish but not as good as my MAC Ruby Woo.

Texture: ✩✩✩
Love the light velvety feel of this formula, it’s a pleasure to wear and glides on with ease.  My lips feel soft and moisturised, which is refreshing for a matte lipstick.

Unfortunately, this formula is unforgiving if your lips are not perfectly smooth, tending to gather in cracks or dry skin and accentuating them.  This formula lacks the coverage that some other lipsticks provide.

Packaging: ✩✩✩
I think the packaging is really cute and funky, and definitely suits a younger vibe well.  Whilst I prefer to carry a more elegant looking lipstick on my nights out, there is a nice, casual, everyday feel about this packaging.

My bag tends to be a permanent home for my favourite lipsticks and they are often mistreated in and abouts the other items thrown into my bag.   It really is a game of survival for my lipsticks and I typically prefer a magnetic cap (not a feature of 3CE lip crayons) to ensure the lids don’t fall off.

Price: $22 ~

Buy It Here:

#HEAVEN WAY

#PINK LEAVES

#BLUSHED


The Hidden Thimble x Clearasil – Skin and the Sun (Giveaway)

Advertorialclear

Self-conscious. Embarrassed. Gross.

Those harsh and unfortunate words haunt any adolescent’s thoughts and are all too familiar growing up with blemished skin.

I must admit, I didn’t really care for my skin much when I was a teenager, or ideas for “healthy” habits that could help improve skin appearance. My personal treatment of teenage skin was to tackle my facial problems using a facial wash, mainly a gel or a scrub and medical acne treatments. Things like toners, serums, and moisturizing (a very important step always left forgotten) were not in my routine vocabulary and my knowledge of “proper” skincare was still in infancy until I reached past my 20’s. All the effort made since then has dramatically improved the condition of my skin’s appearance by creating a more thoughtful and complex routine for the results I wanted to achieve – and it’s worth it!

As everybody’s body is idiosyncratic, this guide to perfecting a skincare regime is the foundation to exploring your own skin story. Whether you are fighting against hormonal or stressful once off breakouts, there are products out there to help you in balancing your skin’s changing stages from the inside out and fight those annoying little red dots!

A Guide to a Perfect Skin Care Routine

1

– Cleanse –

First off you want to remove any make-up, dead skin cells and pollutants that might clog your pores. I like to use a facial cleanser sponge to make sure I get into the corners as much as possible. There are a few forms of cleansers such as gel washes (Clearasil Ultra Rapid Action Gel Wash), which are great for easy face rinsing to cream types (Clearasil DailyClear Vitamins & Extracts Wash) which can also double as a mask to penetrate deeper.

2

– Scrub Off –

Exfoliators stimulate cell renewal and improve skin texture and appearance. As this product can be harsh to use every day on your skin, limit this to only once every other week or once a month. Choose a scrub that has natural ingredients like Clearasil’s DailyClear Vitamins & Extracts Scrub which has Vitamin E and Antioxidants from Avocado and Pomegranate to help keep skin healthy and nourished. 

3

– Tone It –

After stripping away all that natural oil from your face, toners are your best friend to rehydrate and restore the pH level of your skin, avoiding excess oil production and also to shrink your pores. 

4

– Hit the Right Spot –

This is for those miracle working product treatments that come in concentrated forms such as essences, creams, serums, ampoules, boosters – the list goes on! This is where you target the areas of concern so if you have sore acne spots that you want to reduce and can’t pop just yet, use a specially formulated product like Clearasil Rapid Action Pimple Cream to spot treat problem pimples.

5– Sunscreen –

The sun is not the kindest to our skin so make sure you stay sun smart if you are doing your skin regime and going out for the day.

6

– Lock It In –

Moisturize. Moisturize. Moisturize! It’s the key for youthful skin when you are older so do it!

Want to know what products are best suited for you? Check out Clearasil’s Customised Skin Care Guide.

I want to highlight one of the most underrated steps in a person’s skincare regime: prevention from the sun.  Let’s face it, how many of you actually include sunscreen into your daily facial regime? I bet not many!  Now I could go on about the scientific facts concerning why it’s so important to slip, slop and slap, but all you really need is some hard cold evidence.

You know all that money you spend on formulas with anti-aging?  What if I told you that majority of the anti-aging formula secret is sunscreen.  Yep that’s right, the skins biggest enemy is sun damage!  Think of how much money you could save by just adding sunscreen to your regime! 

And for those of you who like the science: ultraviolet light (and in Australia this is even more pronounced due to a giant hole right above us in the ozone layer) breaks down the elastin and collagen in your skin.  This causes discolouration, roughness, skin thinning, dilated blood vessels and the most dreaded…wrinkles! 

You might be thinking, where in my regime do I add sunscreen?  Apply sunscreen after cleansing and exfoliating with a good exfoliate such as Clearasil’s Clear and Refine Daily scrub, BEFORE applying moisturiser. However if you’re anything like me and have oily skin that’s prone to break outs, you can streamline the process by using an oil free combination moisturiser with SPF 30+ or my personal choice – a CC or BB cream with SPF 30+.

For more information, check out Clearasil’s Summer Skin care tips for preventing Sun damage.

After feeding you with so much skin knowledge, guess what? We have a surprise!

We are giving away:

1x Clearasil Ultra Rapid Action Gel Wash, 1x Clearasil DailyClear Vitamins & Extracts Wash, 1x Clearasil DailyClear Vitamins & Extracts Scrub and 1x Clearasil Rapid Action Pimple Cream, all c/o Clearasil.

Here are the details!

clearcomp

 Good Luck!

Xx

 [UPDATE]

We have a winner!

winner

Thank you to everyone who entered! We hope to do more giveaways soon ;)


REVIEW: 3 Concept Eyes Haul

Hijacking this post is a makeup haul I can only describe as a sugar coma coloured daydream with my 3 Concept Eyes haul from my visit to the StyleNanda Hongdae Flagship Store last year.

This obsession if not, a lifetime of desire I have developed for this brand and my infatuation with their ‘IT’ Girl Sora Park might end up in an impulsive buying complex of splurging on every range of brightly coloured cute makeup they have. I can’t say I fault any shade. I LOVE THEM ALL! Transitioning from Winter, behold the power of my pocket rocket purchases to keep you bold and fierce for them Spring time feelsies!

3 Concept Eyes Lip Colour

Price: $19.71 USD

Overall: ★★★★★

5/5

lipcolor3CE2
3CE LIP COLOUR in 602 V | 204 COME TO ME | 604 VAMP
3
2
4
A nice matte finish with great pigmentation, these lipsticks are just as perfect as any high range lipcolour you can purchase and are far more affordable so you can start building a collection. IMO purple and orange lipsticks are more interesting than the usual pink and red. Also, the berry lip looks great in both winter and spring looks as a statement.


3 Concept Eyes Lip Liqueur

Price: $20.81 USD

Overall: ★★★★★

5/5

3ce12
3CE Lip Liqueur in BackStage and XX Orange
3CElipgloss
Top: BackStage | Bottom: XX Orange
Now for another matte look but in a different form.
For days when my lips are more chapped than pump for my favourite matte look, these glosses are great as they are moisturizing yet matte when applied. The formula is not sticky (which I think is the worse kind of texture) but a nice velvet feel and is super light giving that ultimate pucker up look without showing the cracks and bumps.


3 Concept Eyes Creamy Water Proof Eye Liner

Price: $20.81 USD

3ce13
3CEeyeliner
I love mint as a colour! But as a liner, I was sceptical if I would be able to pull this look off. But I always wanted to try a neon eye makeup look without eyeshadow as I love the sharpness that gels and liners can create. The best thing about these eye liners from 3CE is that when you leave them to dry, they become smudge proof when rubbed with pressure and are waterproof! I tried a wet wipe and it just stayed on as vibrant as when I first applied it on! I’m going to try this out when I go to Hawaii next month to see how it holds up in the waves.
It also has a handy sharpener at the end to make sure your pencil is prepped for crisp lines which is a great feature so you don’t need to look for a one off purchase to find one that will fit such a thin pencil.


3 Concept Eyes Duo Colour Face Blush

Price: $24.22 USD

3ce9
And finally moving onto blush these cute duo blush palettes are so Mod I immediate had to have them!
The colour combinations are so handy for highlighting and contouring you can play around with different techniques to bring out the most or lighter effects of the colours.
I have never tried red or orange blush before so I’m definitely looking forward to seeing how creative I can be.

Until next time!

Xx

Siree

This is not a sponsored post.

The Power of the Wand: Choosing the Right Mascara!

Choosing the right mascara for YOUR lashes is not as easy as it sounds.  It might come as a shock to some people, but when buying mascara, you’re buying for the wand not the actual makeup itself.  Why? Quite simply the wand holds all the power, with each being uniquely designed for a specific purpose.  This is why the mascara that works ever so fabulously on your friend, maybe not work so well on your lashes.  So how do you choose the right wand for your lashes? Simply read on!

1.  Texture and Type of Bristles.

The first step in choosing a mascara is to figure out what you want your lashes to look like.  Something as simple as the bristles of a mascara wand, can create an array of different looks for your lashes.  Mascara wands typically come with three different types of bristles:

plastic comb
Original image credit: The Beauty Department edited by The Hidden Thimble

Made out plastic comb-like bristles,  this wand helps to separate lashes, add length and gives your lashes a darker and prominent look.

naturalbristles
Original image credit: The Beauty Department edited by The Hidden Thimble

Made out of synthetic fibres, this is your typical mascara wand.  Natural bristles create soft and light lashes that appear fuller, voluminous but look and feel natural.

plastic
Original image credit: The Beauty Department edited by The Hidden Thimble

My personal favourite, plastic bristled wands are a combination of the two wands above.  The result – dark, long, full and best of all – clump-free lashes!  The downside:  your lashes won’t feel as soft and natural as with the natural bristle wands.

 2. Choosing the shape and size of the perfect mascara wand for your lashes.

Here are some tips to help you choose the perfect mascara wand for your lashes.  Bear in mind, that depending on the type of lashes you naturally have and the look that you are trying to achieve, you may need to choose a wand that covers multiple functions OR you might even need to use two mascaras.

If this made absolutely no sense to you, here’s what I mean:  if you have smaller eyes with short, but voluminous lashes, and you’re looking to add length and definition to your lashes, you would want to opt for a  small tapered wand for extra precision when working with smaller eyes.  In terms of bristles you’ll ideally want a wand with thin, comblike bristles to lengthen and define each lash.

Below are basic wands and their functions.  Have fun combining and figuring out what works best for you! 


I have short lashes and small eyes > Choose a small, short wand.

Smaller brushes work best for short lashes. Short brushes can get close to your eyes to help grab and lengthen each lash from the root to tip, whilst providing necessary control when you need to get up close and personal.

02
NARS’ volumizing and lengthening mascaras are a great size for smaller eyes.


I have lots of lashes that lack length and definition > Choose a long, comb-like wand.

To define, separate and lengthen your lashes, choose a mascara with a long, comb-like wand.  These wands usually have evenly spaced bristles which help with length and definition, but lack in adding volume.

03


I have long lashes but they lack volume > Choose a large, round wand with dense bristles.

Large, thick wands with densely packed bristles are the best for creating voluminous lashes.  Densely packed bristles hold more product helping to coat each lash, creating a thicker look to your lashes. Apply mascara with a zigzag motion to help evenly coat your lashes.

04


My lashes are too straight > Choose a thick, curved wand.

The rule here is: the fatter the brush the bigger the curl.  To give your lashes extra curl and lift choose a thick, curved brush.  Apply by sweeping the wand over your lashes, from bottom to top, to help with the curling. Curling your lashes helps to lift your eyes, making them appear larger.

05

I have big eyes and want natural looking lashes > Choose a straight wand.

The best wand for you is a straight wand.  Straight wands are great for getting coverage on every lash, but are not so good for people with smaller eyes as they are less accurate. Straight wands also give natural looking volume and curl, perfect for that everyday look. Depending on the sparseness and length of your lashes you can either choose a straight thick wand or a straight thin wand.

06


I want more precision when applying mascara > Choose a precision wand.

07

That’s all!  Enjoy and go forth and discover delicious lashes!

Talyssa xx