Tag Archives: makeup

5 Favourite Japanese Cosmetics and Skincare Products

5 Japanese Cosmetics and Skincare Products

(L to R; U to D): Lion Pair Acne | Sana Poreleskin | Kose Sekkisei White Powder Wash | Kose Precious Garden Hand Cream | Majolica Majorca Skin Remaker Pore Cover (OC10)

With the expansion of Korean cosmetics making their presence known to the streets of the West, it’s interesting still how hard it is to find a good variety of Japanese cosmetics outside the home country.

Regardless of how many independent online stores now making it a bit more easier to source your favourite Japanese products for purchase, chances are most of these products remain exclusively only available in Japan and information about their buzz is limited to a handful of die-hard fans who were able to conquer the language barrier to dig into the trend hype.

There are so many local choices that are of good quality and at a price that doesn’t break the bank that needs to be praised! Here are my 5 favourite Japanese cosmetics and skin care products at the moment:

Lion Pair Acne - Japanese skincare products

Thinking I was safe to not pack any pimple medication or treatments with me before I left – pfft! I didn’t realise how much foundation makeup I wore on a daily basis in Tokyo until I started to break out as I use to when I was younger.

Unfortunately, my usual facial creams or serums weren’t working to keep the devils at bay but I was lucky to come across this acne cream called Lion Pair Medicated Acne Care Cream W. No prescription needed and can be found in the usual facial skin care aisle of a pharmacy or even cheaper, a Don Quijote that sells medicine. I highly recommend picking a tube up if you are looking for acne medication in Japan and didn’t bring any on hand. At around $14 for the bigger 24g size tube, it’s very inexpensive for a specially medicated treatment.
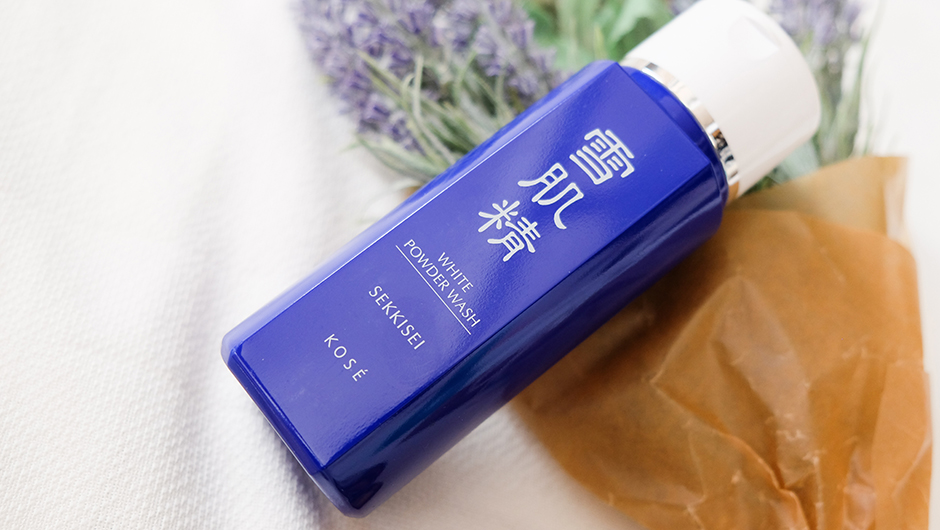
Kose Sekkisei White Powder Wash

Kose’s Sekkisei Range is a good mid to high range skincare line but if you can’t spend $55 or so for the full-size White Powder Wash, here in Japan at the 7 Eleven Convenient stores they also sell the smaller portions of their Sekkisei White Washing Cream, Emulsion and Masks range at no more than $14!
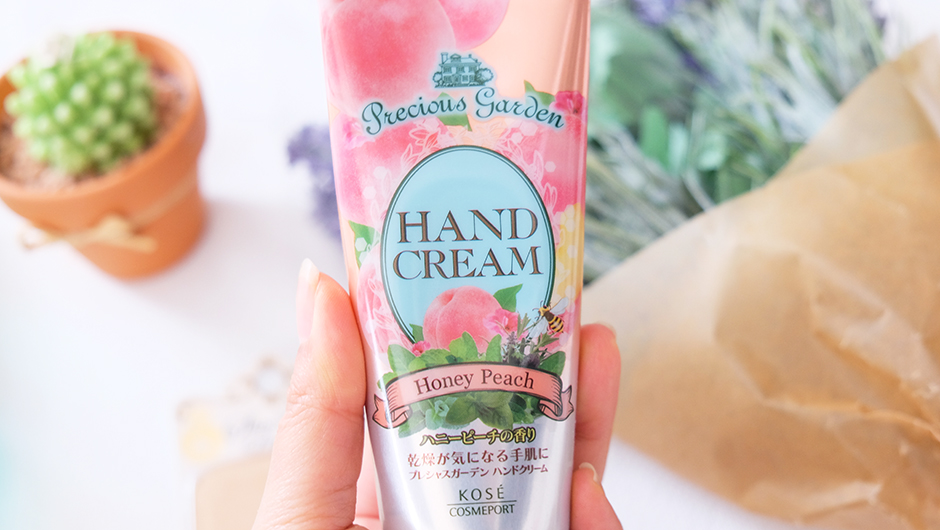
Kose Precious Garden Hand Cream - Japanese skincare

Good enough to eat, the smell of this hand cream is pleasantly sweet just like a peach mixed with something floral. Not like an overpowering rose scent (which I hate), this cream is also only $3 for a 70g tube! Totally worth it.
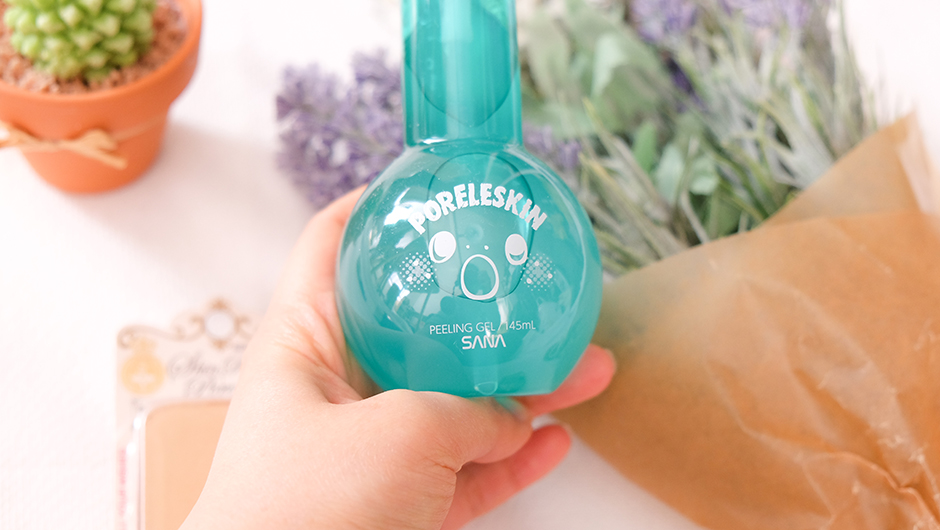
SANA PORELESKIN Peeling Gel

edit7

edit6

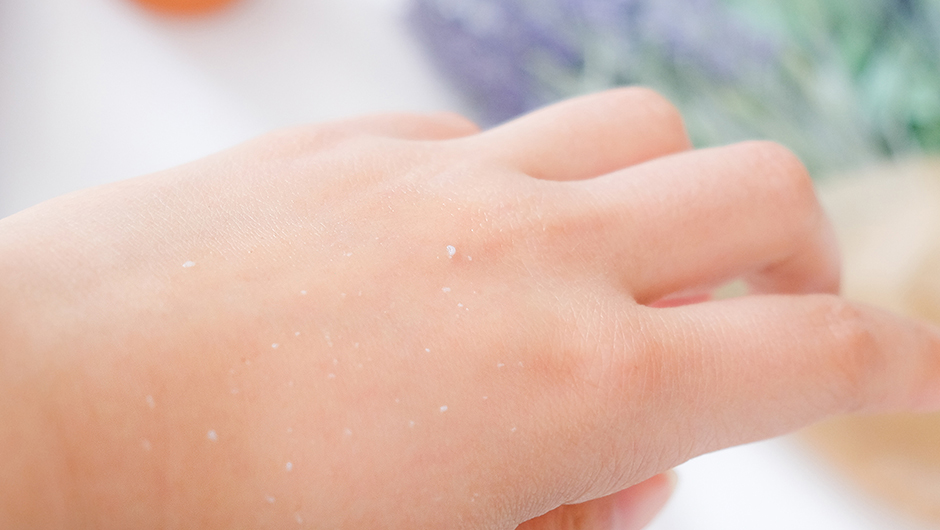
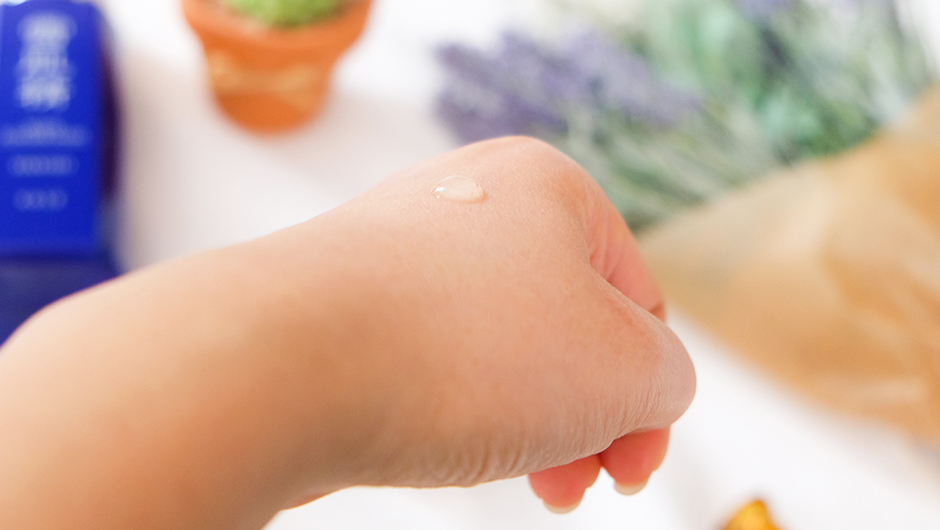
Have you heard of the best-selling Cure Natural Aqua Gel before? It’s a gel exfoliator which doesn’t use microbeads or harsh substances to exfoliate the skin. Instead, it’s like a mystery goo that somehow has the magic to gently remove dead skin right before your eyes as you massage it. See that white stuff? That’s dead skin – gross but satisfying. It’s so popular that one is said to be sold every 12 seconds in Japan! That’s crazy! I wanted to purchase one myself and found that a 250ml bottle will set you back around $23. Not bad, but I wanted to see if I could find something a little bit cheaper. This Sana Poreleskin (sic?) is exactly the same thing except at $12 for 145ml. It also has a cute face on the package haha.
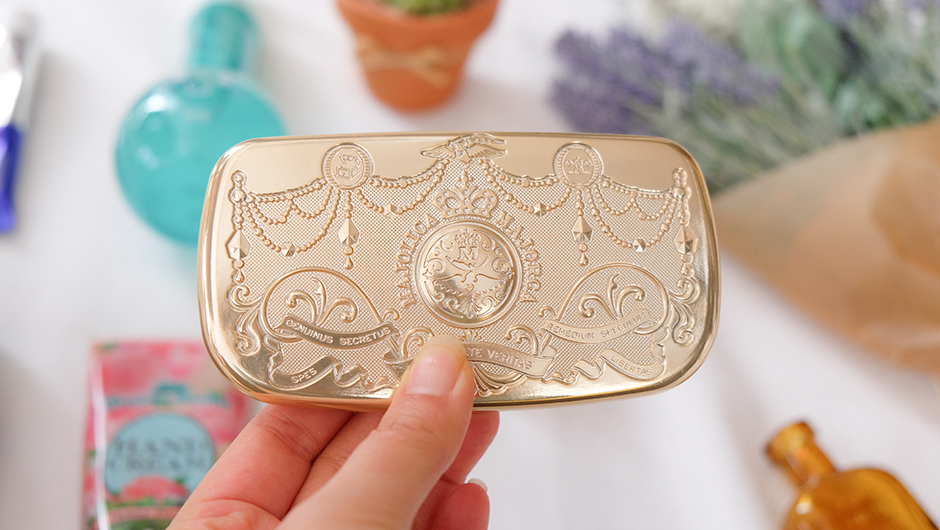
Majolica Majorca Skin Remaker Pore Cover - Japanese makeup

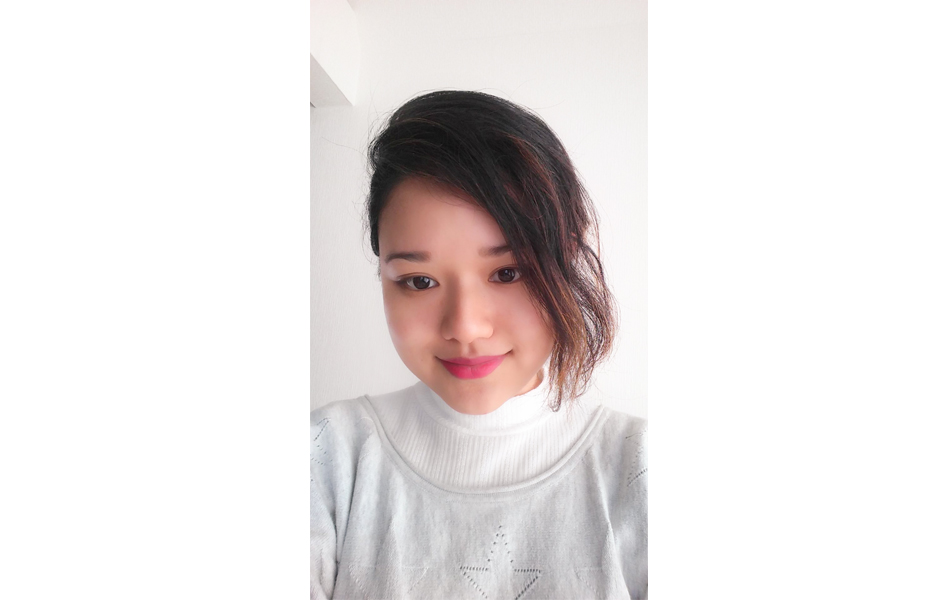
Majolica Majorca Skin Remaker Pore Cover - Results

It’s a mouthful to say but Shiseido’s sister Majolica Majorca is like buying a mid-high end product without the price tag. At roughly $20 the pore cover foundation powder provides a lightish-medium coverage and is also SPF18. I’ve been using this almost every day and has lasted for about 6 months before buying a new refill. The case is sold separately and is so darn cute! It’s a good alternative if you don’t want to use liquid foundation or BB cream for the day and just want something quick that will even out the skin.

Until next time!

Xx

Siree
Review: Rimmel Magical Stay Lip Coat

As life has been reduced to my “poor student, no stable income status” existence again, it is a bummer to keep fighting the urge to spend my savings on something cool or chic based on the perfectly logical reasoning that “I must have it because it is so unnecessary” impulsion.

No job, no income and in shopping heaven. I am on dangerous levels of unemployment poverty right now to enjoy much of what Tokyo has to offer unfortunately. It truly pains me! Well, at least for now anyway.

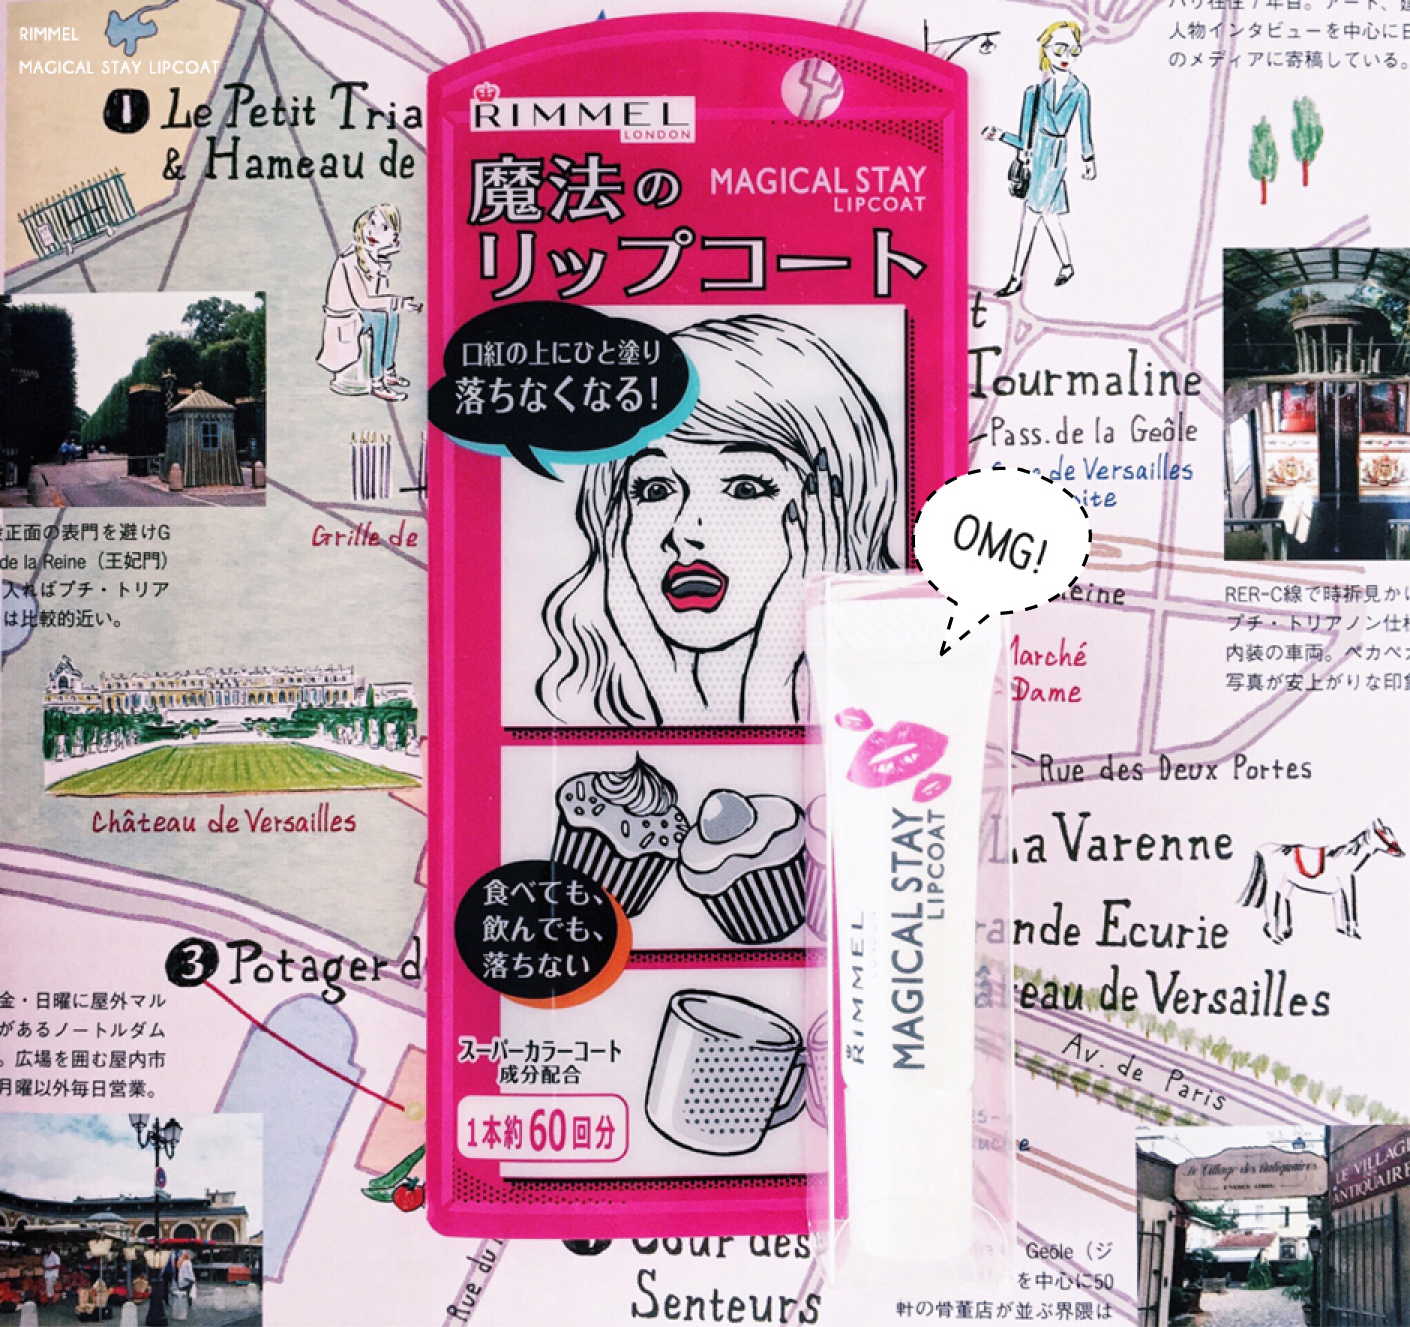
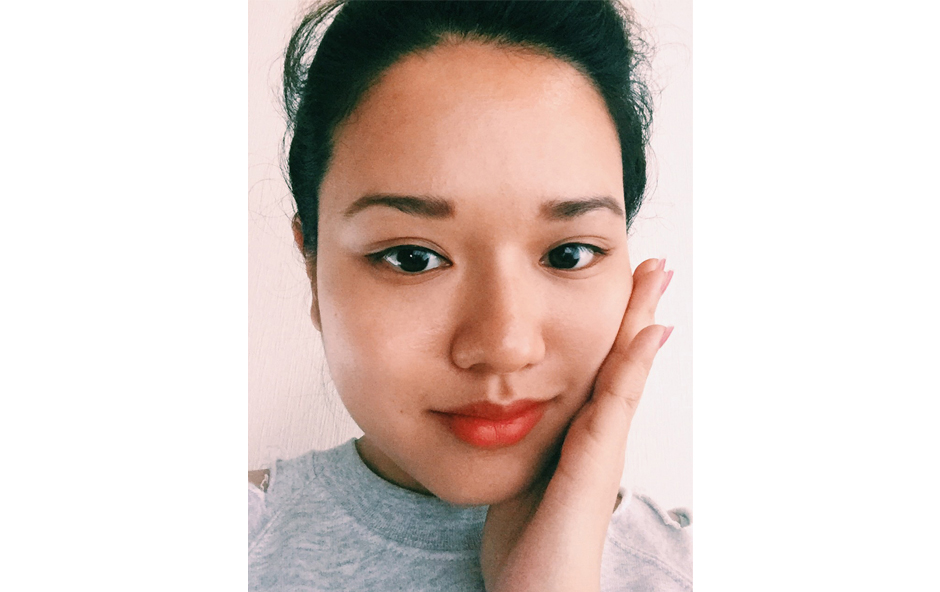
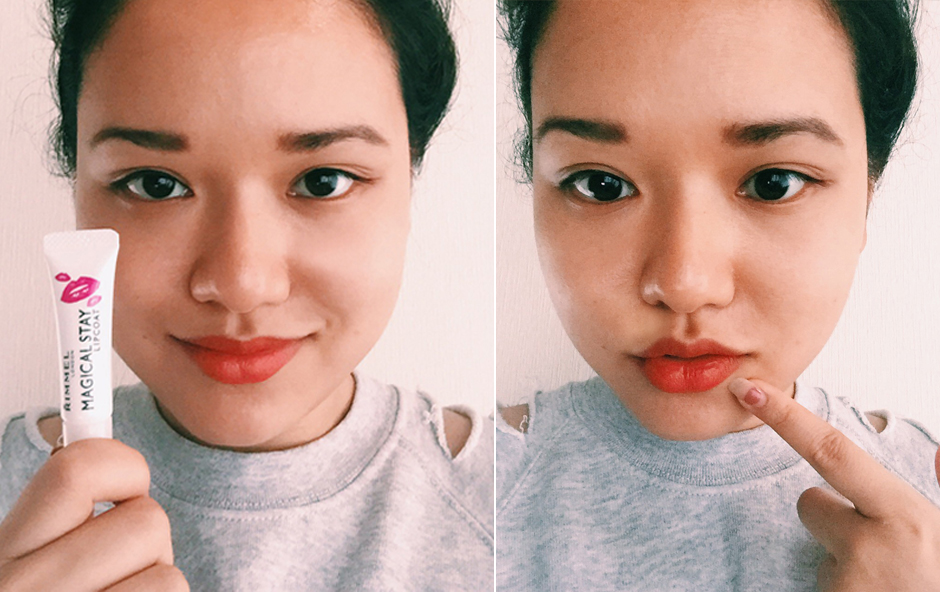
While smart budgeting in the interest of stretching my cash, I discovered this Rimmel Magical Stay Lip Coat which perfectly emulates my current state of penny saving heartache but also, does this thing really work?!

Processed with VSCOcam with c1 preset

With a promise that your cherry stain will still be there when eating or drinking could one application be the answer to cure all our first world lipstick woes?

Let’s test drive and see!

Processed with VSCOcam with c1 preset

The Rimmel Magical Stay Lip Coat formula came out quite runny at first, a sign that I didn’t shake the bottle enough so application can be a bit messy if you are not careful and only a small amount is needed which is roughly the size of a grain of rice. All you need to do is rub the formula over your lips evenly and when dry, you are ready to go! I’m using the 3CE lipstick in the shade #cometome since it’s bright and will be easily visible on surfaces.

Processed with VSCOcam with c1 preset

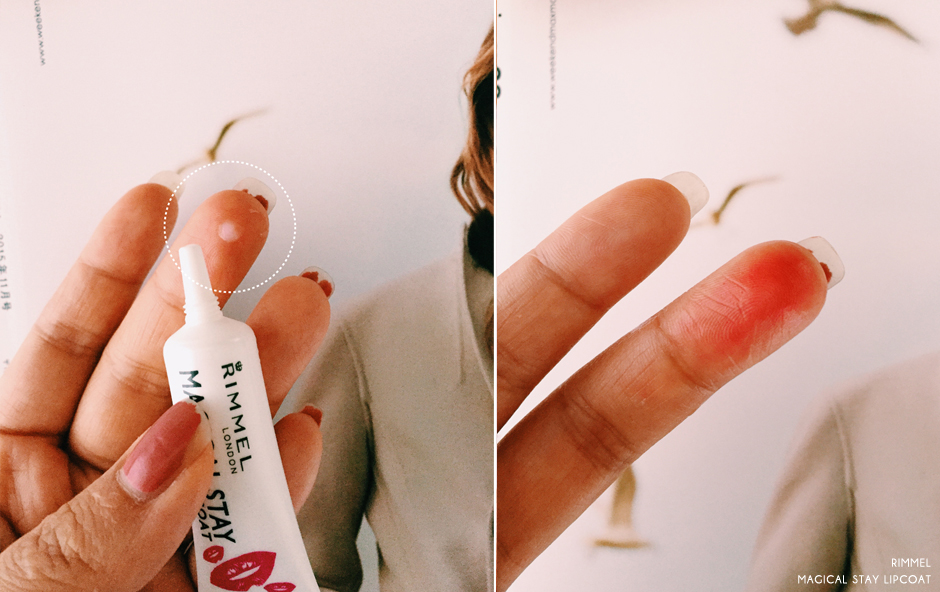
I was a bit alarmed to see that my lipstick ended up on my fingers when I rubbed the formula on. If first impressions count, I would have thought that the Rimmel Magical Stay Lip Coat failed even before we started! Moving on however, the first claim on the package is the drink test.

Here we go:

Processed with VSCOcam with c1 preset

Processed with VSCOcam with c1 preset

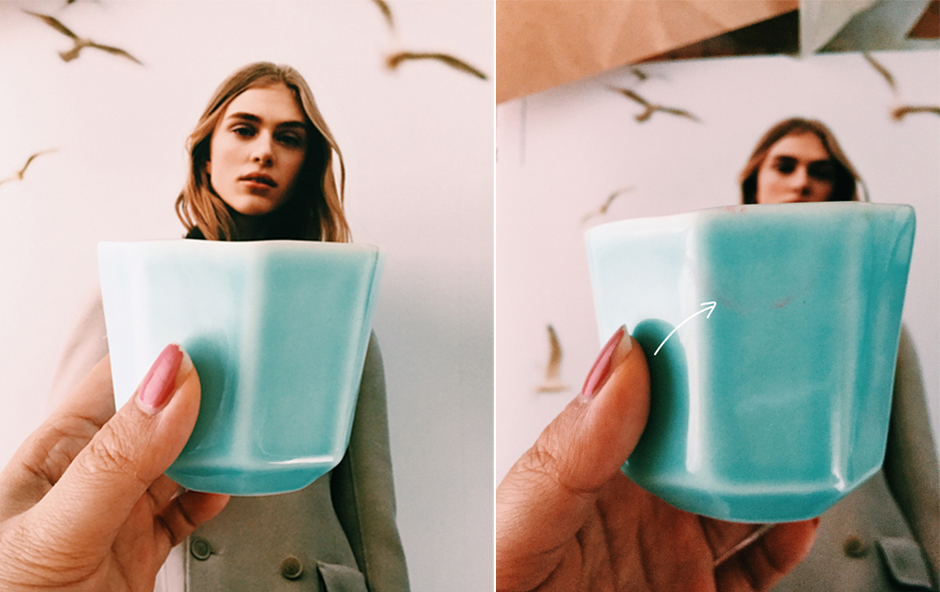
And holy crap was I impressed!! As you can see, the lipstick really didn’t transfer much onto the cup and the ring of orange was from the inside of my mouth were I didn’t put the formula. The lipstick was still looking fresh after I drank the rest of the water in the cup so I would say that the Rimmel Magical Stay Lip Coat holds up to its claim after all!

Next up is the food test:

Processed with VSCOcam with c1 preset

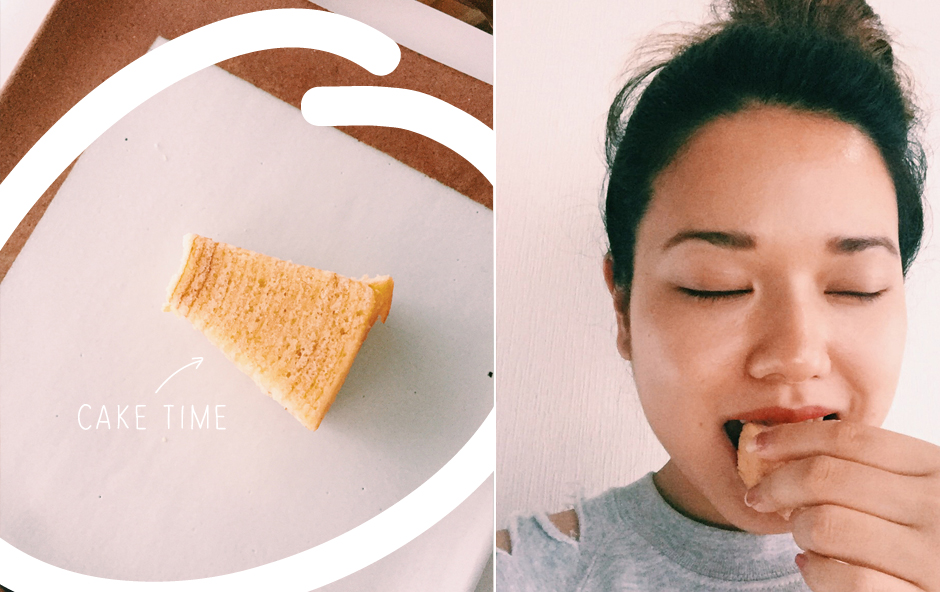
 Huzzah! A perfect excuse to eat cake since the package also had dessert on it. Itadakimasu~

Processed with VSCOcam with c1 preset

Processed with VSCOcam with c1 preset

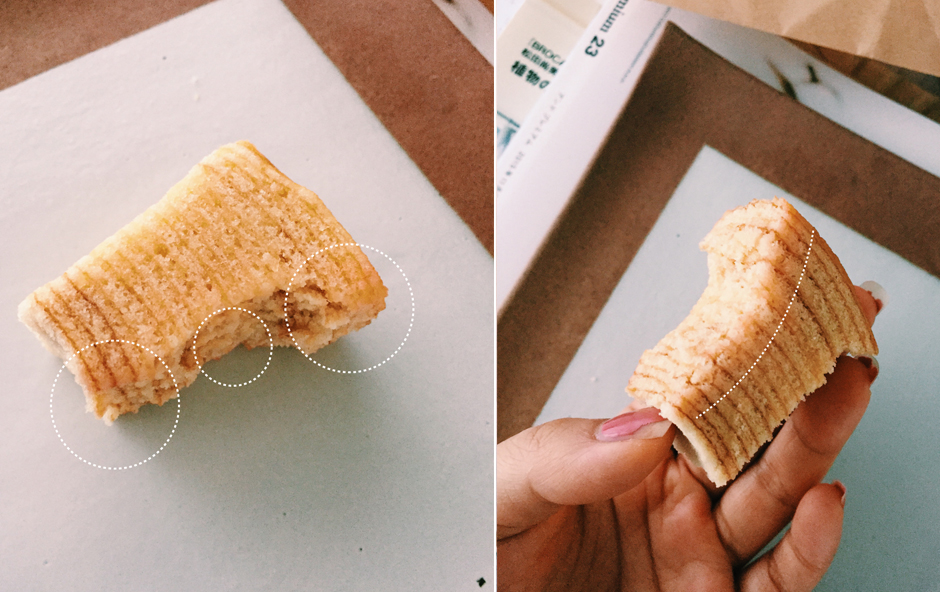
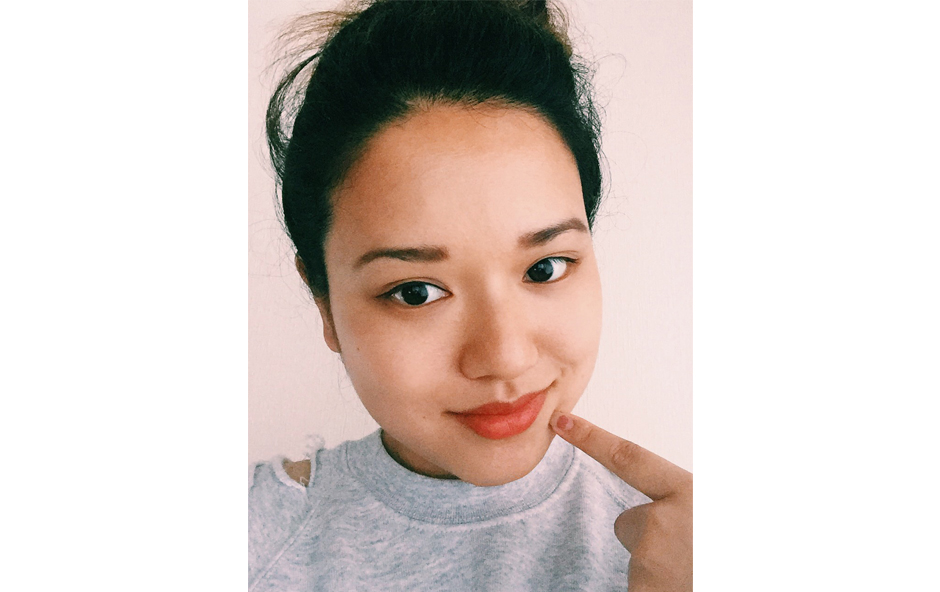
And again, the Rimmel Magical Stay Lip Coat has shown its amazing holding power! There was a faint orange tint around the eaten side but it was minimal compared to eating food without it ordinarily. What can I say, I love it!

If you are coming to Japan and are looking for cool cosmetic products to try, definitely give this a go!


Overall: ✩✩✩✩

PROS

Great value for money

Actually does what it says

Can last for 60 applications in a tiny tube

Lasts for 4 hours+

CONS

Application is a bit messy if you do not shake the bottle properly

Be careful when dispensing the product

Price: Around 1200 yen

Until Next Time!

Xx

Siree

The Power of the Wand: Choosing the Right Mascara!

Choosing the right mascara for YOUR lashes is not as easy as it sounds.  It might come as a shock to some people, but when buying mascara, you’re buying for the wand not the actual makeup itself.  Why? Quite simply the wand holds all the power, with each being uniquely designed for a specific purpose.  This is why the mascara that works ever so fabulously on your friend, maybe not work so well on your lashes.  So how do you choose the right wand for your lashes? Simply read on!

1.  Texture and Type of Bristles.

The first step in choosing a mascara is to figure out what you want your lashes to look like.  Something as simple as the bristles of a mascara wand, can create an array of different looks for your lashes.  Mascara wands typically come with three different types of bristles:

plastic comb
Original image credit: The Beauty Department edited by The Hidden Thimble

Made out plastic comb-like bristles,  this wand helps to separate lashes, add length and gives your lashes a darker and prominent look.

naturalbristles
Original image credit: The Beauty Department edited by The Hidden Thimble

Made out of synthetic fibres, this is your typical mascara wand.  Natural bristles create soft and light lashes that appear fuller, voluminous but look and feel natural.

plastic
Original image credit: The Beauty Department edited by The Hidden Thimble

My personal favourite, plastic bristled wands are a combination of the two wands above.  The result – dark, long, full and best of all – clump-free lashes!  The downside:  your lashes won’t feel as soft and natural as with the natural bristle wands.

 2. Choosing the shape and size of the perfect mascara wand for your lashes.

Here are some tips to help you choose the perfect mascara wand for your lashes.  Bear in mind, that depending on the type of lashes you naturally have and the look that you are trying to achieve, you may need to choose a wand that covers multiple functions OR you might even need to use two mascaras.

If this made absolutely no sense to you, here’s what I mean:  if you have smaller eyes with short, but voluminous lashes, and you’re looking to add length and definition to your lashes, you would want to opt for a  small tapered wand for extra precision when working with smaller eyes.  In terms of bristles you’ll ideally want a wand with thin, comblike bristles to lengthen and define each lash.

Below are basic wands and their functions.  Have fun combining and figuring out what works best for you! 


I have short lashes and small eyes > Choose a small, short wand.

Smaller brushes work best for short lashes. Short brushes can get close to your eyes to help grab and lengthen each lash from the root to tip, whilst providing necessary control when you need to get up close and personal.

02
NARS’ volumizing and lengthening mascaras are a great size for smaller eyes.


I have lots of lashes that lack length and definition > Choose a long, comb-like wand.

To define, separate and lengthen your lashes, choose a mascara with a long, comb-like wand.  These wands usually have evenly spaced bristles which help with length and definition, but lack in adding volume.

03


I have long lashes but they lack volume > Choose a large, round wand with dense bristles.

Large, thick wands with densely packed bristles are the best for creating voluminous lashes.  Densely packed bristles hold more product helping to coat each lash, creating a thicker look to your lashes. Apply mascara with a zigzag motion to help evenly coat your lashes.

04


My lashes are too straight > Choose a thick, curved wand.

The rule here is: the fatter the brush the bigger the curl.  To give your lashes extra curl and lift choose a thick, curved brush.  Apply by sweeping the wand over your lashes, from bottom to top, to help with the curling. Curling your lashes helps to lift your eyes, making them appear larger.

05

I have big eyes and want natural looking lashes > Choose a straight wand.

The best wand for you is a straight wand.  Straight wands are great for getting coverage on every lash, but are not so good for people with smaller eyes as they are less accurate. Straight wands also give natural looking volume and curl, perfect for that everyday look. Depending on the sparseness and length of your lashes you can either choose a straight thick wand or a straight thin wand.

06


I want more precision when applying mascara > Choose a precision wand.

07

That’s all!  Enjoy and go forth and discover delicious lashes!

Talyssa xx

Review: MAC Ruby Woo and Bobbi Brown Old Hollywood – A Red Lipstick Handbook

Red lipstick, red lipstick – Oh, how I love thee.

The red lipstick look is definitely one of my favourites and can add that classy and classic finish to your outfit.  Unfortunately a lot of girls steer clear of red lipstick.  Why?  Because of the fear of being unable to pull it off.

I’m not going to lie though, my red lipstick journey was not an easy one.  It’s pricey, there are SO many different shades, it’s hella difficult to apply and then you need to gather the guts to actually wear it out in public!

But I urge you – Do pursue!  Because once succeeded, a perfect pair of red lips is an excellent – possibly even crisis saving – skill to have up your sleeve.

So, let your red lipstick journey begin…

1.  Find what you feel comfortable in. 

There are so many different kinds of red lipstick to choose from – duller shades, darker, lighter, glossy and matte.  If you’re a bit scared try something duller as a first step, but if you want that classic vintage look (the one I love) go vibrant!

2.  Find what suits YOU

Look at your skin tone – typically orange or coral based reds suit fair skin and mauve or blue based reds suit tanned to darker complexions best.  My skin is quite fair, but I’m type 3 on the skin chart meaning, I can and do tan. So personally, I prefer to go with blue based reds. I feel comfortable in them and I feel like they suit me better.

Don’t know if you are cool or warm toned?
A tip I read somewhere which was surprisingly accurate was to look at the underside of your wrist.  If your veins are greenish looking, you are warm-toned,  if they are purple or blue looking you are cool-toned.

My suggestion?  Try a few shades on, check yourself out in the mirror and buy the one you like best.

Oh no!! Red lipstick makes my teeth look yellow!??!
Never fear!! I struggled with this too and actually thought I would never be able to wear red lipstick in public.  This is not true!  For me, I found that blue based red lipsticks kept my teeth looking white, where as the coral/orange based ones made them look yellow.

3.  Matte or Glossy?

For me, matte wins hands down.  I find it looks more classic and elegant, whereas glossy comes across as looking cheap when I wear it (thought other people pull it off fine).  Matte lipsticks also tend to be more forgiving, I find.  They eliminate those lipstick “no no’s” such as bleeding into the fine lines around your lips and the colour doesn’t smudge or transfer onto you coffee cup as easily.  It’s also much easier to control and you can easily tone down how vibrant the product is.  The negative – matte lipsticks dry your lips out a lot more than their glossy counterparts.

Go glossy if you want a very “look at me” effect.  They also keep your lips feeling hydrated and are generally easier to apply, gliding on with ease.

How do I know if a lipstick is matte?
Good makeup brands, such as M.A.C will have it written on the product.

 4.  Application

Red lipstick is hard to apply and because its so bright and vibrant, there is very little room for error.  It you happen to have unfortunate thin lips like me, it’s even harder!!

A few things that are essential to prevent feathering, bleeding and colour fading, are all handled through the art of application.

  • Outline your lips with lipliner, this will prevent your lipstick from feathering.
  • Fill in your lips with the liner.  This will give you a base on which you can easily and neatly apply your lipstick on top of.
  • Apply concealer on the outermost edge of your lips to clean up any mistakes. You can also dab some on your lips to help the lipstick stay vibrant for longer.
  • Apply your lipstick with a lip brush to get a precise outline of your lips.

5.  Preparation

Pulling off the perfect pair of red lips also takes some preparation.

Remember to:

  • Exfoliate your lips with a soft bristle, wet toothbrush.  This will remove dead skin.
  • Keep you lips moisturised regularly
  • Make sure to apply the lipstick and liner all the way to the inner corner of your lips.  Not  only does this create a poutier set of lips, it helps to avoid looking like you’ve missed a few spots when you smile.
  • I don’t usually have a problem with getting red lipstick on my teeth, but to be better safe than sorry, you can always try Jenna Marbles tip of putting your index finger in your mouth, forming a tight “o” around it and pulling it out.

 Bobbi Brown: Old Hollywood (Semi glossy) V.S. M.A.C: Ruby Woo (Matte)

Bobbi Brown: Old Hollywood

Bobbi Brown’s Old Hollywood formula combines color-saturated coverage with a lightweight texture.  This delivers pure, crisp colour with just one swipe.  Colour is long lasting, non drying and has no odour with a semi-matte finish.

Price:   $25 AUD

The following list of pro’s and cons are based on what I personally found when using the products and are based on what I generally look for in a lipstick.

Pro’s

  • Easy application – get full colour coverage in just one swipe.  The lipstick literally glides on.
  • Soft and smooth
  • Easy to remove
  • Affordable price (I got it for cheaper $12 on special)

Con’s

  • I personally find this lipstick quite Glossy although it is considered a “semi-matte.”
  • Teeth slightly show as yellow.
  • Prone to feathering and bleeding, if no lipliner is used
  • Wipes off easily
  • The finished look is not as elegant as other lipsticks.

Overall, a really good lipstick, although not my favorite for a red.  Worst attribute: The time a wore it, it bled terribly to the point where it looked like I had crows feet wrinkles…ON MY LIPS. yeah. I know.  Best attribute:  Intense colour in one swipe – easily glides on.


M.A.C:  Ruby Woo

M.A.C’s Ruby Woo formula creates bold, long lasting colour with a matte finish.  The blue based red is most noticeably known to make teeth look extremely white.   Ruby Woo is pigmented in one swipe however can be built up for a more intense colour. It’s also vanilla scented…YUM!!!

Price: $36 AUD

Pro’s

  • Makes teeth look SUPER white.  Love it.
  • Excellent Matte finish
  • No bleeding/feathering
  • Love the vanilla scent!!
  • Finish is very classy and elegant.

Con’s

  • Really, really dry formular
  • Dry formula means the product does not glide on as easily.
  • Colour is not as intense as Bobbi Brown’s Old Hollywood on first application, however intensity can easily be built up.  This allows for colour control, if you aren’t so keen on going mega intense on your first application

I.LOVE.THIS.LIPSTICK.  I love the super matte finish so much that I don’t mind how drying the formula is.  To combat the drying anyway, I always prep my lips with lip balm.  This doesn’t give as great of a finish, however if you build the colour on (takes a bit longer to apply with lip balm) you can definitely achieve the look with prepped lip-balmed lips.  I definitely think out of M.A.C’s red lipstick collection, this is my favourite – even against the popular “Russian Red.”

 Lipstick Comparison

Talyssa xo

REVIEW: 3 Concept Eyes Lip Pigment and Cream Blusher

With soft and light creamy texture, color stays on forever!

If you haven’t heard of the success that is Style Nanda, from humble beginnings their story started as a web store which grew into Korea’s No. 1 most popular women apparel store in 2 short years. With such a strong female following, it’s no wonder they would naturally create their own cosmetic line ‘3 Concept Eyes.’ I mean, Korea + cosmetics go hand-in-hand! Plus they just opened their new flagship store in Hongdae. Hongdae is love. Nuff said.

Calming down from my makeup haul high, I purchased the 3 Concept Eyes Lip Pigment in #Issue and #Electro Pink and 3 Concept Eyes Cream Blusher in #Coral Coral to test out their range.

These nifty single color tube wonders are high pigment, matte with a smooth creamy texture and true to colour. You want hot pink? You got hot pink! The Lip Pigment range also lets you mix other colours to create different combinations and shades! How awesome is that? The first thing I was impressed with was the pro looking packaging. It’s like something a makeup artist would buy from a supplier and create their own colour palettes.

#Issue is a orange base red colour, very similar to my Holika Holika’s Heart Ful Moisture Lipstick in Fresh Orange which I adore to bits ever since I got it from Korea! So bright and flirty when you smile, I find orange red tones just compliments any skin type and are great for those who aren’t quite sure which red lippie to get because, honestly, it is SO damn hard to find THE right red lippie!

#Electro Pink is an intense hot pink that has a very slight hint of fuchsia undertone in it. My main reason to purchase this was to correct my mistake of choosing MAC Lipstick in ‘Snob’ back when 70s nude pinks were ‘it.’ Unfortunately the colour didn’t match my skin type. This hot pink brought my lips back to life!

Really bad focus for the #Electro Pink :(
Much better for #Issue :)

Not to be applied with fingers, use a lip brush as the pigment is quite strong causing staining. It also leaves a bit of a strain on your lips which helps to reduce reapplying constantly.

Blusher in #Coral Coral

I’ve never tried cream based blushers before since they involve much blending to not only apply it evenly to your cheeks but I find I look like a hot mess as I overdo one side and not the other.  The trick is obviously to use a little to build up the pigmentation to the right colour you want and to have a little foresight when putting it on your cheeks. Remember don’t wipe, 톡톡톡! (tapping sound in Korean)

3 Concept Eyes Lip Pigment

Price: $13.21 USD

Overall:
★★★★

4/5

PROS:

Nice packaging

Good coverage

Pigments are true on application

Great selection of shades

Becomes a tint after wiping

CONS:
Stains your fingers

 ++

3 Concept Eyes Cream Blusher

Price: $13.21 USD

Overall:

★★★1/2

3.5/5

PROS:

Nice packaging

Good coverage

Pigment is true on application

Lasts for a long time

CONS:

Stains your fingers

Need to blend properly to render nicely

Can be messy

Practice is needed to get right application

 ++

You can buy 3 Concept Eyes products at Style Nanda.

This is not a sponsored post.