Getting to travel around the Mount Fuji area is a real treat! The area’s history reads just like a fairytale and the origins of Oshino, a village famed for their eight clear blue springs, is so rich in folklore and natural beauty I just had to share.
Oshino and its famous springs are collectively known as “Oshino Hakkai” and are listed as a World Heritage Site. Though it is a very popular tourist site and teaming with visitors especially during the weekends, you can still feel relaxed walking in the open air and seeing the springs during any season will make you stop and appreciate the scenic nature that surrounds it.
It is a place regarded to have traditional holy ties to the gods that many in the past used it as a site for pilgrimage and after reading this day guide, you’ll want to add ‘The Spring of the Gods’ to your Japan itinerary too!
The most volume of spring water and the best scenery
Waku-Ike is the pond that greets you at the center of the village and reflects the ever-changing scenery on its surface as you walk by. With its quality of water and central location, its a great representation of Oshino Hakkai’s best. Mixed with the clarity of the water and the perfect position of the background, it also has one of the best scenic shots with Mount Fuji in the background. Alternatively, for those who missed seeing Mount Fuji in the background, the pond’s mirror effect also creates the illusion of the pond’s ‘nijimasu’ fish swimming in the sky.
Legend tells long ago when Mt. Fuji erupted, people suffered greatly from a burning fever. As their homes and fields burnt their thirst grew and the people’s cry for water spread throughout the earth to the heavens. The female deity of life granted the people’s wish for water and created the pond.
Naka-Ike pond, on the other hand, is actually artificially made and accessible through the souvenir shop funnily enough. Despite this, it is still beautiful to pass and peer into its depths.
Photo Credit: https://kinarino.jp (website)
Sokonashi-ike Pond
The bottomless pond
It is said long ago that carelessly washing anything in this pond will be taken straight out of your hands by the pond’s whirlpool and lost forever. However, it is also said
that it can reappear a short time later rising to the surface in another spring called Okama-Ike pond. There is a belief handed down within the villages’ people that washing things in this pond is to buy God’s wrath. You can find this spring behind the Hannoki Bayashi Shiryokan Museum.
Deguchi-ike pond
Pond of miraculous water and the biggest in Hakkai
The water from this pond is sacred. Nicknamed ‘miracle clean water,’ it was used to purify the pilgrims and their wounds before their pilgrimage. It is still strongly
believed that carrying this spring’s water up Mount Fuji will ensure a safe journey. It is the furthest away from the village (‘deguchi’ means ‘exit’) and features an Inari Shinto shrine in the forest that overlooks the pond.
Okama-Ike pond
Small but abundant in clear water
The smallest pond in Oshino Hakkai it is named ‘okama’ meaning ‘pot’ in English because of how the water bubbles up to the surface just like boiling water in a pot.
The pond also has another name ‘Giant Frog Pond’ because of an old folklore of a girl who was dragged into this pond by a giant frog living at the bottom. It is said that things which are lost float to the surface.
CHOSHI-IKE POND
The pond of love knots
Easy to miss, this pond is hidden on an off-path along the riverside behind the Hannoki Museum’s grass meadow and is a great example of how the springs work in action. It takes a few tries to find and spot it but, if you look down at the bottom of the pond you will see a pocket of sand which ‘boils.’ This is how the
underground water filters into the ponds!
The legend behind the name is a funny yet sad tale of a newly wedded bride who farted so bad in the middle of her wedding (yes, I kid you not) she threw herself into the pond out of embarrassment embracing her love knot. The only thing remaining of her was her sandals reflecting from the bottom.
Kagami-ike Pond
Reflections of Mount Fuji
Legend says this lake has the spiritual power to distinguish between the good and
evil in all things. The stillness of the water in this pond also creates a mirror effect which reflects an inverted Mount Fuji on its surface.
Photo Credit: www.yamanashi-kankou.jp (website)
Shobu-ike Pond
Where tradition remains and the sweet flags grow
Located near Kagami-Ike pond, Shobu-Ike is named after the beds of sweet flags
(flowering water plants that bloom purple, white or yellow iris petals) that surrounds it. The local legend is that illness can be cured if you rub the iris onto your body.
8. Nigori-ike Pond
The murky water that turns crystal clear in a glass
Although all the ponds appear to be flowing clear water, Nigori-Ike pond ironically is called ‘unclean’ or ‘impure’ for a reason.
The story is that in the beginning this pond was very clear and was used as drinking water by the townspeople when one day a beggar looking pilgrim who was passing
by asked the landlord for a glass of water to drink. The landlord refused and as soon as she did, the pond turned forever muddy and would only turn clear when scooped into a glass.
The more err, I guess, ‘scientific’ reason is the spring at the bottom of the pond gushes only a small volume of spring water continuously. So while it appears muddy at first glance, it turns beautiful and clear in small quantities when scooped out.
How to Use This Map: The map below is an interactive map you can use to find your preferred location. To use the map, click the icon in the top left-hand corner to pop open the navigation bar. Here you can click on each location to navigate to it.
WHAT TO DO
Test the cold waters
Close to the centre of Oshino Hakkai’s shopping area, there is a water feature that reads “Water Melted from Mount Fuji’s Snow” where you can feel how icy cold the
spring water really is. Try to see if you can stick your hand in for 30 seconds because it is seriously cold AF!
DRINK FROM THE SOURCE
With all this talk about clear beautiful water, it’s only natural you would want to try it out for yourself! Head into the souvenir shop and on the way to the Naka-Ike pond you will see a waterfall fountain on your right with natural spring water flowing
water flowing for you to drink or take home. The water thanks to the natural filtration of the lava underground is safe to drink as it is and the shop also sells empty water bottles on hand.
At certain spots within the main area of Oshino Hakkai you can find boxes selling fish food to feed the many nijimasu trout which swim in the ponds. By far the most interesting ones are the yellow and blue coloured nijimasu which are super vibrant even in the water.
You can also try to “touch” the passing fish at the Hannoki Bayashi Shiryokan Museum which is more challenging than it seems but an interesting past-time game to play if you are up for a challenge.
At the Hannoki Bayashi Shiryokan Museum, try your hand at touching the nijimasu that swim by. It’s not as easy as it sounds!
Spot the fish with the human face
Near the Naka-Ike pond area, you’ll see a sign that mentions a gold coloured nijimasu whose pattern resembles a human face on well, it’s own face!
See if you can spot it out.
EXPLORE HANNOKI BAYASHI SHIRYOKAN MUSEUM
For a small fee, you can enter the Hannoki Bayashi Shiryokan Museum, an opened museum featuring a traditional thatched roof farmhouse displaying various artifacts such as farming tools, household items, and even weapons.
Don’t forget to check out the staircase that leads onto the rooftop of the museum’s entrance to get a panoramic view of the main area of Oshino Hakkai or if you’re lucky enough, it’s a great vantage point to see Mount Fuji in the background – usually, fog gets in the way!
Mount Fuji in the background when the sky is clear! Photo Credit: www.fun-japan.jp (website)
What to eat
Oshino has some great produce thanks to its incredibly clean water and fertile soil and is famous for their corn, soba, and tofu.
Here’s my breakdown of the best regional foods to try while you’re visiting:
Soba and Houtou
Oshino produces some great soba noodles but visiting the Yamanashi area is not complete without eating their famous houtou noodles. More similar to udon noodles, it’s a special flat wheat noodle cooked with vegetables in hot miso broth.
We ate at 御食事処 いろり (Oshokujidoro Irori) located very close to Oshino Hakkai (see the location on the interactive map).
Yomogi and Kushi Dango
When I’m in the mountain areas of Japan it has become an unspoken tradition of mine to eat dango or mochi. In Oshino there are two types to try: yomogi or Japanese mugwort mochi has a nice ‘grass’ aroma and is filled with sweet red bean
paste while kushi dango is grilled rice balls flavoured with sweet soy sauce. It sounds like a strange combination but if you like the distinctive sticky flavour of Marmite you’ll definitely enjoy this treat!
Satsuma-age
Although it’s a specialty of Kyushu’s Kagoshima, there is a great satsuma-age food store in Oshino Hakkai near the souvenir shop. Satsuma-age is a fried fishcake made from fish paste and flour. There are many different varieties offered at the main
souvenir shop leading to Naka-Iku pond including chili squid, scallop mayo and prawn with pumpkin and veggies.
Pickles, miso, and Tofu
Fresh tofu is incredibly smooth and creamy but in Oshino they put an extra twist to the classic staple and served it with a pickled spicy miso paste which tastes amazing! If you are a pickle addict like I am there are more than 50 kinds of pickles to be found
at the souvenir shop for you to taste-test and devour happily like the Mayor in the Powerpuff Girl.
HOW TO GET THERE
HIRE A CAR
With so much to see and do within the surrounding the area the best way to experience it all conventionally is to get a car. Google Maps and Apple Maps in Japan both work well in English and Japanese and makes driving a breeze if you are not familiar with the local language. Additionally, most rent-a-cars in Japan are equipped with an inbuilt navigation system should you not have access to the internet while traveling.
Another tip, since you will be traveling towards the Mount Fuji area which is a popular day trip spot during the weekends try to beat the traffic by arriving at around 10 AM if possible. From the car park (see interactive map for details), it’s only a 5-minute walk to Oshino Hakkai by foot.
Interested in renting a car? Toyota Rent a Car has services in English (as well as Chinese, Thai, and Korean) and you can book online here.
ARRIVING BY BUS
There are two main ways to take the bus to get to Oshino Hakkai (from Fast Japan):
1. From Shinjuku Station, take the Chuo Expressway bus (100 minutes) → at FujiQ Highland change buses. Take the Chuo Expressway bus (40 minutes) → Oshino Hakkai.
2. From Tokyo Station, take the Express Bus (120 minutes) → Mount Fuji Station, change buses → Fuji Kyuko Route Bus (15 minutes) → Oshino Hakkai
See a Cotton Candy Mount Fuji at Hakone-Mototsumiya Shrine
or anyone travelling to Japan, Mount Fuji is a must-see. With its iconic blue slopes and white peaks, it is the symbol of Japan’s heart, and its cultural and artistic significance is perfectly captured in numerous scenic photos. The question is, what is the best photogenic place to see Mount Fuji?
For anyone travelling to Japan, Mount Fuji is a must-see. With its iconic blue slopes and white peaks, it is the symbol of Japan’s heart, and its cultural and artistic significance is perfectly captured in numerous scenic photos.
The question is, where is the best place to see Mount Fuji?
I often thought about this myself. However, I’m not after not any average-looking iPhone photo. I wanted a one-of-a-kind experience with this giant mountain. And I found it, a beautiful moment with Mount Fuji floating amongst the clouds in a changing blue and purple sunset near a traditional mountain shrine.
Want to know where? Come with me on a quest to reconnect with nature and spiritual wonder as I reveal where I took my cotton candy-coloured photo of Japan’s most iconic mountain.
With skies so clear you can “touch” the top of Mount Fuji.
When to go for the best view
elieve it or not, a view of Mount Fuji isn’t as easy as you might think.
To ensure your trip is worth it, there are a few things to consider
about seeing Mount Fuji before heading off to the Hakone region:
SEASON
Depending on when you visit the different seasons will also affect what Mount Fuji will look like in the distance. For me, Mount Fuji looks the best with its snow cap so winter, autumn, and early spring are the best time as summertime is way too hot for the snow to form.
I took these photos in late December and the winter climate had the perfect conditions for the perfect view. The skies in Japan are much clearer during the wintertime and the sunset’s glow also casts beautiful pastel colours onto the mountain.
WEATHER
Another factor to consider is the weather. Mount Fuji tends to hide in any cloud cover or haze probably caused by the city during the day. Going on a clear day that has
measured cloud cover under 10% is ideal for optimal visibility. Check the hourly weather forecast of the Hakone area to help prepare when to go.
TIME
Mount Fuji also can only be seen during the early morning and late afternoons. The sweet spot to go to Hakone-Mototsumiya Shrine to see the sunset is between around
3:00 PM – 4:30 PM in winter. Try to get there a little earlier as the cable car to go to the top can be crowded.
lthough Hakone-Mototsumiya Shrine is the original shrine, it is, in fact, one of three shrines that collectively make “Hakone Shrine.”
The two other spiritual places located at the base of Mount Komagatake are Kuzuryu Shrine and the “newer” Hakone Shrine.
The newer Hakone Shrine is instantly recognizable because of its popular waterfront
tori gate built in Lake Ashi. It is said to worship a 9-headed dragon god that lives at the bottom of the lake where the tori gate stands. The water that surrounds Mount Hakone is also said to have cleansing properties and the shrine sells bottles of the clean water to take home called 龍神水 or Dragon God Water.
The other shrine, Kuzuryu Shrine, is a good luck shrine for money and business but it is also popular for women as a shrine for marriage success.
How to Get To Hakone Mototsumiya Shrine
Use the Hakone Komagatake Ropeway
箱根駒ヶ岳ロープウェー
Adult: Round-trip 1080 yen One-way 640 yen
Child: Round-trip 540 yen One-way 330 yen
Starts at 9:10AM (both directions). Ends at 4:30PM (ascent) and 4:50PM (descent).
The ropeway operates every 20 minutes (during busy times every 10 minutes).
If you want to know how to get to the other shrines mentioned, you can use our handy interactive map below.
How to Use This Map: The map above is an interactive map you can use to find your preferred location. To use the map, click the icon in the top left-hand corner to pop open the navigation bar. Here you can click on each location to navigate to it.
NOTE: This post is a deep dive into the Pamukkale Travertines only, for more info on the town of Pamukkale, the UNESCO Heritage site of Hierapolis, where to stay, a suggested itinerary and more, please read the following post: 24 Hours In Pamukkale
As the beauty of the day disappears beyond the horizon…
I wonder what kind of magic the night will bring…
– The Hidden Thimble
A Little Bit Of History
As one of the rarest geological phenomenon’s on Earth, Pamukkale’s travertines are fascinating. What exactly are they? How was something so big created? Where do the hot springs come from? Does the water really have healing abilities?
Never fear, everything you ever wanted to know about the Pamukkale travertines will be answered in this post!
Pamukkale means “Cotton Castle” in English
Let’s begin with Turkish mythology. Turkish legend has it that Pamukkale’s travertines were formed long ago by giants who they left their cotton harvest outside to dry. The harvested cotton solidified and formed the ‘Cotton Castle’ we see today.
Realistically though, it’s creation is even more wondrous than that. When you think about it, the Earth and science are also very magical things, just like the story of the giants. The travertines first started forming about 400,000 years ago, after a series of earthquakes caused thermal waters to flow down the mountainside. These mineral rich waters deposited a sludge like substance called calcium carbonate – you can feel it under your feet when you swim in the pools. Being exposed to the sun, the calcium carbonate was simultaneously evaporated and crystallised into terrace like formations. The result? Magic cloud like-thermal pools you can swim in!
Things to see and do near the travertines
While explained in detail in my 24 Hours in Pamukkale post, here’s a short list of the things you can do in close vicinity to the travertine site:
Walk through the ancient city of Hierapolis
Visit the Hierapolis archaeological museum
Take a dip in the Antique Pool (also known as the Cleopatra pools)
Walk along the travertines and take a swim in some of the pools
Catch the sunset over the travertines (photography guide below for those interested – my favourite photos are from sunset!)
Paragliding
Professional photo services – there are two photography services offered where you can get ‘professional photos’ taken. There is one at the top of the Pamukkale site, near the food, and one inside the Antique Pool area.
Paragliding over Pamukkale
Tips and TRICKS
1. How to Get amazing photos WITHOUT crowds
When the locals told me that Pamukkale was the most spectacular at sunset I made sure I got myself a good spot for photos. And the locals couldn’t have been more right – it was absolutely gorgeous!
Here are my tips to get the perfect shot:
Visit out of season. I visited Pamukkale from the 11th – 13th May and although considered the ‘shoulder season’ (the town was very quiet and sleepy according to the locals), the travertines themselves were packed! If you really want photos with no one in them – especially in the pools you can swim in – I would visit in winter.
Try the North Gate Entrance: If you’re a really keen bean (I actually didn’t know this and I’m pretty bummed I didn’t!) Pamukkale’s North Gate apparently opens at 6am instead of the 8am opening times of the other two gates. This means you can get in before the crowded tour busses and get all the photos you could dream of! This entrance is only accessible by car though.
Stay until sunset: The locals were definitely right, sunset is the most beautiful time to capture the travertines, so you definitely want to make sure you claim a good spot well before. The pools mirror the pastel colours of the sky and it is absolutely amazing to watch.
In May, sunset was a little later (around 7:30-8PM) and interestingly, some of the tour buses stayed back this late, so there were still quite a few tourists around.
Set up at least 40mins before sunset: As a solo traveler, it is definitely more difficult to take those ‘instagram-worthy’ shots of yourself amongst the beautiful sites you see. So a lot of the success of your photos comes down to preparation and planning. I reserved a spot about 40minutes before sunset. This allowed me to set up all my gear (tripod, remote and camera) as well as do a few test shots before the crowds came to watch the sunset.
Shoot from the area that’s closed off to tourists: For preservation purposes, the most beautiful areas of the travertines are closed off to tourists, meaning you can get a clear shot of them at sunset without anyone in the background. Yes it does mean you can’t get a shot of you swimming in them, but you are allowed to sit on the outer pools, which still creates a magical shot – see below!
In this section, you are only allowed to walking on the stoned terrance that I am sitting on, and the two greyish terraces below. Anywhere else is off limits. As you can see in this photo, I reserved my spot before sunset!
2. The site Doesn’t look like the pictures you see online
I know, I know. The photos I’ve shown so far say the opposite to what I’m claiming above, but I’m going to expose to you below what MOST of the site actually looks like.
To be honest, when I first arrived, I couldn’t help but feel a little disappointed because of how differently the site looked to all of the advertising brochures and images you see online.
Majority of the travertines are completely dry.
Because of this, you can’t help but feel like you’ve been lied to. Don’t get me wrong, it’s still really beautiful, but the beautiful images you see in guidebooks and tourist websites that show people swimming in an abundance of overflowing travertines is a LIE. These images are from wayyy back in the past when these areas were still open to the general public. Since then, they have been been closed and ‘dried out’ to allow the travertines time to recover from the terrible treatment of the tourism industry.
To give an example:
Media images look something like this:
But the site actually looks more like this:
These cute little dogs were playing and sleeping in the dry areas Psst – the point to the left of this photo where you can see some people gather is where you want to take your sunset photos from
3. You Can’t Swim in most of the travertines
Any travertine not located along the main pathway is off limits to visitors. There are only about 3 or 4 large travertines available for the public to swim in, and they are packed with tourists.
Over the years Pamukkale has faced a lot of damage from the tourism industry – there even use to be hotels that were built on top of the ancient city of Hierapolis, which destroyed some of the ruins back in the 1960s. Some hotels back then even used the thermal water in their own swimming pools and even the tourists feet trampling all over the travertines has caused significant damage. As a result, most pools are dried out and closed off the the public.
Heres a comparison from past to present:
Media images look something like this:
But here is a more accurate picture of the pools you can swim in:
Oh and you might want to get there early…:
Crowds at opening time (8AM):
Crowds just 40 mins later….PACKED!!
4. The water has healing powers
The thermal waters are high in minerals and are known to cure a variety of diseases. I had so many locals tell me about success stories they had witnessed. Some of the many diseases the thermal waters claim to cure or benefit include:
Asthma
Rheumatism
High blood pressure
Circulatory issues
Overall good for skin and eye disorders
Kidney stones
Stroke
Physical exhaustion
Digestive issues
Nutritional disorders
5. Consider what you wear
Plan for getting wet, especially if you enter from the town entrance like I did. It involves a walk up the travertine pathway, which has water running down it.
To minimize damage from tourists, you are also required to remove any shoes, and contrary to how the travertines look, the rock is actually quite pointy and slippery under your bare feet which makes climbing up from this entrance rather uncomfortable!(In the travertine pools though, the floor is soft thanks to the build up of the sludge-like calcium carbonate)
You don’t want to be wearing long pants and lace up shoes with socks. Ideally dress for the Pamukkale travertines as you would the beach – thongs (flip flops for the US people, yes in Australia we call them thongs), swimmers and something light on top (think a beach dress, or a simple T-shirt and boardshorts). A backpack that’s waterproof is also ideal.
Turkey is predominantly a muslim country, so remember to be respectful and cover up to an extent. I’m not saying you can’t wear a bikini when you go swimming – you can, but let’s not take it to the Brazilian bikini level trend that seems to be everywhere now (at least in Australia). You know the ones where your bikini bottoms are basically a g-string.
6. Take the best Entrance FOR YOUR NEEDS
Pamukkale has three entrances;
The North Gate: This gate requires a car to get to, but it apparently opens at 6AM if you’re looking to get into the heritage site early to beat the crowds or to take photos. The entrance starts at the beginning of the town of Hierapolis, so you need to walk through it before you reach the travertine site – it’s quite a far walk if you’re not prepared! The gate does get quite busy later in the day.
South Gate: This gate requires a car to get to if you’re staying in town. It opens at 8AM and is the most popular (and busiest!) entrance to the travertines. All the tour buses drop people off here. At this entrance you start at the top of the travertines.
Town Gate: This is the easiest gate to enter the travertine site if you’re staying in town and opens at 8AM. It’s a lot less crowded way to view the travertines from 8AM, than to start at the North gate as you’ll find most of the crowding occurs there.
GENERAL INFO
How to get there
Detailed info regarding plane and buses from other areas of Turkey to Pamukkale can be found in this post: 24 Hours in Pamukkale
If you’re staying in the village of Pamukkale itself, you literally can’t get lost walking to the travertines, it’s the biggest thing you can see in the skyline and at most is a 20 min walk.
PRICE
Entrance Cost for Pamukkale Travertine (B on map) and Hierapolis Ancient City (1-16 on map): 35 Turkish Lira
Entrance Cost for Cleopatra/Antique Pool (A on map): Free to go inside the complex, to swim you need to pay 32 TL (Adults) 12 TL (Kids 6+) Kids (<6) Free.
OPENING HOURS
North and Town Gates:
From April 15 till October 2 – Open from 08:00 to 21:00 every day
From October 3 till April 14 – Open from 08:30 to 17:00 every day
South Gate:
Apparently the South Gate opens at 6AM. I didn’t know this prior to my trip, so I didn’t get a chance to verify for myself, but I read this was possible online. You will need a car to access this gate.
FACILITIES
Disabled Access:
The travertine site itself is not wheelchair friendly, however if you enter from the North entrance, you will be able to view the travertines from the top paved areas.
Toilets:
Toilets, change rooms and showers are available on the site. The latter two are only accessible inside the Antique Pool complex.
Food:
You can buy food until closing time at the Pamukkale site. There’s quite a few options, but it is a lot pricier than in town. A LOT PRICIER!!
Parking:
The South and Town gates have free parking – it gets filled really quickly though! Parking is also available at the North Entrance for a small fee.
Lockers:
Lockers are located in the Antique pool complex. You are required to give a small deposit, which you get back when you finish.
Are you planning a trip to Pamukkale and have questions? Let us know below!
Pokéfood ironically isn’t the very best… ( ♪ like no one ever was…)
Eager to dine inside one of the world’s most beloved animes in real life?
If you were (or still are) excited about how great Pokémon Go was, Tokyo’s new Pokémon Cafe now gives you the opportunity to transform those childhood dreams into reality. Hey, a Pokémon trainer has got to eat somewhere amirite? With a menu that is both fun and eye-catching these Pokéfood creations are sure to win over hearts, but, can it prove super effective on the tastebuds? Let’s step in to find out!
SETTING AND ATMOSPHERE
okémon’s story is all about adventure in the great outdoors and so, it seems only fitting to create an interior that simulates the same kind of environment – a woodland-inspired scheme with cozy wooden furnishings, pockets of shrubbery to mimic being amongst nature and lots of space. Who would have known a real-life Pokémon Centre would look this chic!
The thing I appreciated the most during the dining experience was that the staff
encouraged customers to walk around and explore freely, letting us take as many photos as we wanted. Especially since in Japan, some theme restaurants discourage photography.
With lots of different seating options, photo spots with prop toys, TV screens playing and merchandise areas to enjoy, it’s a calm, friendly, and lively environment with excited customers old and young. Like a small theme park, the restaurant is combined with a Pokemon Center Store right next door!
Food
hile the food was terribly cute to look at, the taste was definitely more suited to a kid’s palate. On the menu expect simple burger and fries combos, a limited variety of veggies and plenty of carbs and meat – the kind of things we all know kids love.
With no descriptions on the menu, you will need to ask the staff what is inside each dish should you have any dietary needs. Something I also noticed was that the food wasn’t served very hot and gets cold quickly if you leave it for more than a few minutes (most likely for little stomachs and mouths to handle). My Eevee Burger bun wasn’t even toasted! A burger with no toasted bun? What child-safe hell is this?! Due to the lackluster flavour of most dishes, I would only recommend the curry rice or
carbonara for mains if you care for at least a decent dinner.
Dessert, unfortunately, didn’t get any better. The Jigglypuff Cheesecake had no real cheese taste and had that “rubbery” gelatine texture you find when eating cheap cheesecake or pudding in Japan. The Eevee Pancakes were dry, at room temperature, and lacked any sort of taste alone or with the accompanying toppings. Imagine a store-bought pikelet, served untoasted with no jam or syrup to liven it up. This is what they tasted like and it was as sad as it sounds.
The only saving grace it seemed was the drink menu, which had a decent number of winners. Gengar’s “Suspicious-Looking Light Smoothie” was an absolute must-try. It was so creamy and the grape flavour tasted out of this world!
Greedy Pikachu Plate – A mixed plate of tomato spaghetti, hamburg patty, Pikachu themed omurice and salad | 1,706 yen
Energetic Pikachu Curry – Pikachu turmeric flavoured rice with star-shaped vegetables and meat curry sauce | 1,598 yen
Hide and Seek Pikachu Carbonara – Pikachu’s “butt” peeking out of a salad bush haha! It’s an omelette covering a creamy carbonara pasta underneath | 1,598 yen
Eevee Burger – A teriyaki chicken burger with bitter chocolate nachos ears served with minestrone soup and chips | 1,706 yen
Gengar’s Suspicious-Looking Light Smoothie – A creamy grape frozen smoothie with a glowing red ice cube | 864 yen
L to R: Float Drink (Jolteon Version) | 918 yen, Gengar’s Suspicious-Looking Light Smoothie | 864 yen, Iced Oolong Tea
Pokemon Cafe Fruit Pancake (Eevee Limited Edition) – A Pokemon Cafe original pancake served with fruit and whipped cream | 1,706 yen
Jigglypuff Sings Cheesecake – A strawberry rare cheesecake shaped like Jigglypuff | 1,166 yen
SERVICE
he experience of being at the Pokemon Cafe really shines because of the staff. I found that all the staff were friendly and extremely smiley even for the last session of the evening. The majority of the waiters are bilingual and always ask if you need language assistance while they serve you.
Since the staff help guide you through the experience of being there, it was nice to feel like you were being taken care of during your stay. An example of this is the bonus “mini-games” you get to play with your waiter. When you are seated at your table, the staff will treat you to a little game to reveal your lucky character placemat which you get to take home as a souvenir. Should you want a specific character or
another placemat you can buy another one for a small charge.
Another fun activity is all guests who order a drink get to play a roulette game to win a special character coaster. None of these mini-games are advertised on the menu so it’s a nice touch to commemorate your time there. Also, before the end of your session, a cute Pokemon mascot will come out to greet guests for photos before your time comes to an end. The character changes but we were lucky to see the very new Eevee mascot for the soon to be released “Pokemon Let’s Go!” games which was fun to see and touch its fluffy fur!
VALUE FOR MONEY
lthough I think the drinks are decently priced, the food is expensive AF!
Seriously that pancake cost 1,706 yen and I felt I could make a better version with maple syrup and more fruit for less.
Not to mention the portion sizes of the food were more suited for lunchtime rather
than dinner. You might find you’ll have to order more dishes to satisfy your hunger if you’re feeling particularly hungry when you visit.
It’s definitely a once in a lifetime experience but somewhere you wouldn’t want to visit without a good reason to blow all that cash for a sub-par meal.
Cappadocia: Experience The Most Magical Sunrise in the World
f you’ve planned a trip to Cappadocia, it’s likely that one of the first things on your bucket list is to see their famous Hot Air Balloon Sunrises. Now I know you’ve seen the photos on Instagram and are probably wondering “where the heck did they snap that AMAZING photo???” In fact, I was actually surprised at how difficult it was to find the exact locations of some of the photos I’d seen online, let alone find anywhere that had documented them with a location I could input into my Google Maps.
Never fear though, I’ve complied a list of my favourite viewpoints, including all the research I did during my trip. So yes, this includes CORRECT location names, photo inspiration and exact Google Map geo locations!!
Sunrise Viewpoints
Interactive Map
How to Use This Map: This is an interactive map you can use to find your preferred viewing location. To use the map, click the icon in the top left hand corner to pop open the navigation bar. Here you can click on each location to navigate to it. The area coloured in yellow is the balloon launch site area. The area coloured in purple is a rough guide of the balloon flight area.
Aydın Kırağı (Sunrise/Sunset Point)
efinitely one of the BEST, if not THE BEST place in Göreme to view the balloons at sunrise. This viewpoint was my favourite for a number of reasons:
The most difficult thing about finding this viewpoint was that everyone referred to it as “Sunrise Point” or “Sunset Point” (even the signs in town call it that) but this is not what the location is called in GoogleMaps. In fact, if you try to type Sunrise or Sunset Point into GoogleMaps, you will be taken to the completely wrong place. Instead AYDIN KIRAĞI is where you want to go if you plan on using Google as your guide.
Balloon flight path. They start from the launch sites to the right of the photo and fly over Cappadocia towards the left of the photo.
Close up of the balloon launch area (where all the vans are parked).
The balloons fly so close to you!
Love Valley
nfortunately I didn’t get a chance to venture to this viewpoint myself, but it was high on my list. The photos from here look amazing and the best part about it is that you get to capture Cappadocia’s beautiful landscape in the shot. Unlike the previous location, this one is much harder to get to without a car (which I didn’t have for this part of my journey!)
While you can hike there, it’ll take you around 30mins and you’ll be walking most of it in the dark in order to get there in time for sunrise. Location 2 in the map above leads you to a viewpoint that overlooks Love Valley (as seen in the first Instagram picture below), however shots from within the valley, looking up at the balloons flying above also look really effective (Instagram pic #2).
any companies in Cappadocia offer sunrise horse riding tours and I can’t think of a more magical way to view the balloons and take photos! I did a Horseback Photoshoot with Cappadocia Ranch, but they also offer sunrise Horse Riding Tours.
Cappadocia Ranch provide pick up and drop off from your hotel and if you’d like more info, you can read my full review by clicking below:
nother awesome viewpoint I really wanted to check out (if only time permitted!) were the balloon launch sites. Not only can you get some great up-close shots with the balloons as they inflate, it’s also a great way to gather time lapse footage of the balloons firing up and taking flight. I particularly think these shots look quite majestic, however if you’re not taking an actual balloon flight (in which you are picked up from your hotel and driven to the balloon launch site), these locations can be a little difficult to find as they can change day to day.
To find out exactly where the balloons will be launching you can either ask a balloon
company directly the day before, or in my case, the hotel manager at Cave Hotel Saksagan was very knowledgeable and also did balloon tours on the side.
Similar to Love Valley, if you don’t have a car, this viewpoint can be difficult to reach. It is approximately a 30-40min hike depending on which launch site you visit. Getting all dressed up for the photo and then having to hike for 40 minutes just to get to the destination isn’t particularly ideal. But by all means, if you have a car, definitely go here!
kay so this is an obvious one, and you might be thinking “why is this so far down the list??” But I will stress that taking a photo inside a hot air balloon is not as easy as you think. They. are. Crowded. Making it difficult for you to move freely and take a photo, let alone get a shot without anyone else it it.
This however is the only way to get in-air action shots and birds-eye views over Goreme’s beautiful rock formations and valleys. GoPro’s on hand held tripods and selfie sticks are your best bet to capture a great photo.
kay I KNOW it’s surprising that this viewpoint is 6th on my list, because all the photos on Instagram are of people watching the balloons from the balconies of cave hotels. But seriously. It’s kinda over rated – when it comes to watching the balloons at least.
I stayed at Mithra Cave Hotel, which is probably one of the two more well known cave hotels to watch the balloons. From my personal observation, Mithra Cave Hotel actually has a better view than the renowned Sultan Cave Suites (Mithra over looks Sultan to its left and is a little higher). I could also see from my view on Mithra’s rooftop, a lot of other hotels in the area that looked to have the same or possibly a better view, plus, they were much less crowded. Unfortunately the hotels don’t have any signage, so I can’t tell you their names, but I do want to point out that you don’t need to stay at Sultan Cave Suites or Mithra exclusively to get a great view of the balloons at sunrise. I would like to stress that staying at Mithra Cave Hotel is not overrated (it’s actually amazing), but when it comes to balloon view points, I believe finding a lesser known hotel nearby Mithra or Sultan Cave Suites would provide a similar or better view with a much more pleasant experience.
Anyway, let’s start with the good:
And now the bad…
The staff set up this breakfast set up for photos. But it gets super crowded with people!
This is roughly how close the balloons come to the cave hotels. Only 2 or 3 balloons actually came this close.
The balcony located on the lower left corner of this photo is of Sultan Cave Suites.
I really liked how Mithra has two different set ups on the balcony. This helped to mange the crowds. This is the second set up.
The hill that you see on the right hand side of this photo, that stretches to the centre is “Sunrise Point” (Location 1).
Red Valley Panoramic View Point
ed Valley Panoramic View Point is last on this list not because it isn’t stunning, but mainly because it is further away from the balloon action. Being one of the most famous spots to view the sunset in Cappadocia, for sunrise, expect to get a great view of the balloons rising over the Goreme landscape.
The balloons here will start closer to you and gradually move further away as they continue on their flight path. This viewpoint is perfect for panoramic landscape shots that feature the beautiful Goreme landscape as the highlight, and the balloons as a magical accompaniment.
A not-so-big secret about myself is, I am a big fan of surrealism. I love the way it releases the mind by surrendering the senses to the creative potential of the unconscious. It’s like diving into a brand new world of possibility that’s not so far from our own, yet, we can see the beauty of our reality and dreams in uncanny ways that challenge logical reasoning.
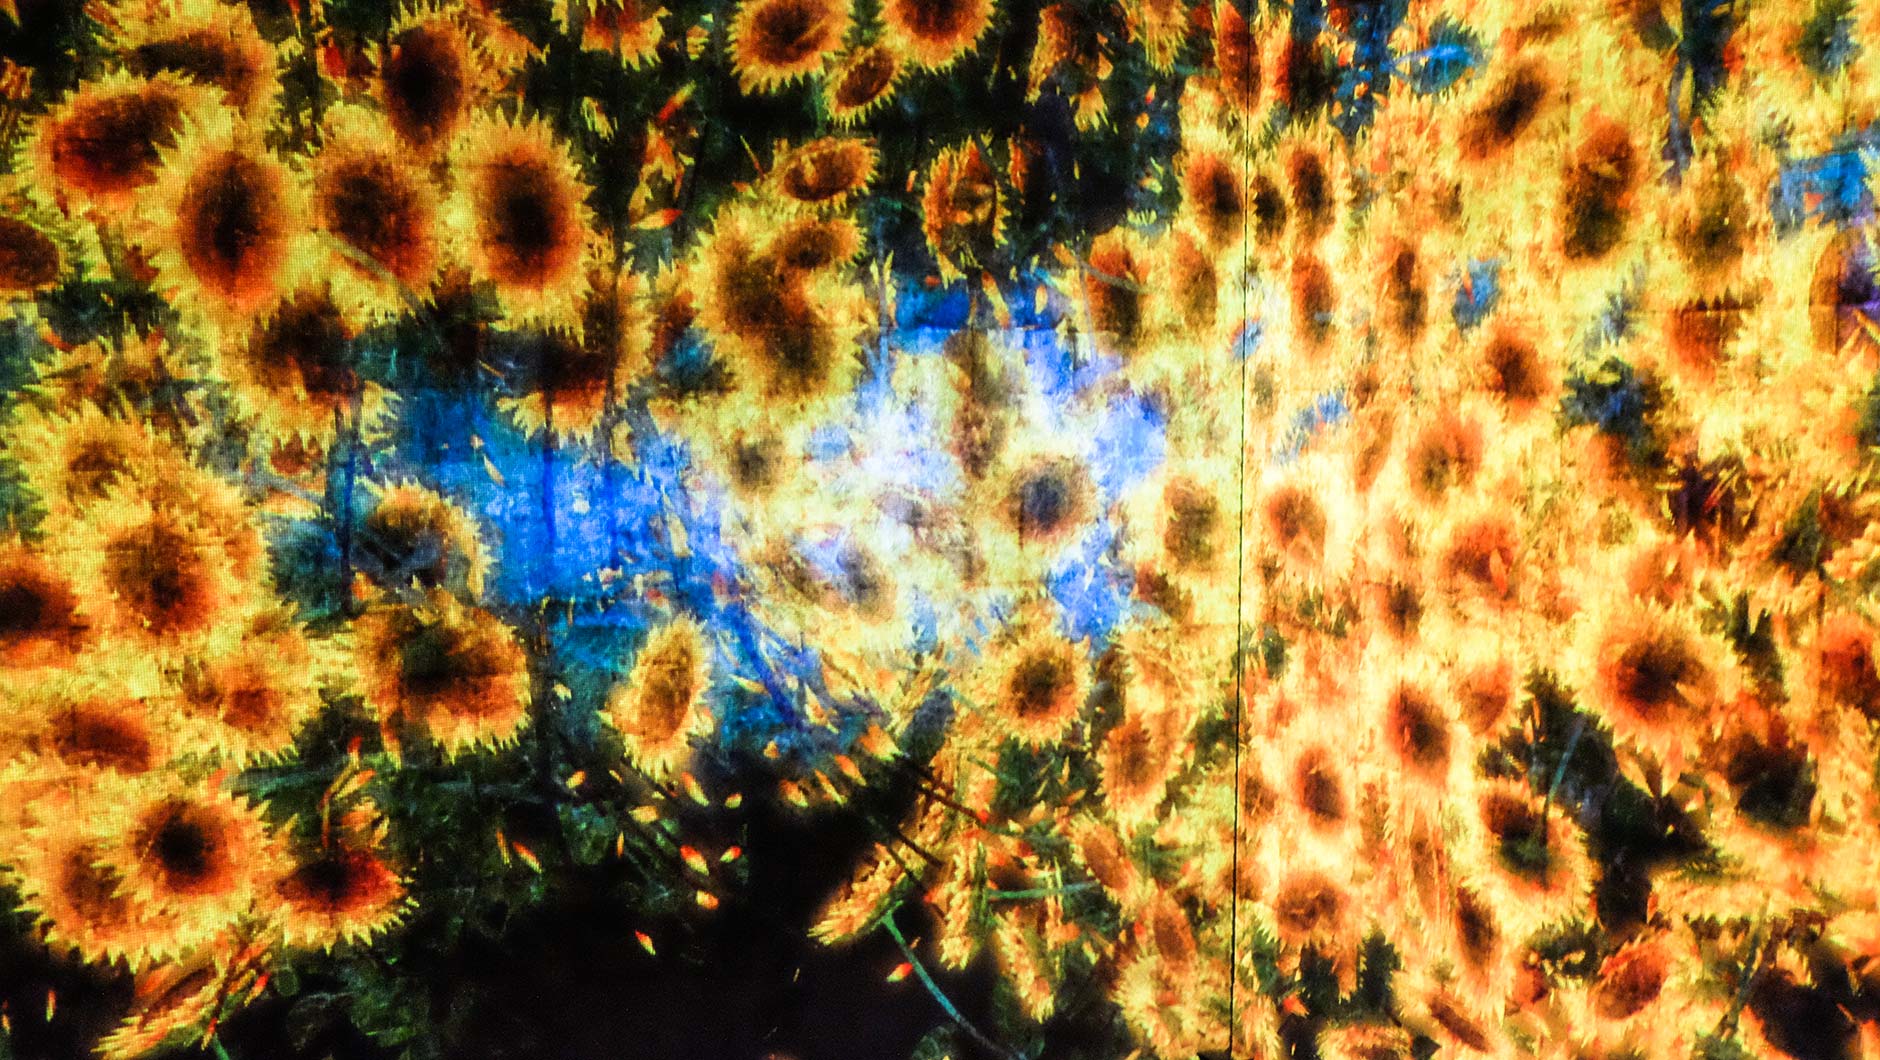
That is the exact feeling you’ll discover immersing yourself inside teamLab’s Borderless – a maze of light, projection mapping and sounds – all interactive and very Instagrammably artsy.
But, after experiencing the digital art museum for myself, I realised my impression of this place being the ultimate Instagrammer’s dream was not completely true as advertised. There are artworks worthy of being snapped and others which were better to just put the camera away and enjoy playing in.
For this photography guide, we’ll share how to play and take photos amongst these breathtaking moving artworks.
How to get that perfect shot
t is important to remember that because Borderless is still an art exhibition, there are some rules visitors will need to obey by (see their Notice to Visitorssection).
No tripods, selfie sticks, and bags are allowed during your time inside – that means no long exposure shots! So, coming prepared will ensure you are set with your best equipment to still enjoy photo-taking with only your pockets as storage.
The challenges of shooting inside Borderless are, of course, working in complete pitch darkness and photographing digital screens that produce anti-aliasing problems when up-close. You will need to adapt your camera gear and settings that allows a big aperture and a slow enough shutter speed so you can capture enough light but not too slow that it causes blurring without a tripod.
As a starting point, here are the camera specs and equipment I used:
My camera specs are:
Camera: FUJIFILM X-T1
Lens: 18mm – 55mm
ISO: 800+
f-stop: f/1.4 – f2.0
Shutter speed: 1/30
My phone specs are:
Phone: Samsung S9+
Camera: Rear camera only
Settings: Live Focus, Auto/Pro
What to wear
ou might not have given too much thought into picking your outfit for just an exhibition but because of the low light and darkness of the art space, I would suggest the following to ensure visibility when taking photos:
Clothes that are minimalist in style and have very little to no patterns.
Clothes that’ll give you a great silhouette profile. Think about different structures and fabrics like sheer chiffon or long bell sleeves.
Colours that work best, in my opinion, are white, black and bright clothes like yellow, light pink etc. I found these colours don’t interfere with the projections.
No mini skirts but long skirts are ok. There are mirrored floors people.
No high heels (trust me, I made that mistake). The floor in some spaces are uneven.
Top 4 Places to take the best shots
crolling through Instagram and online photos, there are many beautifully shot pictures of the Borderless exhibit that you might have wanted to replicate for yourself.
With its cutting-edge digital art and mesmerising visuals, Borderless is perfect to capture one of a kind photos to share online. With 470 projectors projecting various
changing artworks, you’d be mistaken in thinking you can capture every single moment through the lens in that ‘perfect’ Instagrammable way.
So without the luxury of a media pass and crowd-free exhibition space, I’m going to share my top tips on the best spots to spend your time to capture amazing photographic memories.
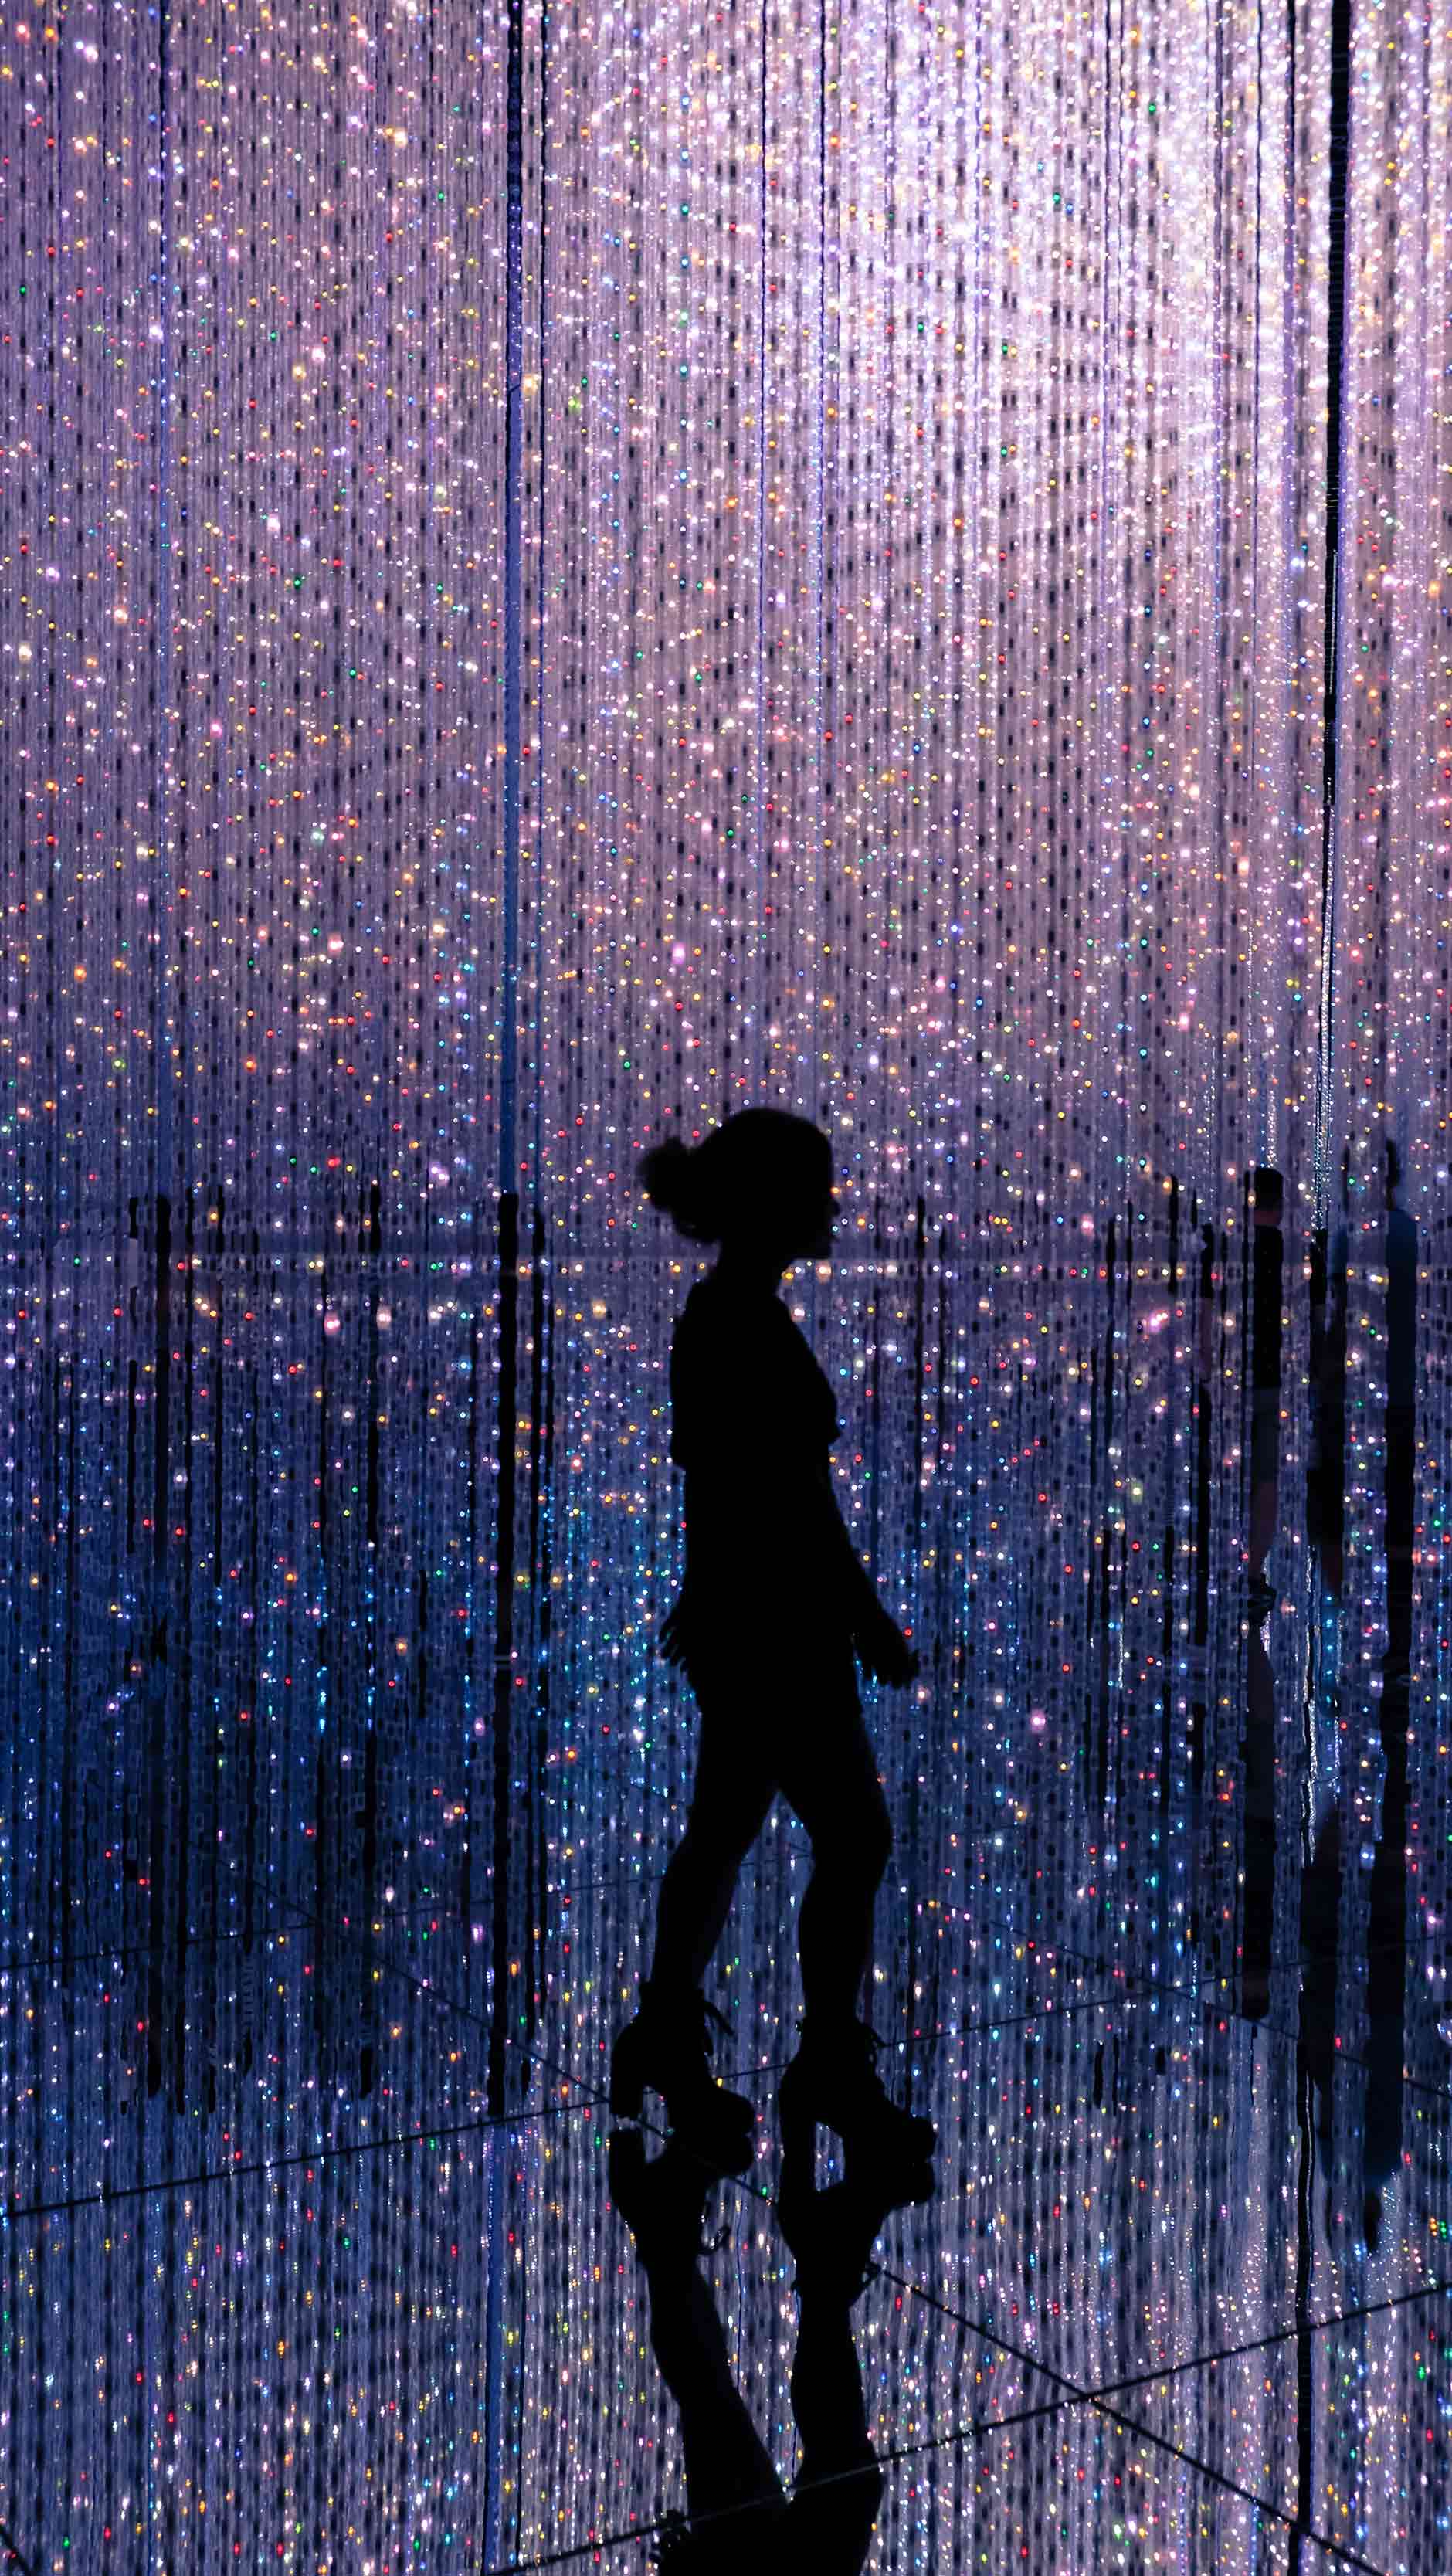
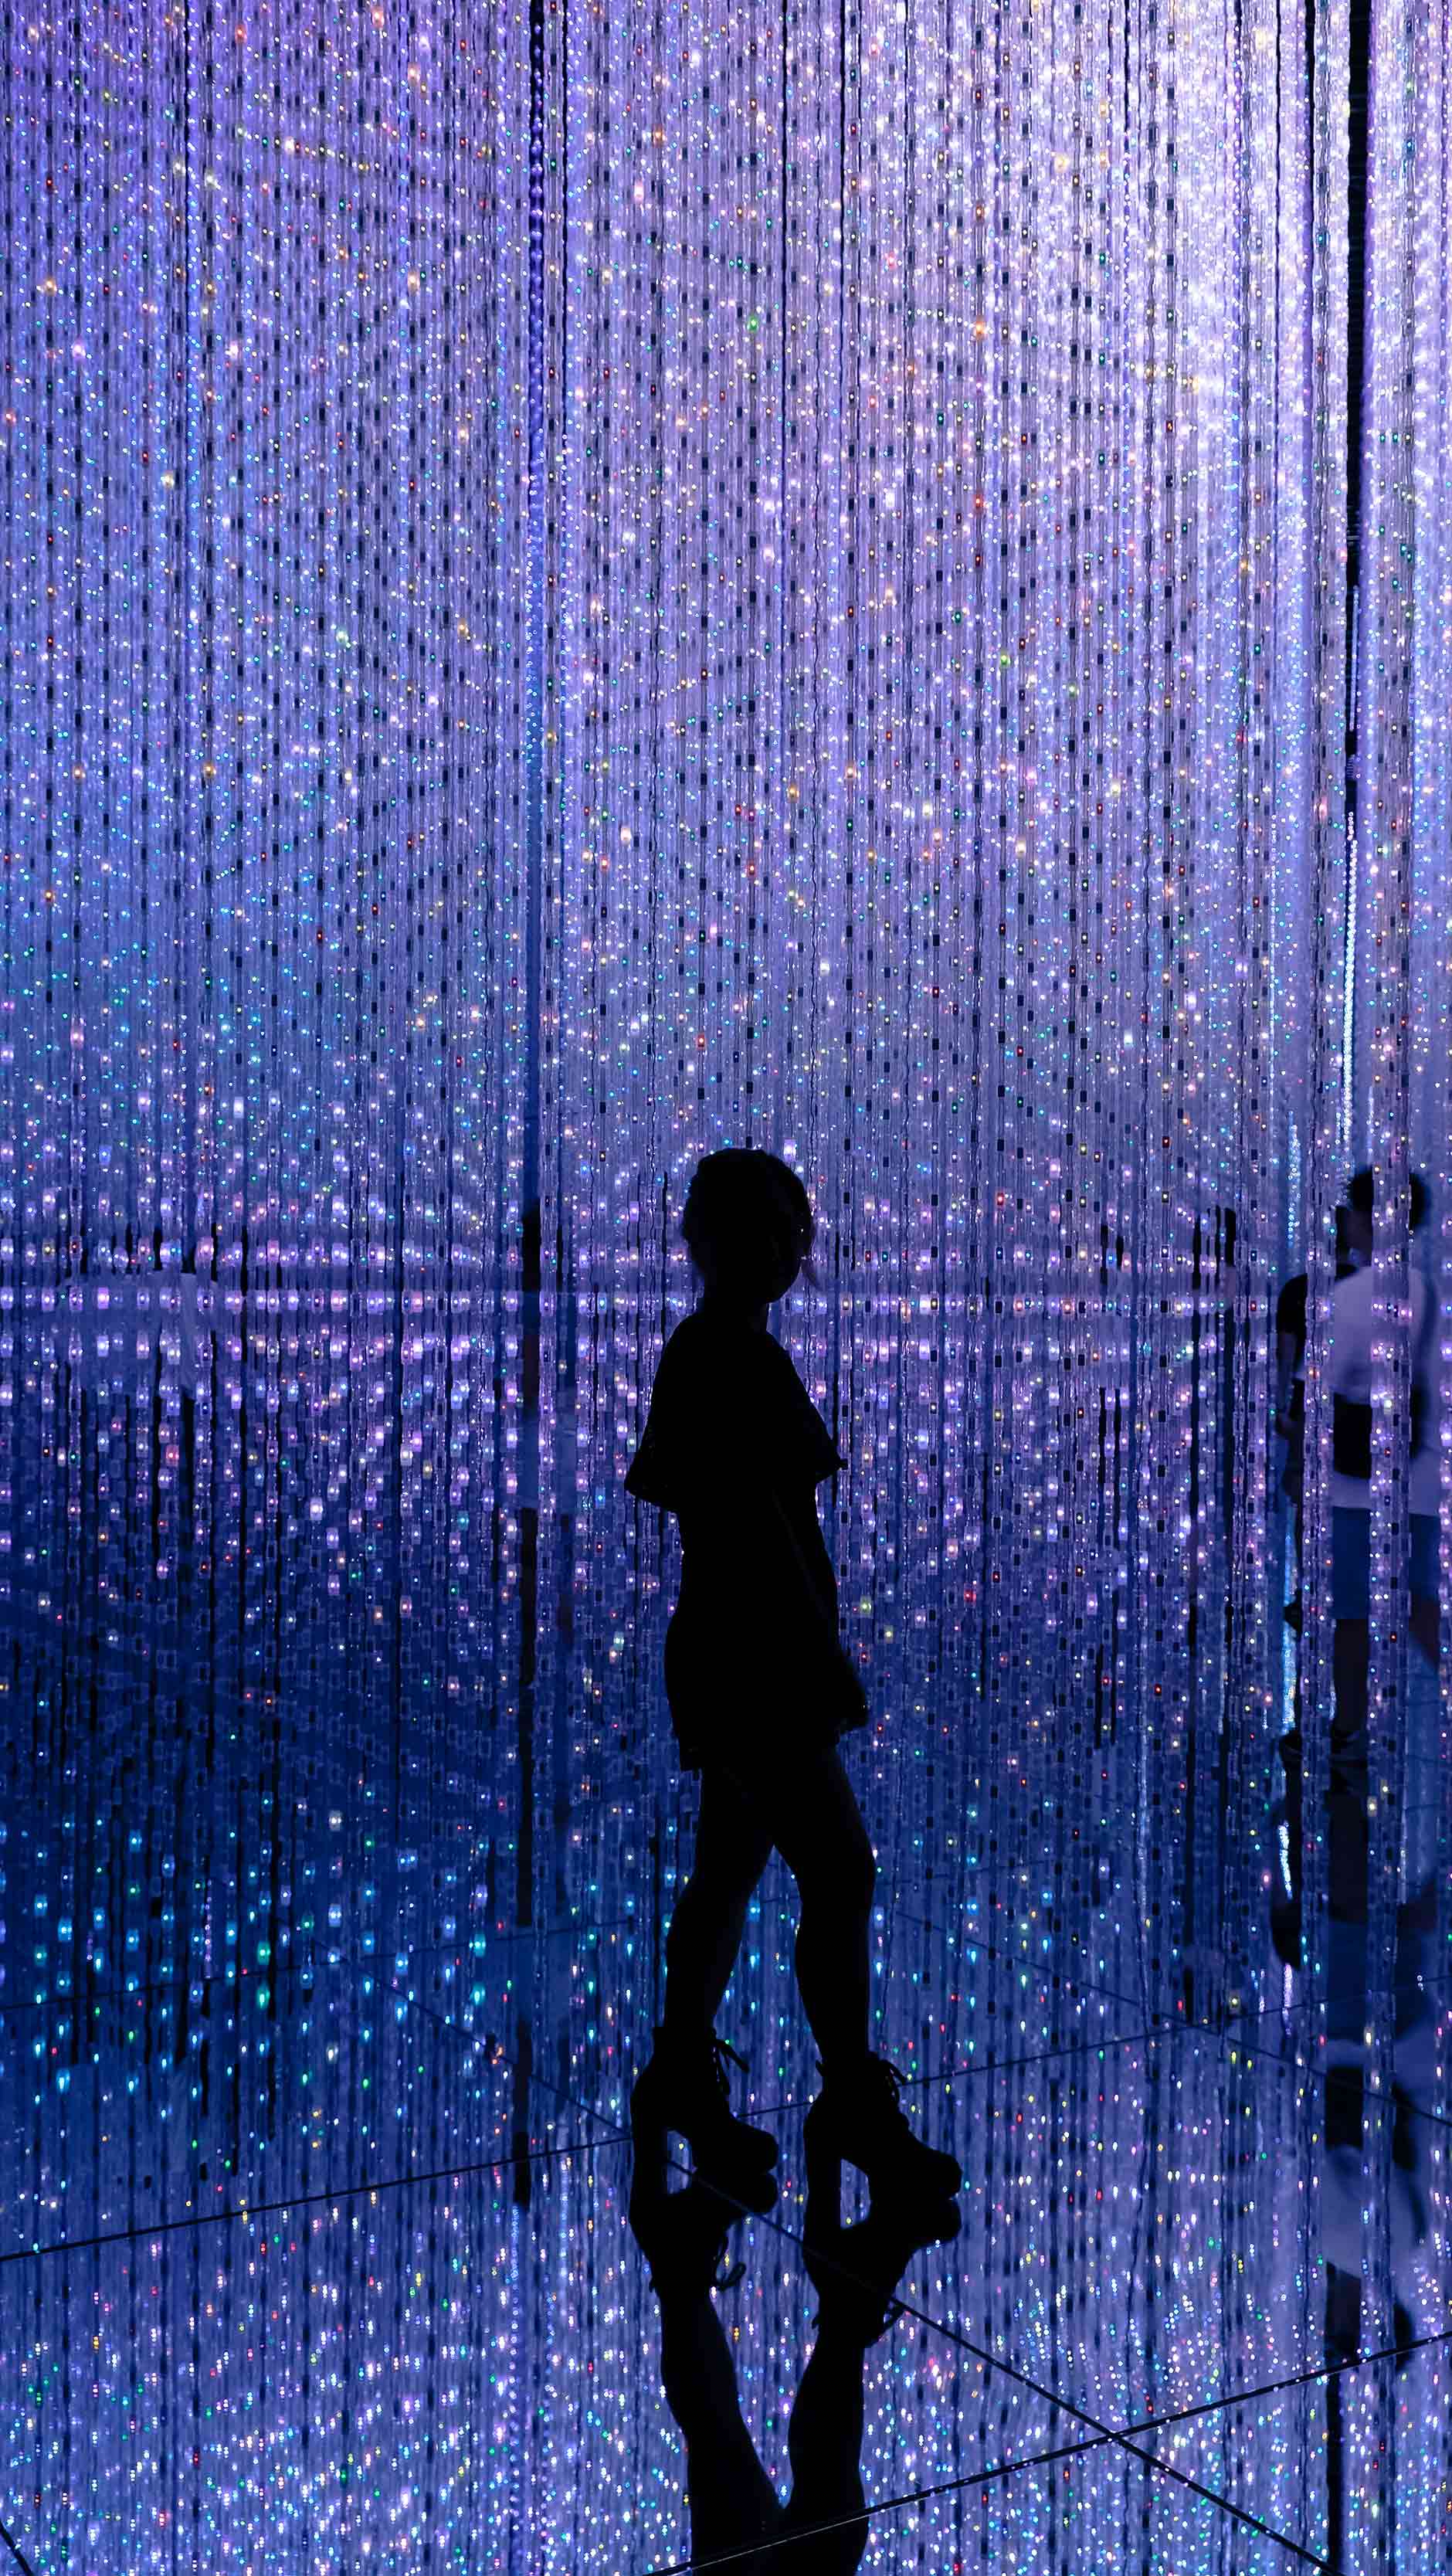
1. Wander through the Crystal World
Difficulty Level For That Perfect Shot: ★
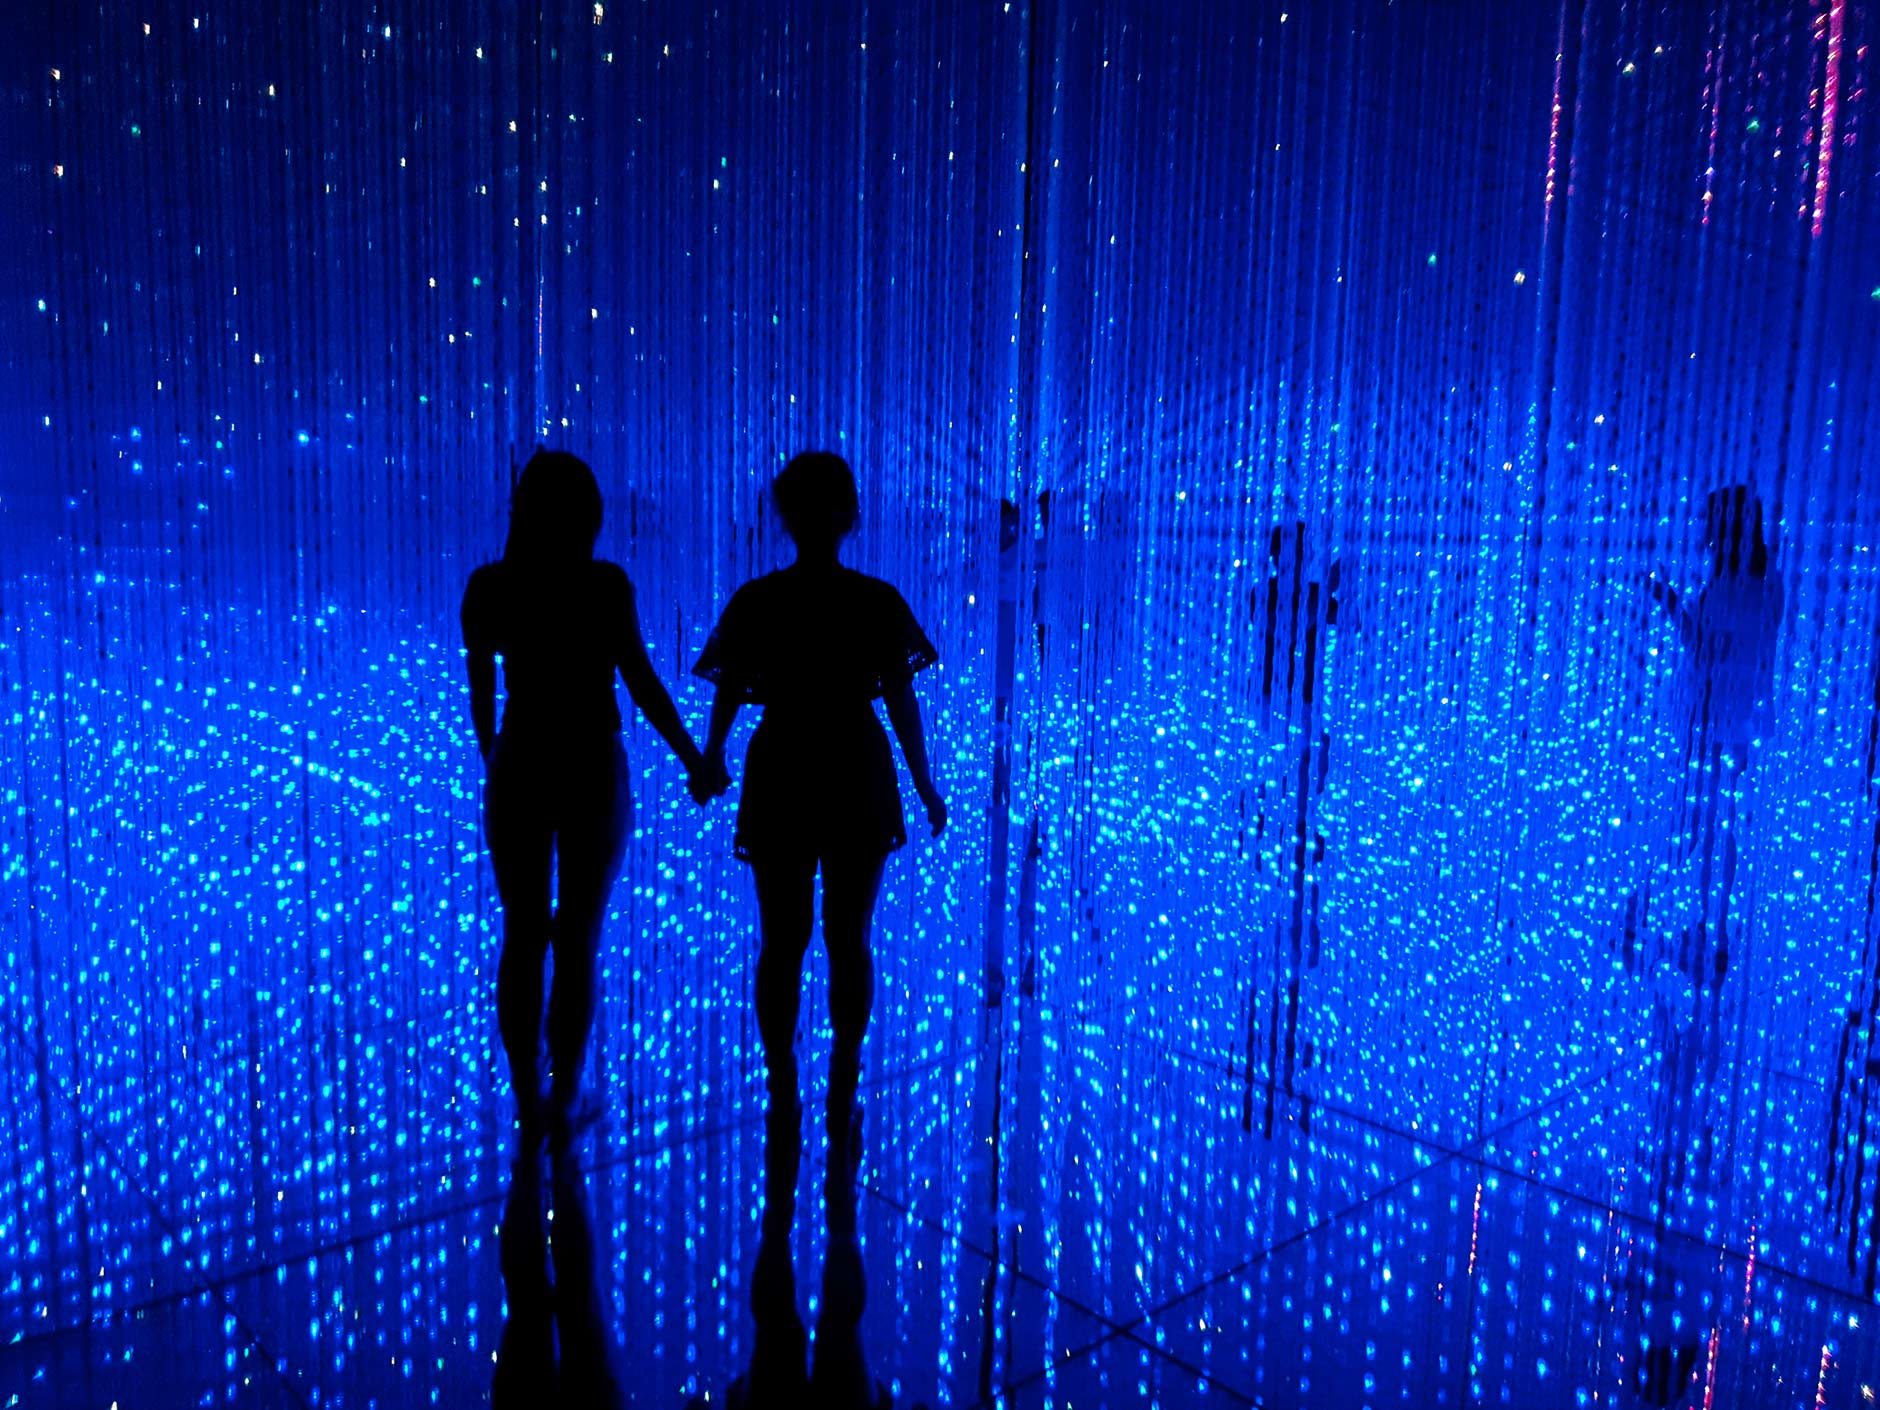
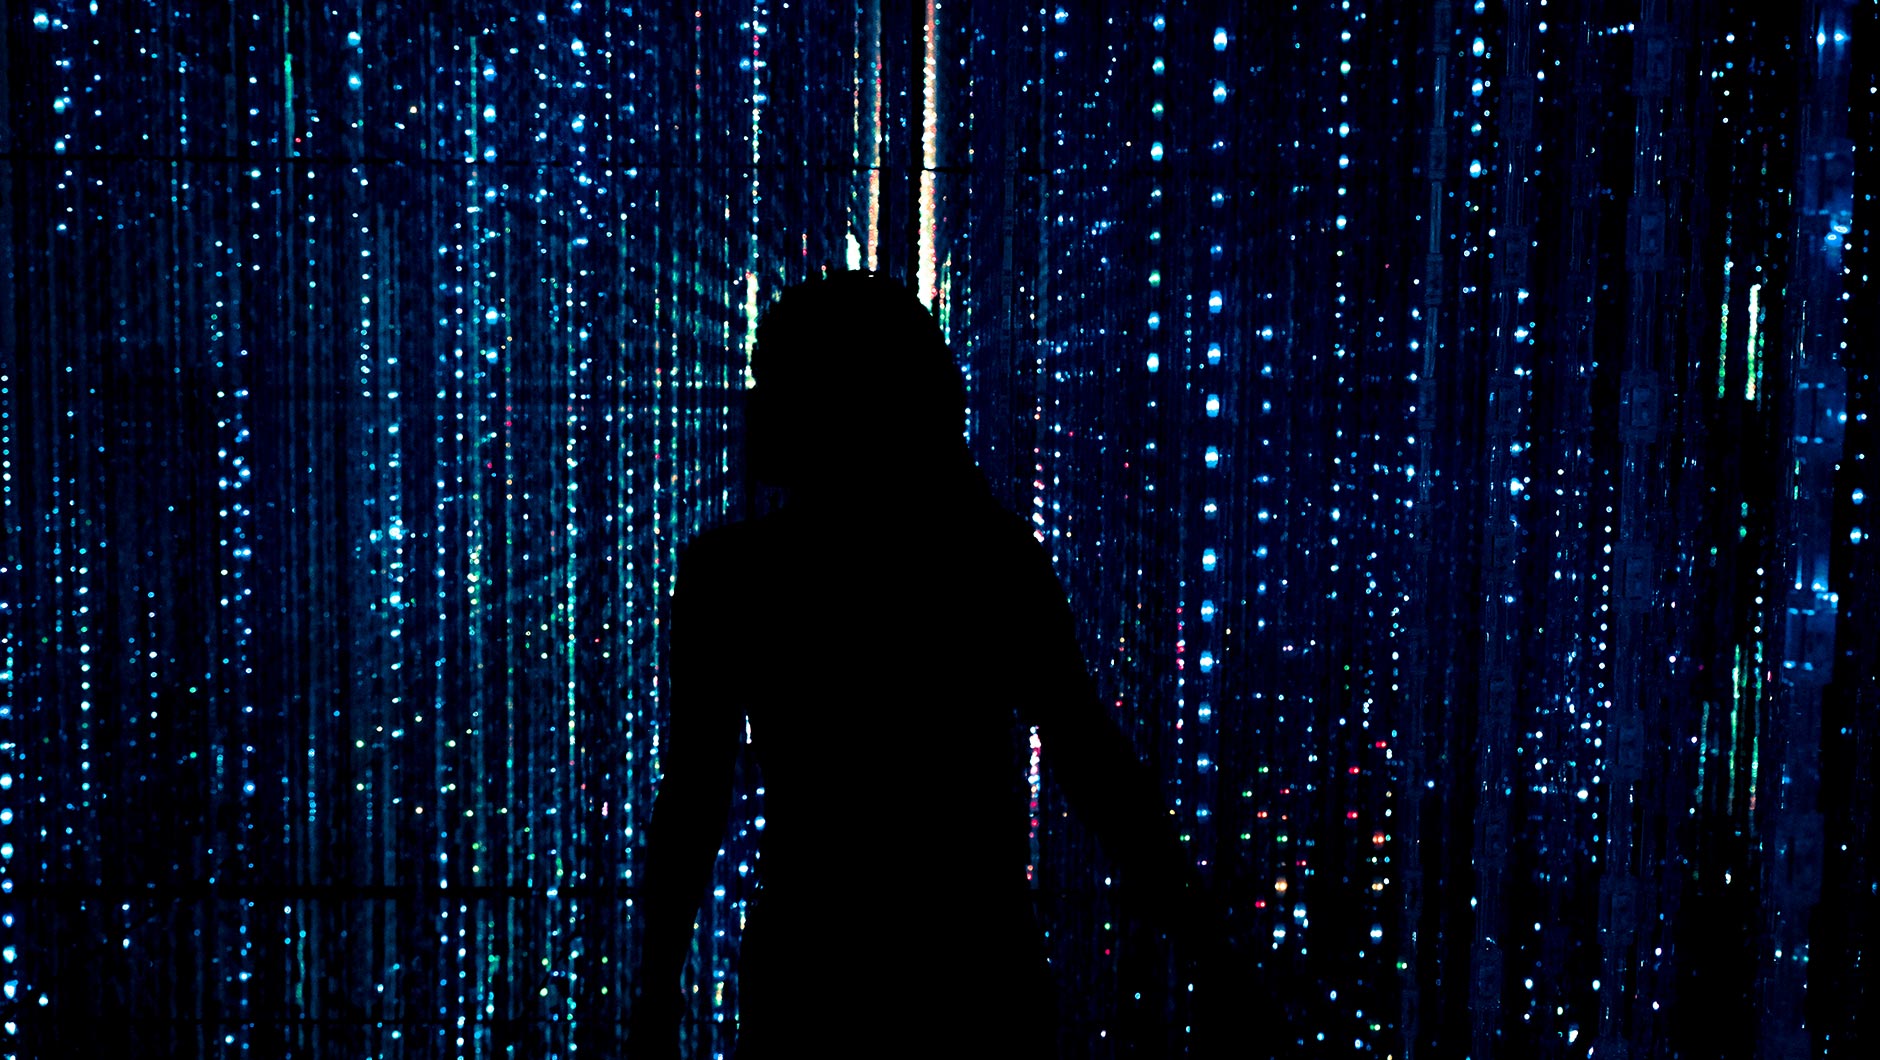
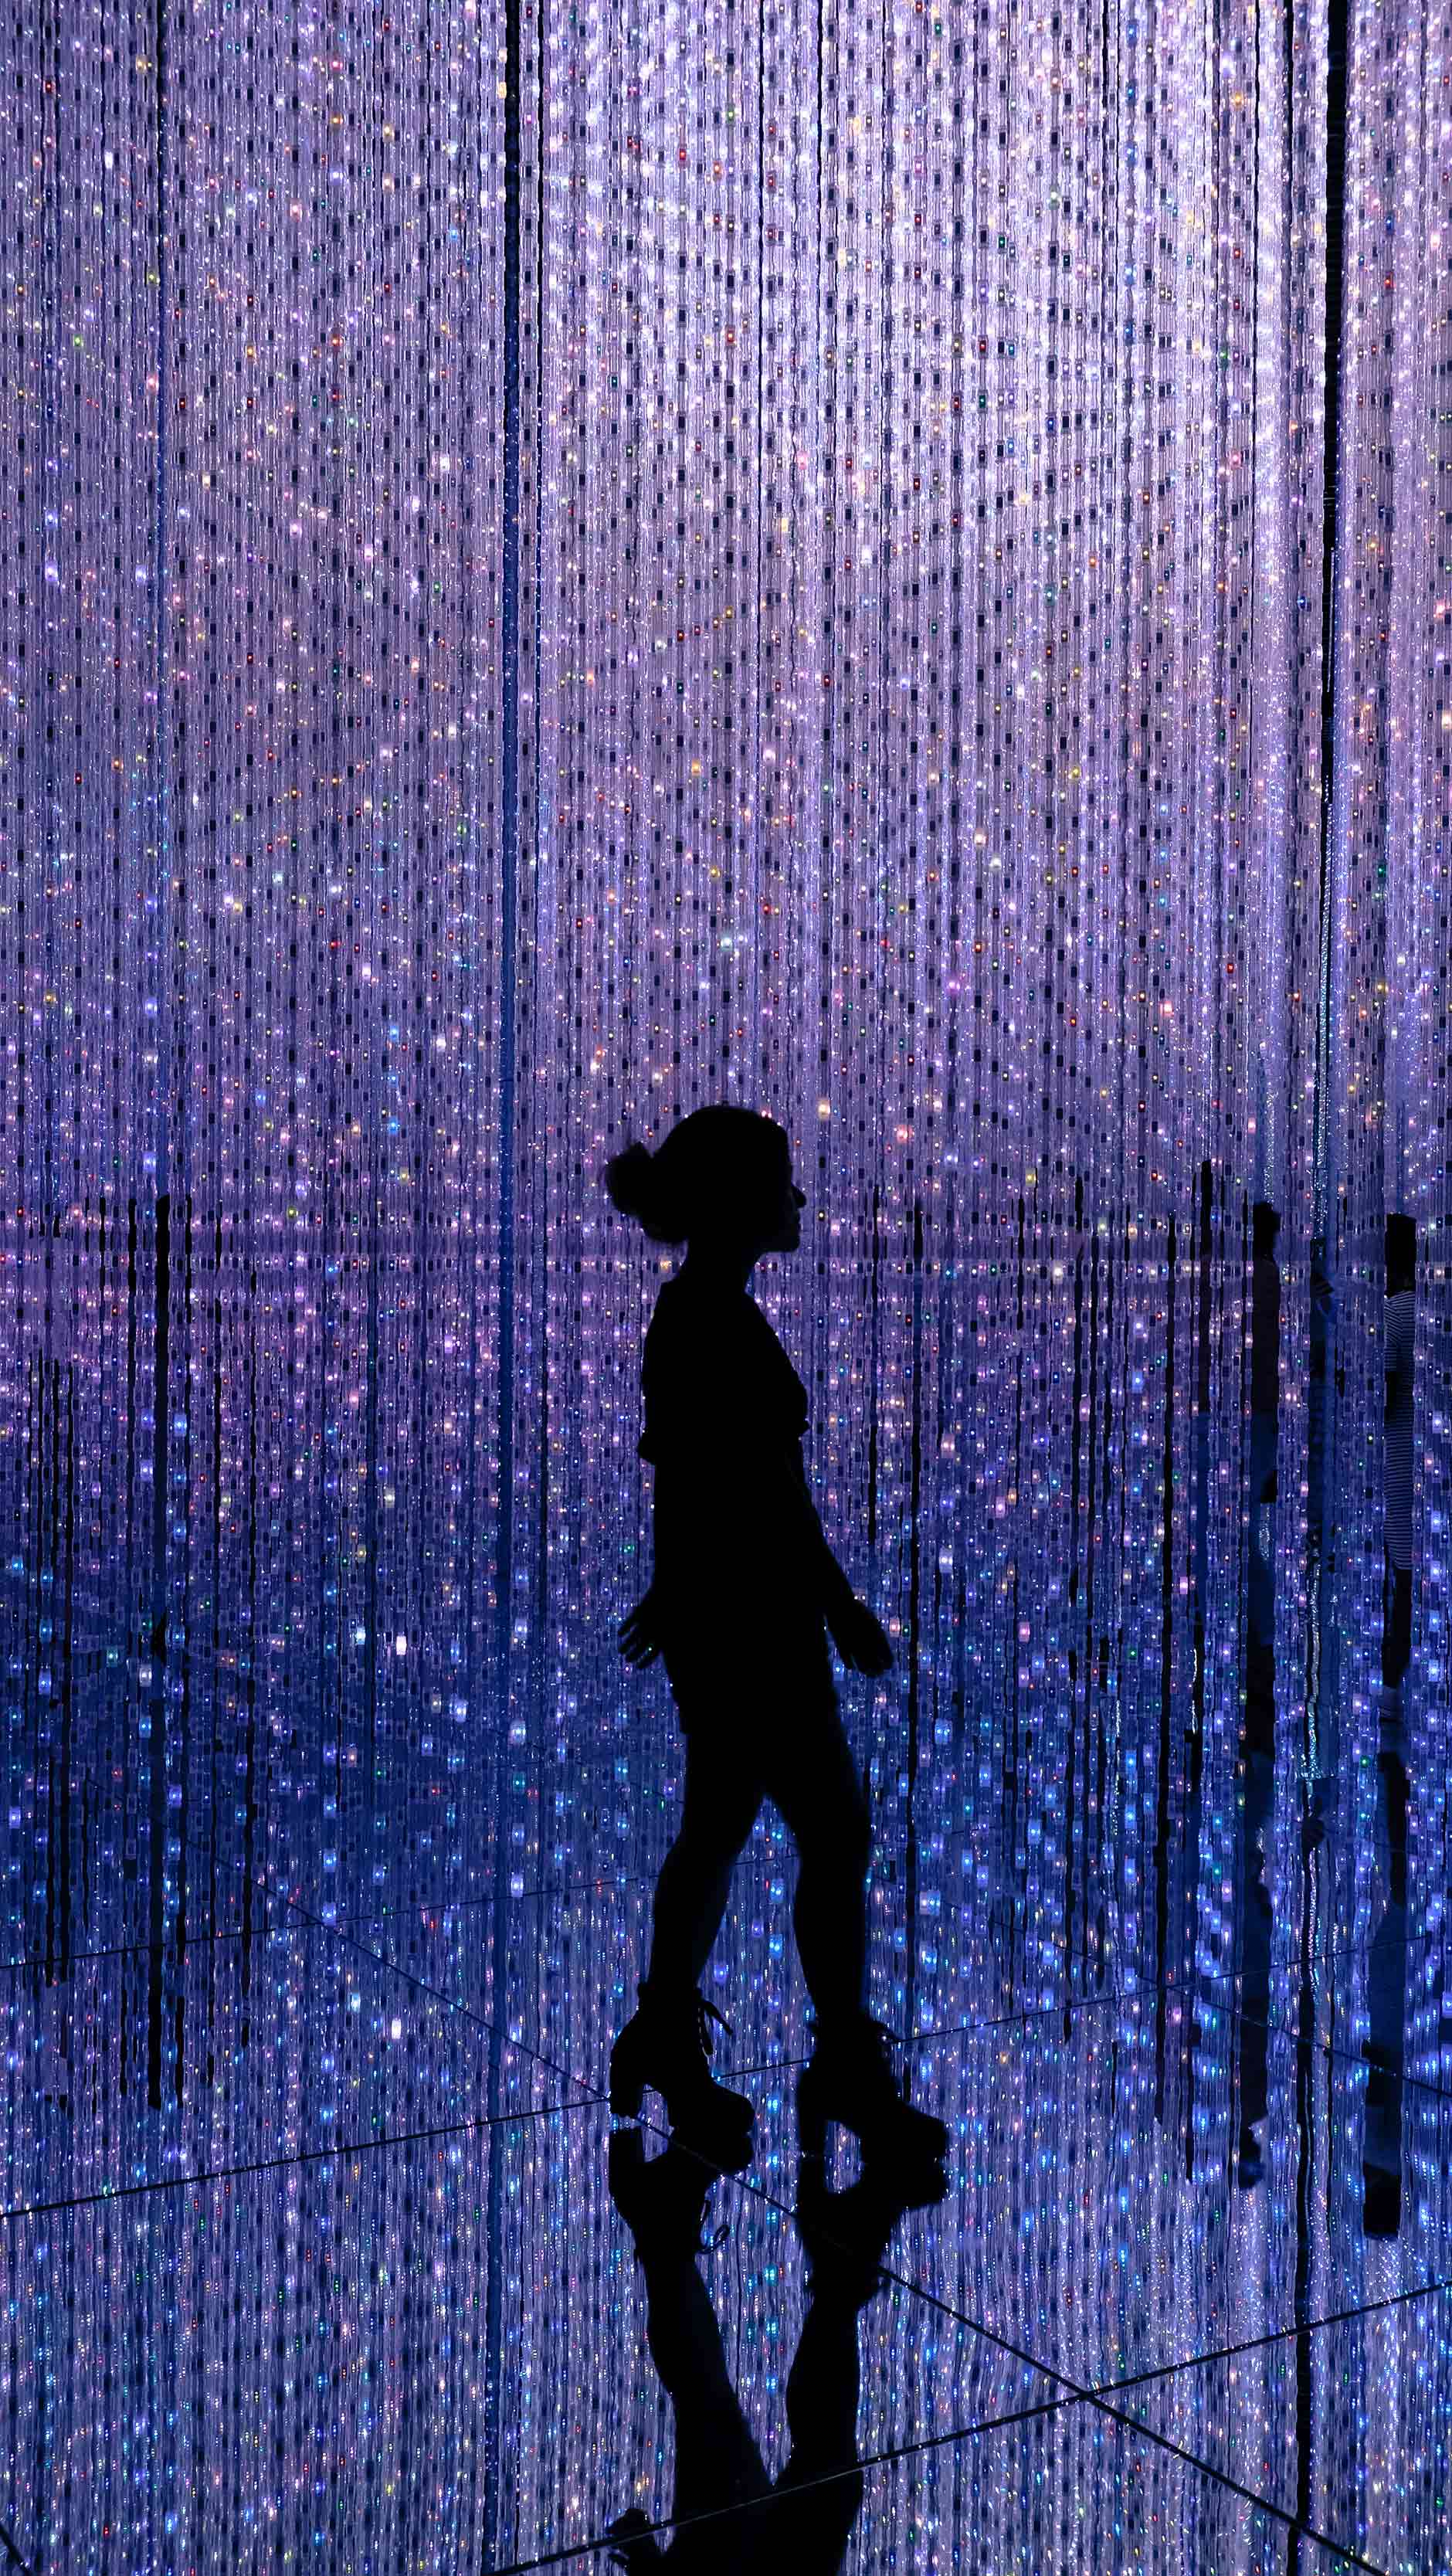
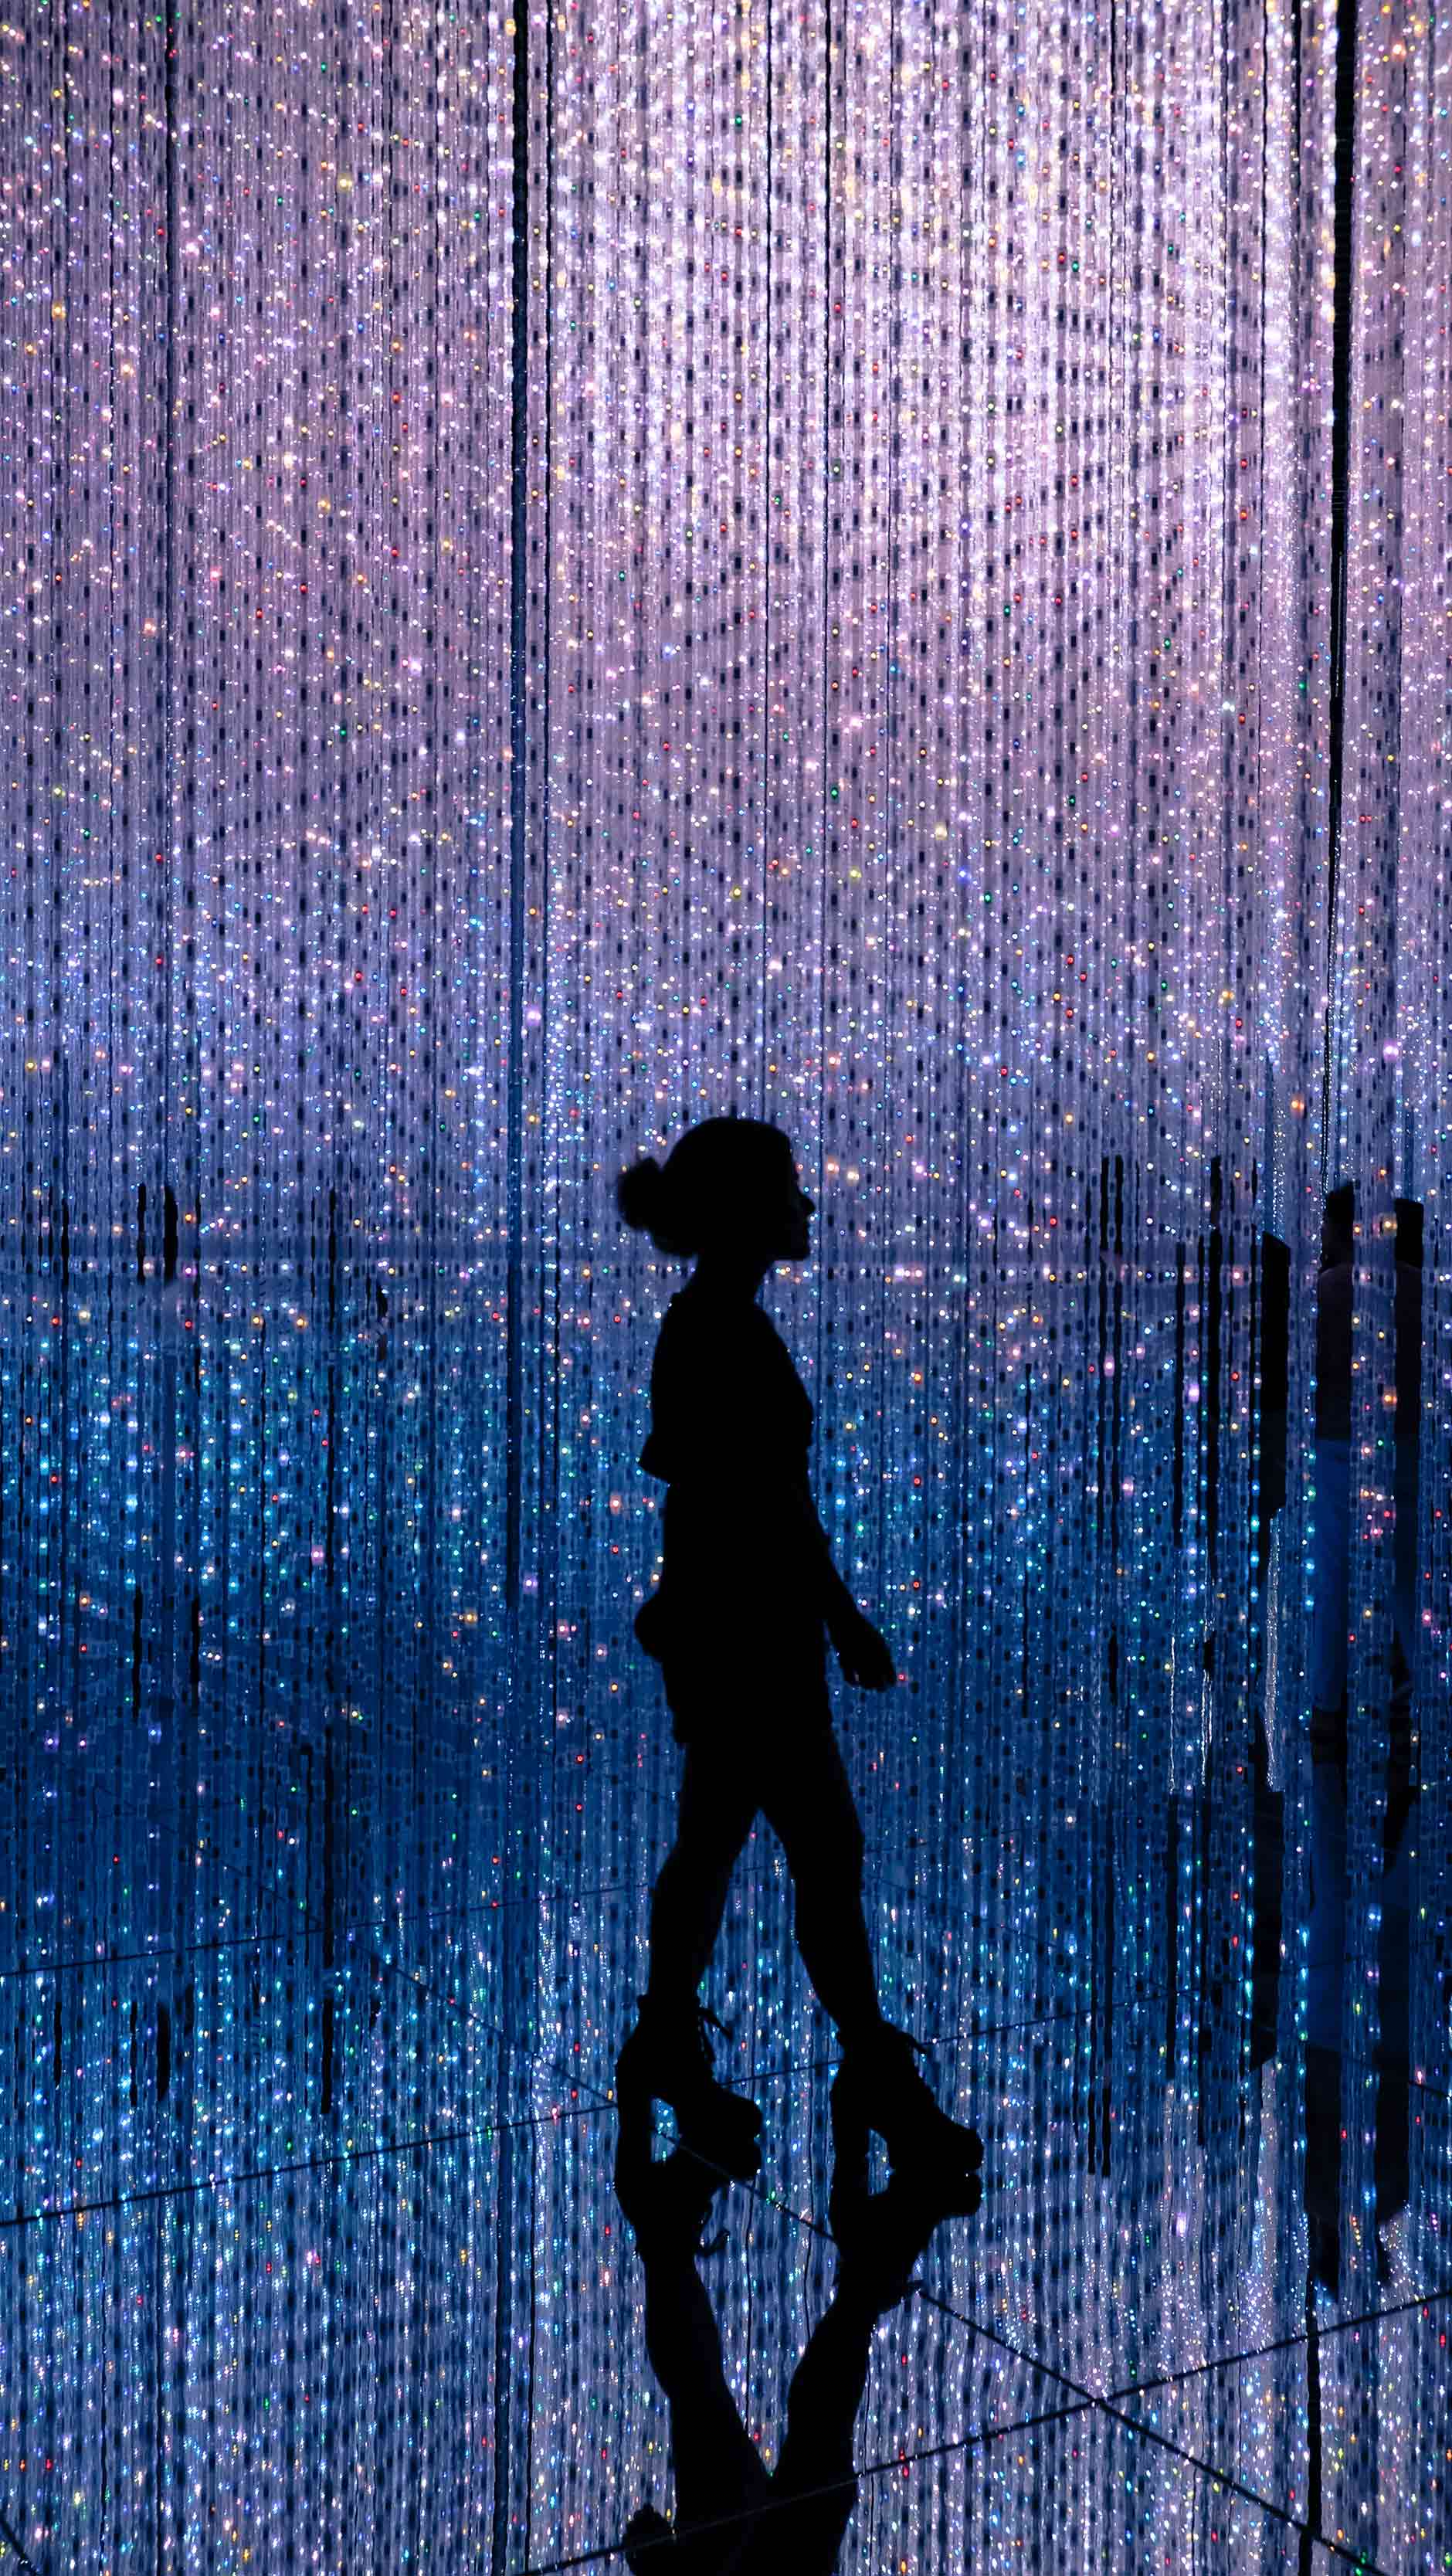
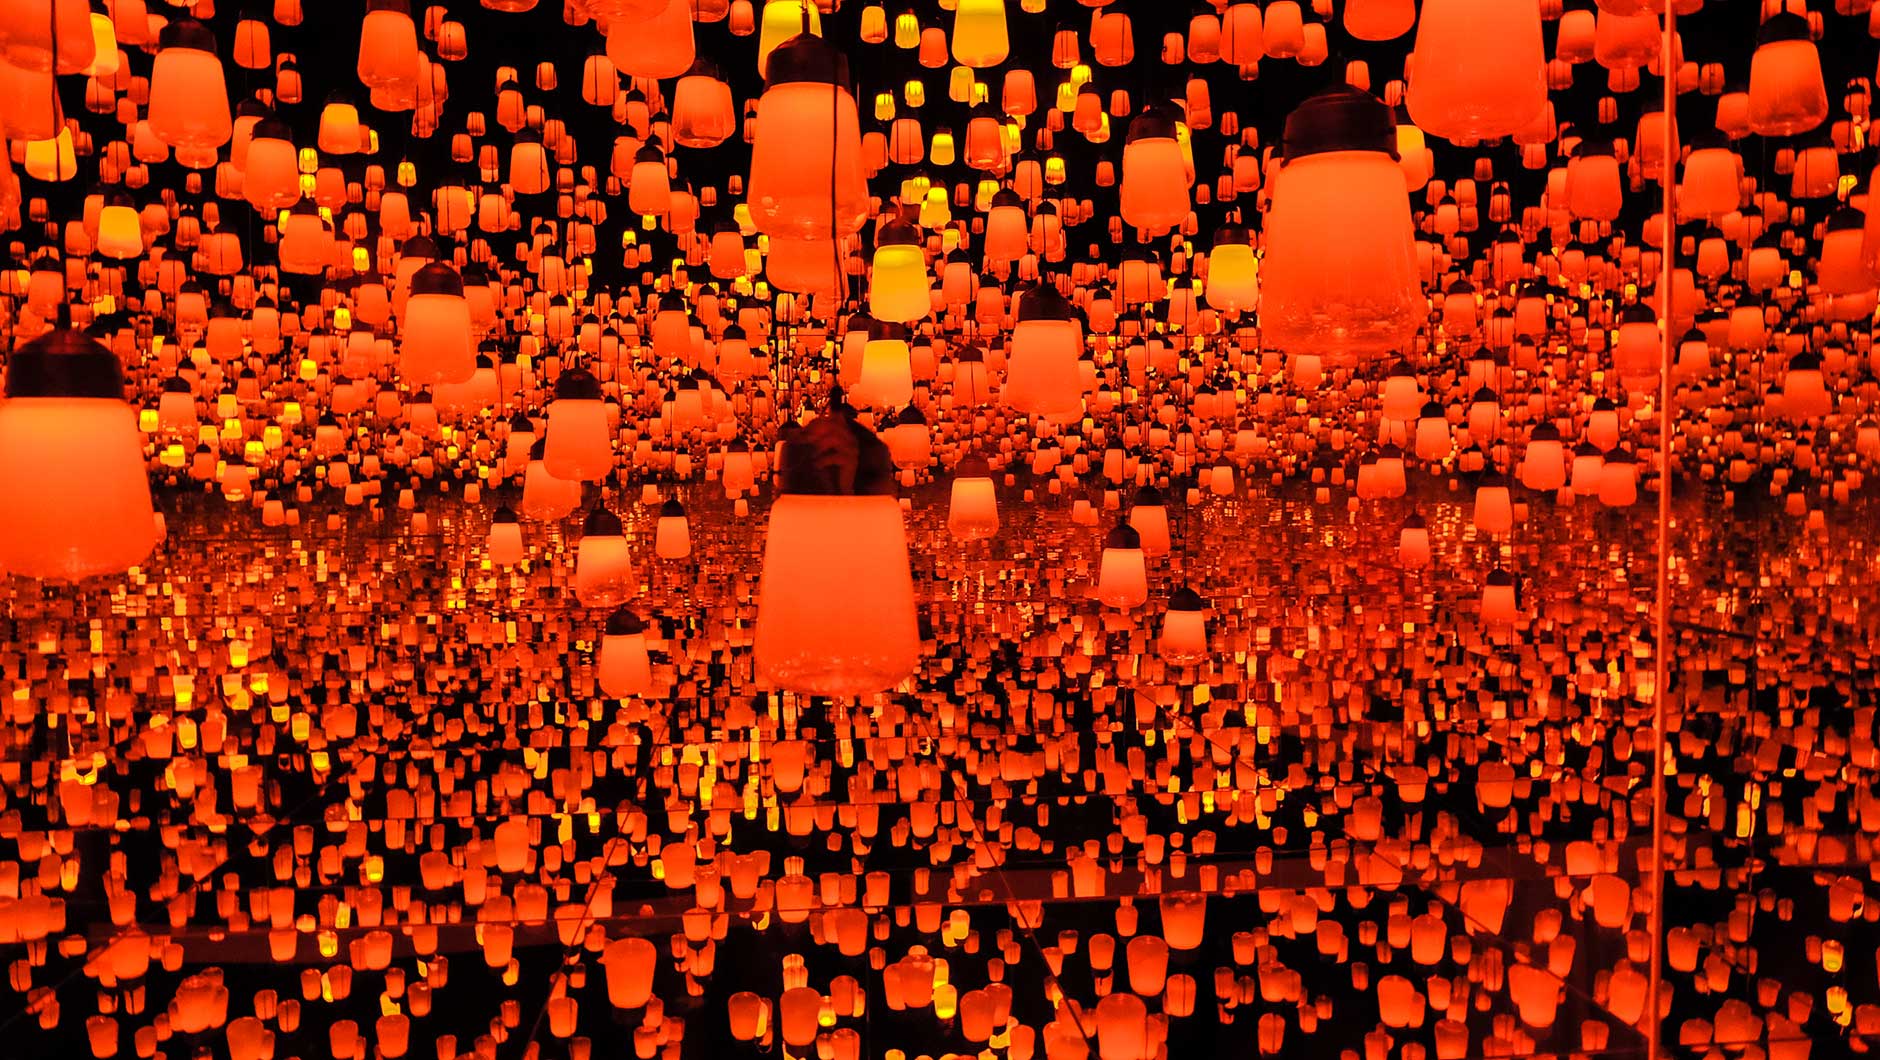
Definitely, the easiest installation to capture an amazing shot, “The Way of the Sea in the Crystal World – Colors of Life” takes you through a maze of flickering LED lights with ambient music forming your path as you navigate between rooms.
Rooms you say? Well, there are two main rooms to find in this section: “Flutter of Butterflies Beyond Borders in the Crystal World” and “The Way of the Sea in the
Crystal World – Colors of Life.”
Photography Tips: Side poses and back shots work best to get that perfect silhouette!
Explore Tips: In this room, play with the panels. Every time you touch them, it changes the colours and lights of the entire room!
Final shot with editing – not too shabby when you compare with Taramilktea’s right? Oh, and by the way, the colourful lighting in both photos is due to some slight editing as the colours don’t really get like that in the exhibition.
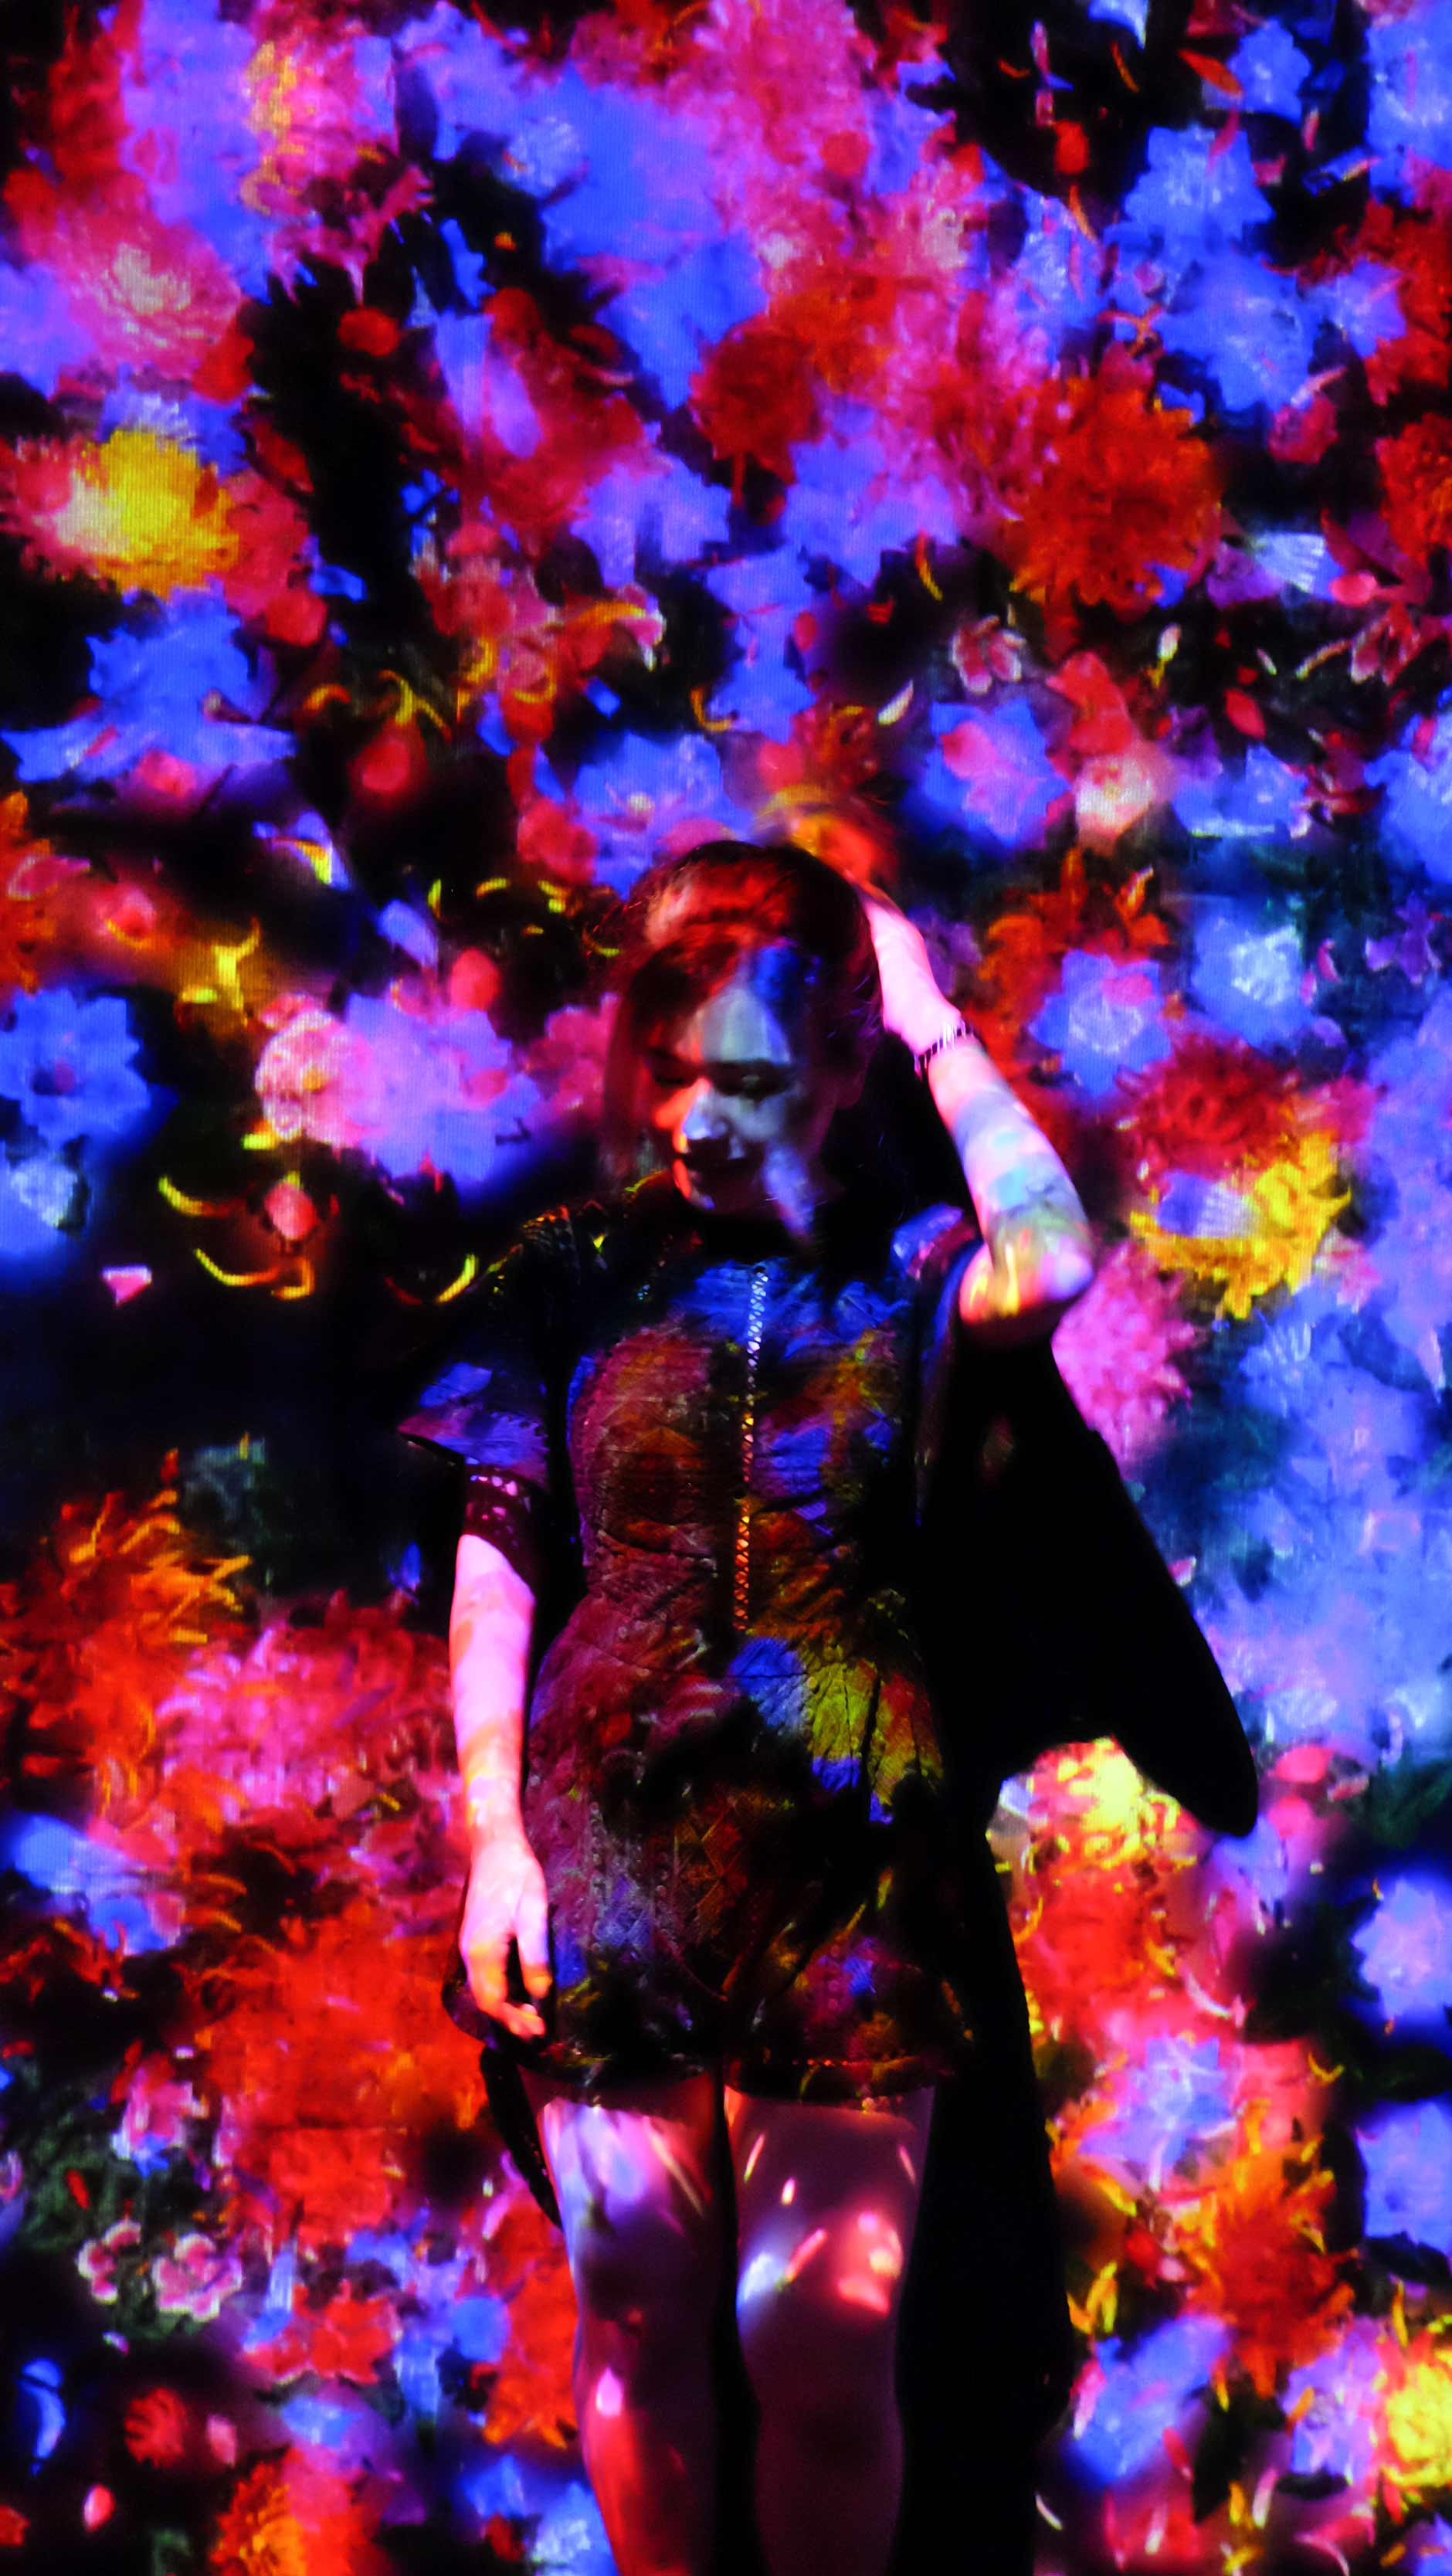
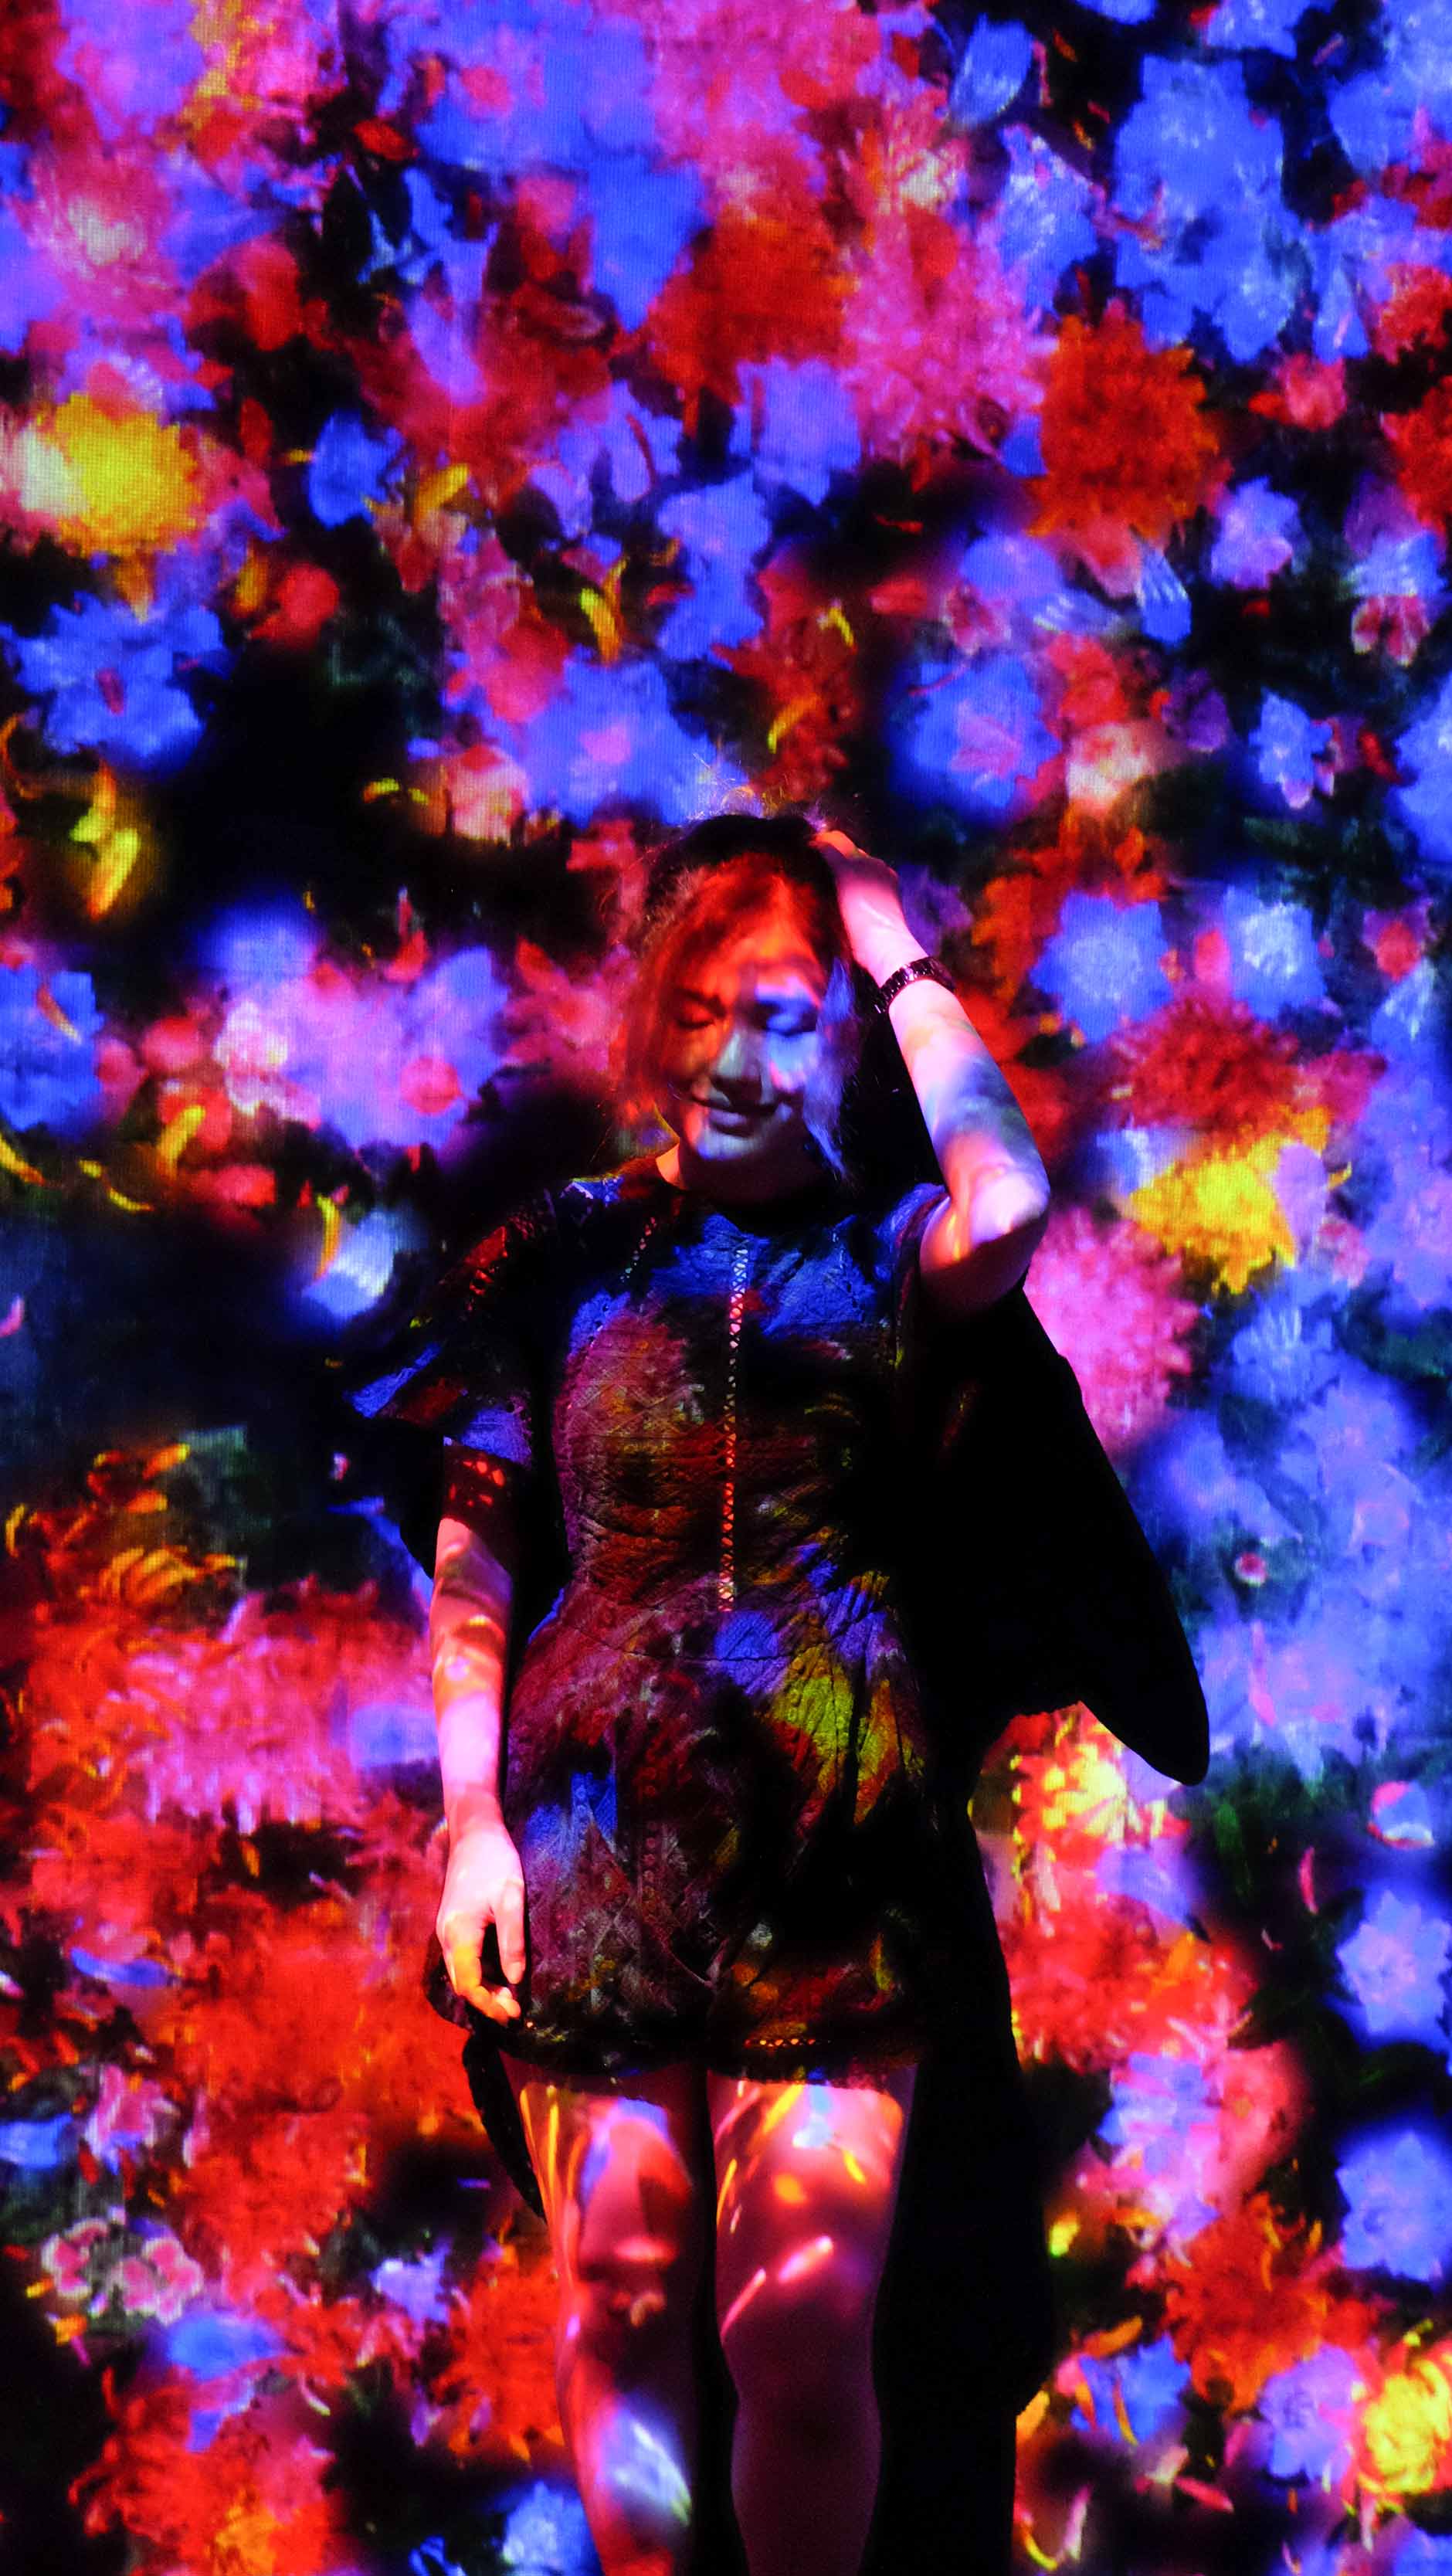
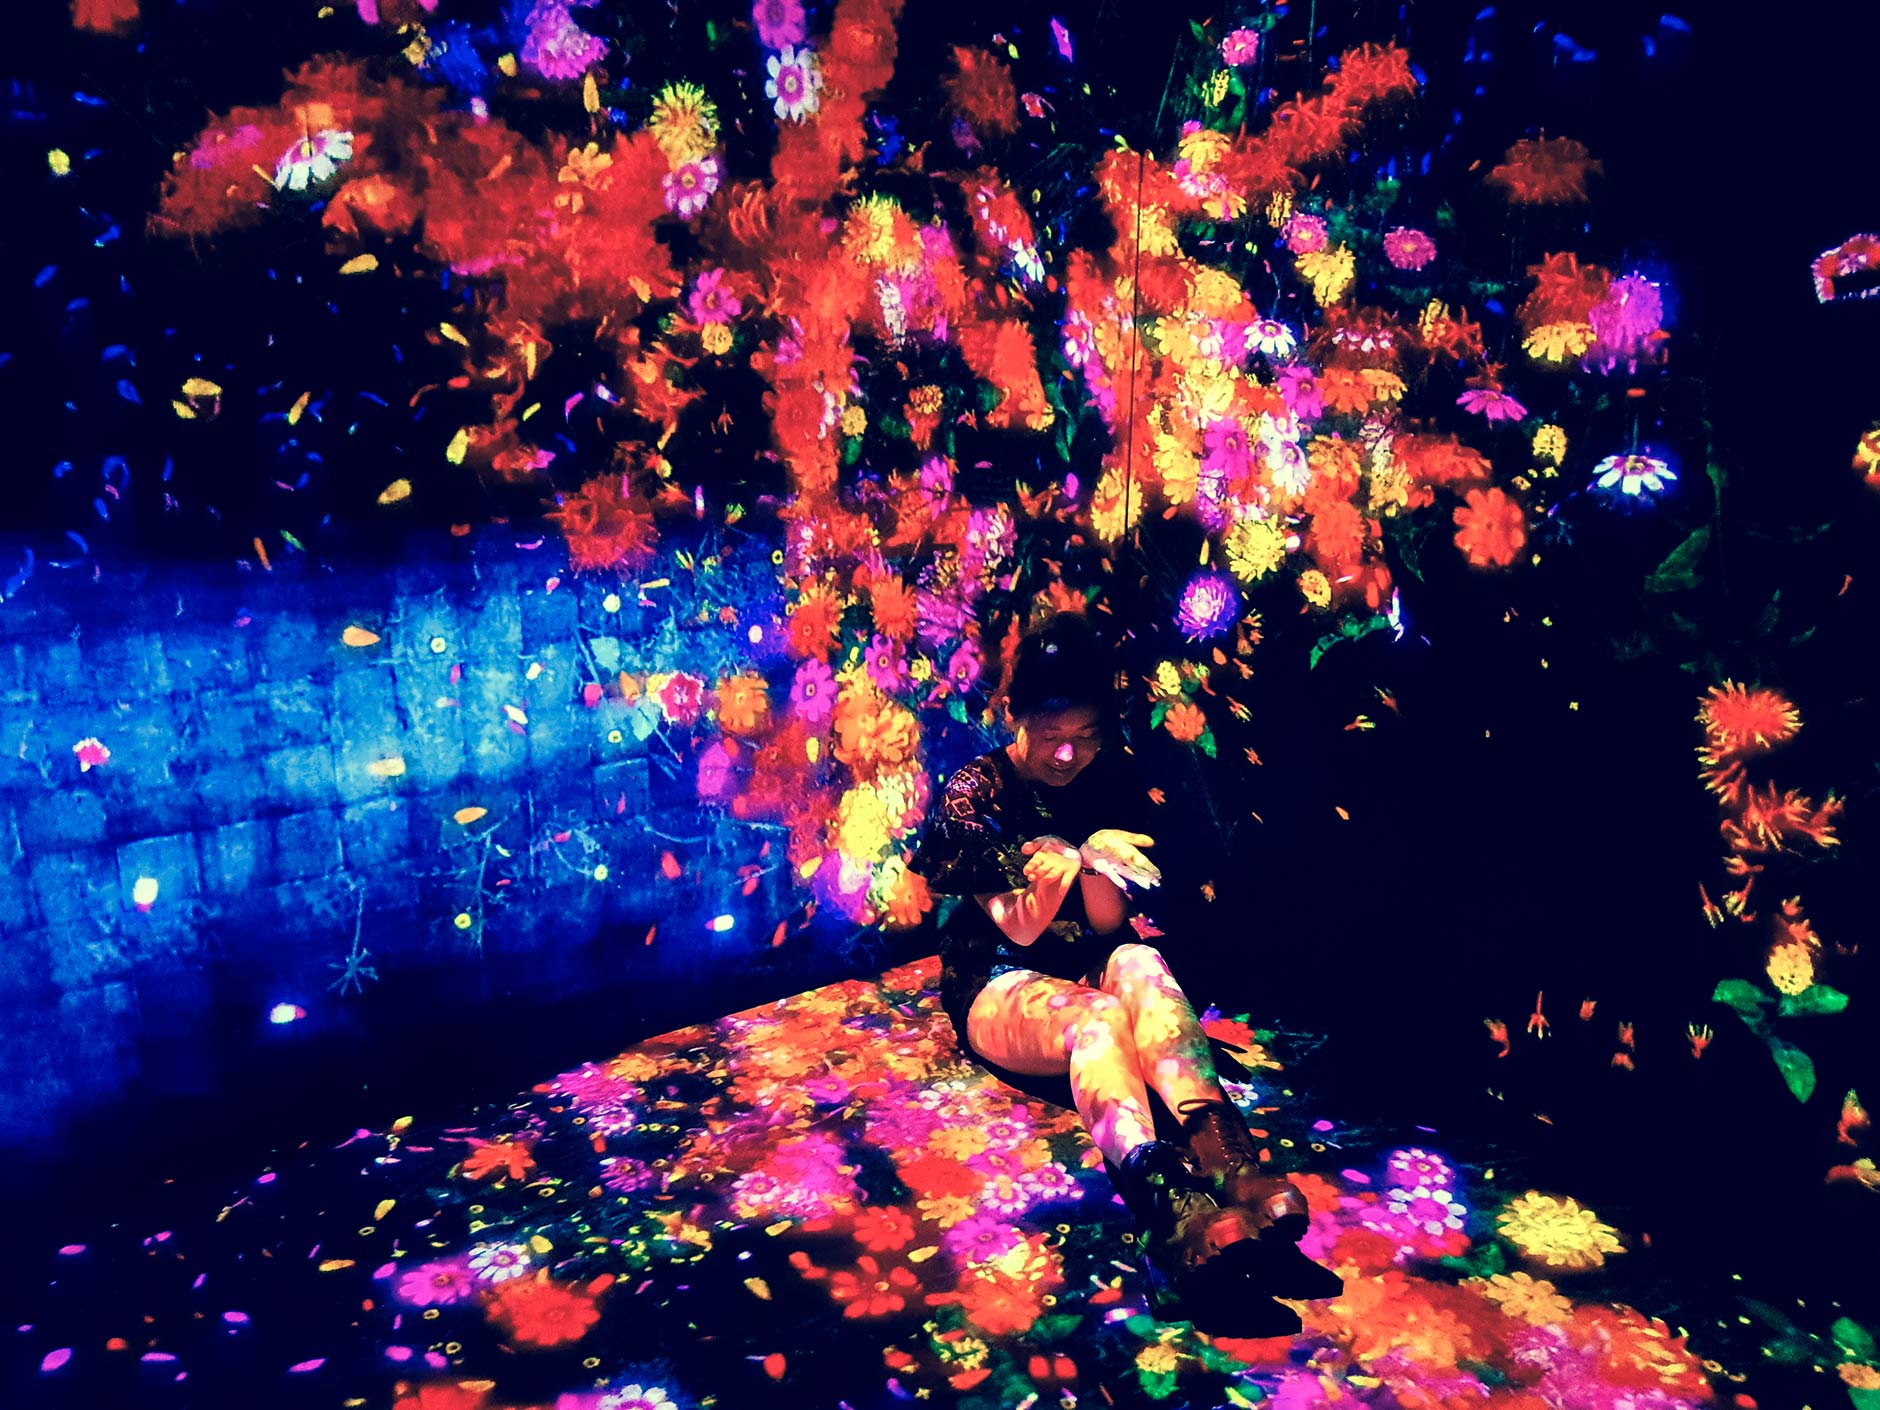
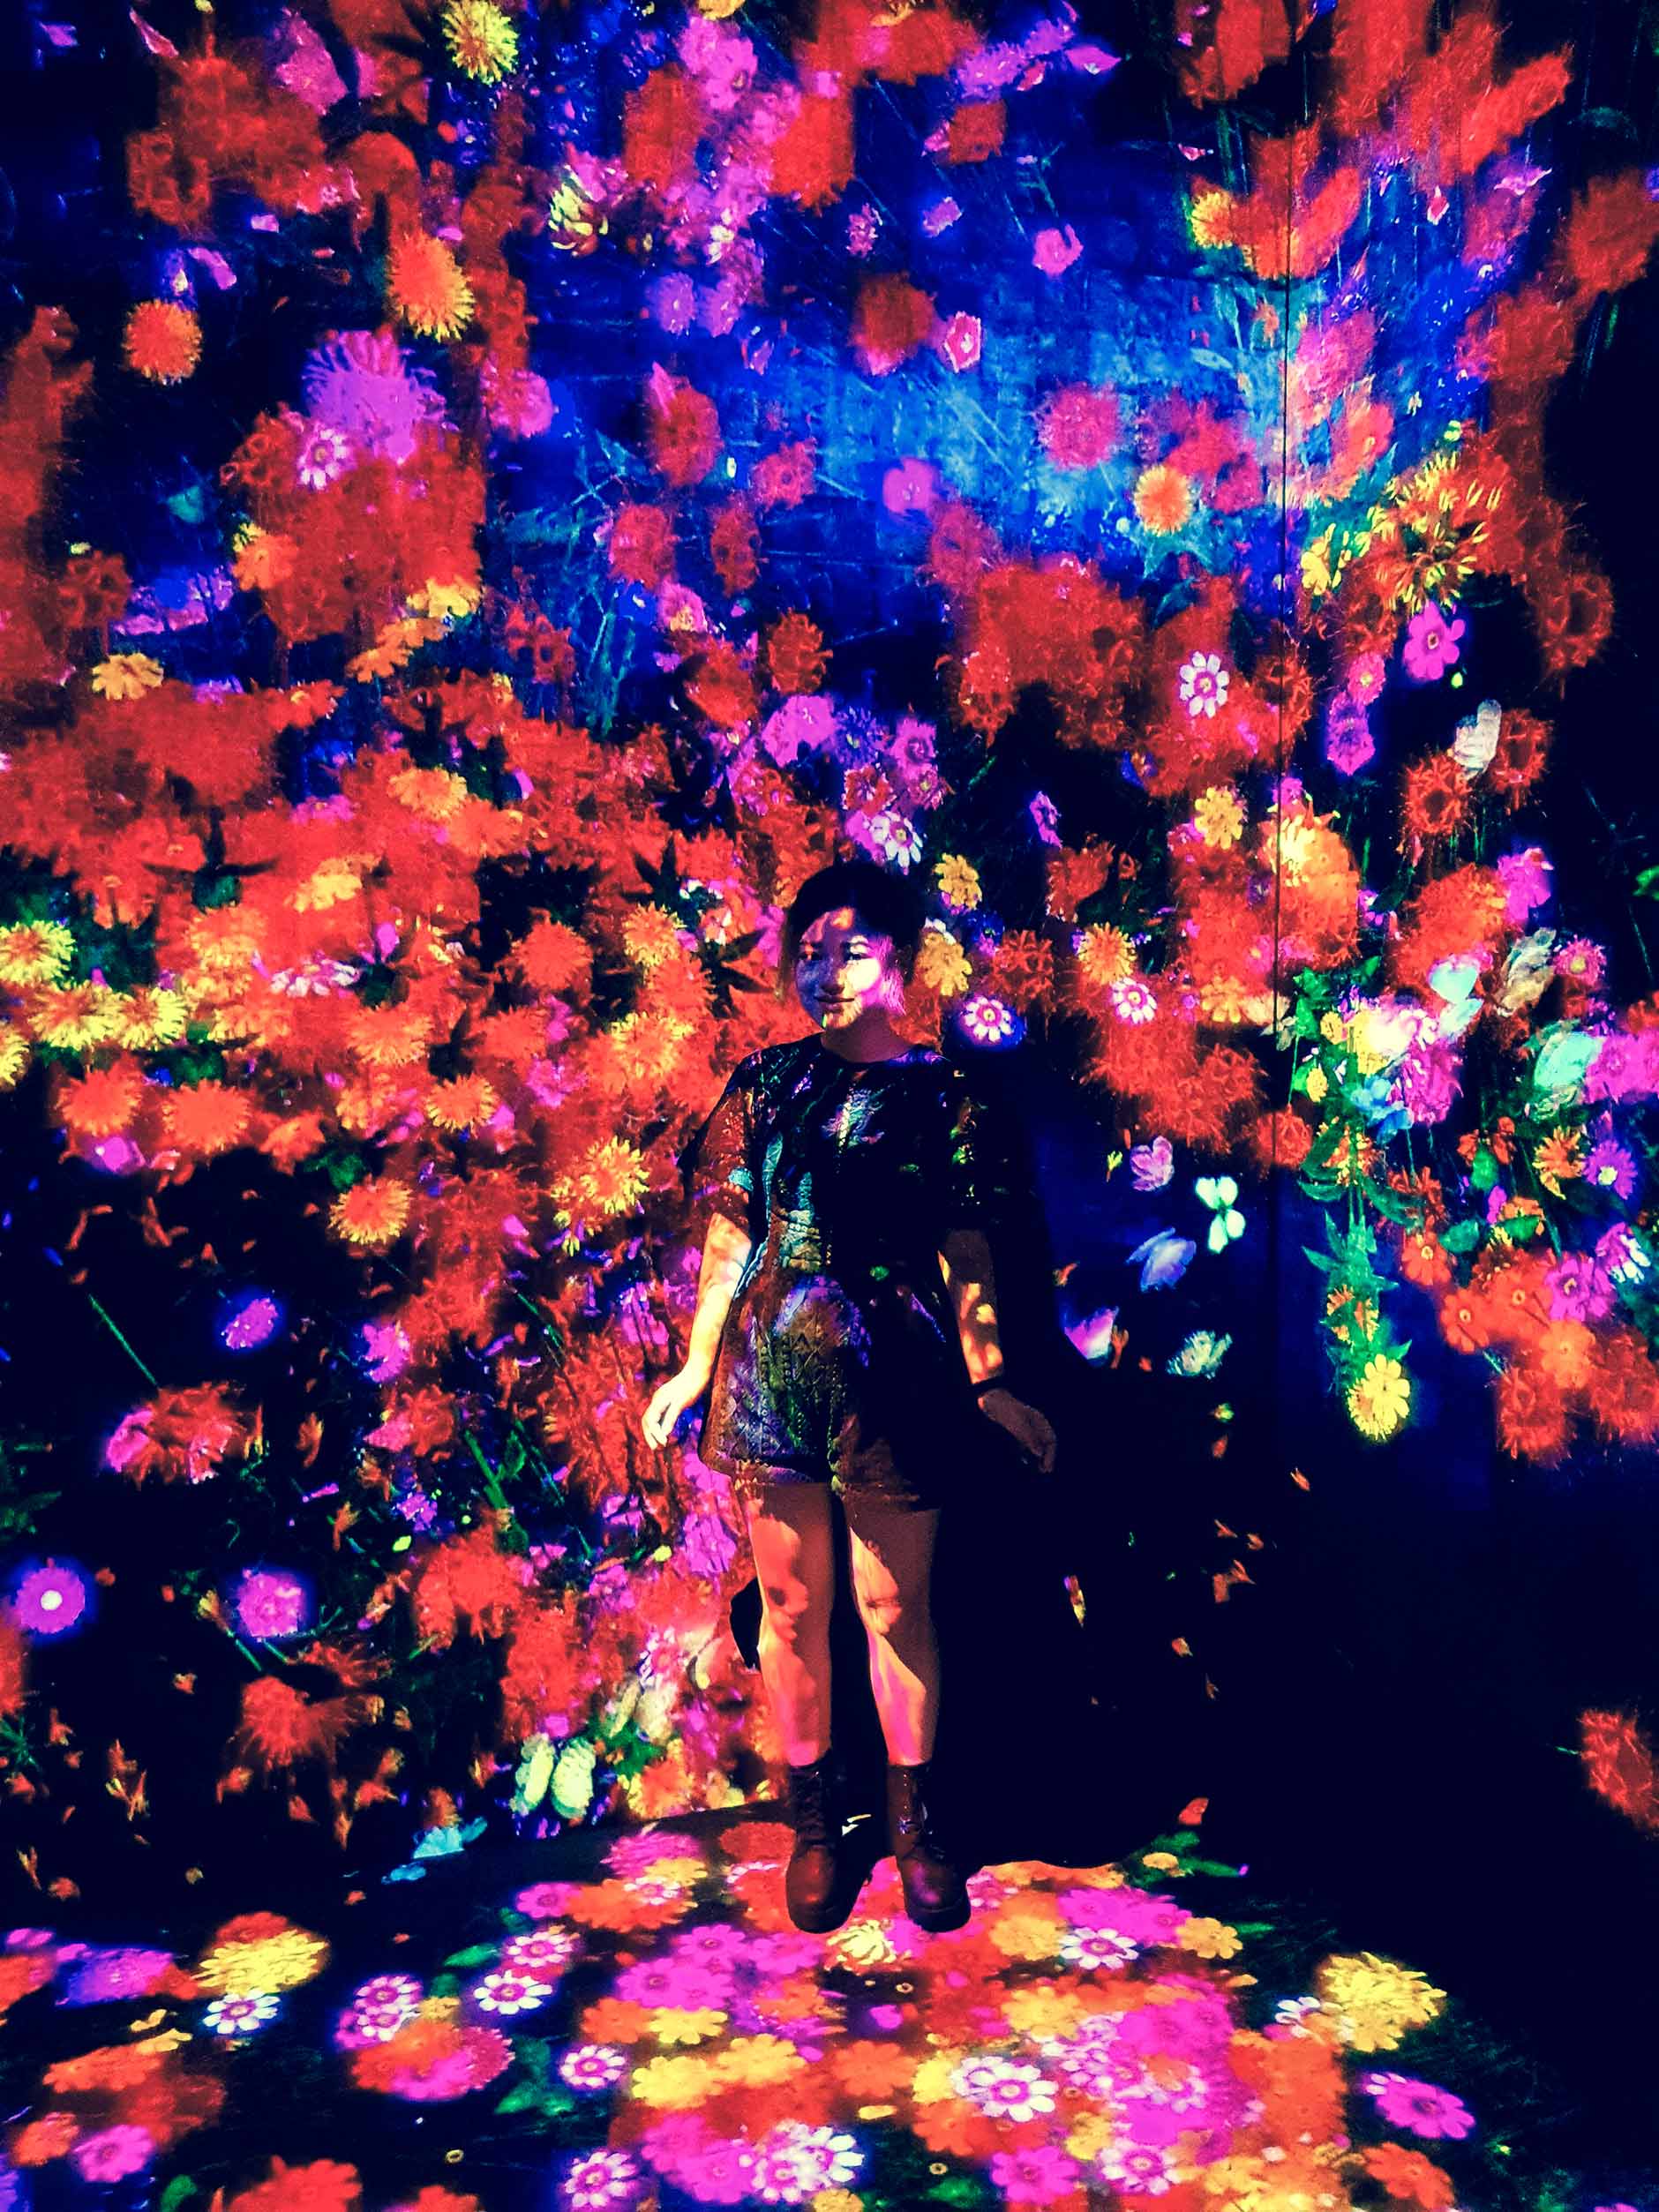
2. FOREST OF FLOWERS AND PEOPLE: LOST, IMMERSED AND REBORN
Difficulty Level For That Perfect Shot: ★★★
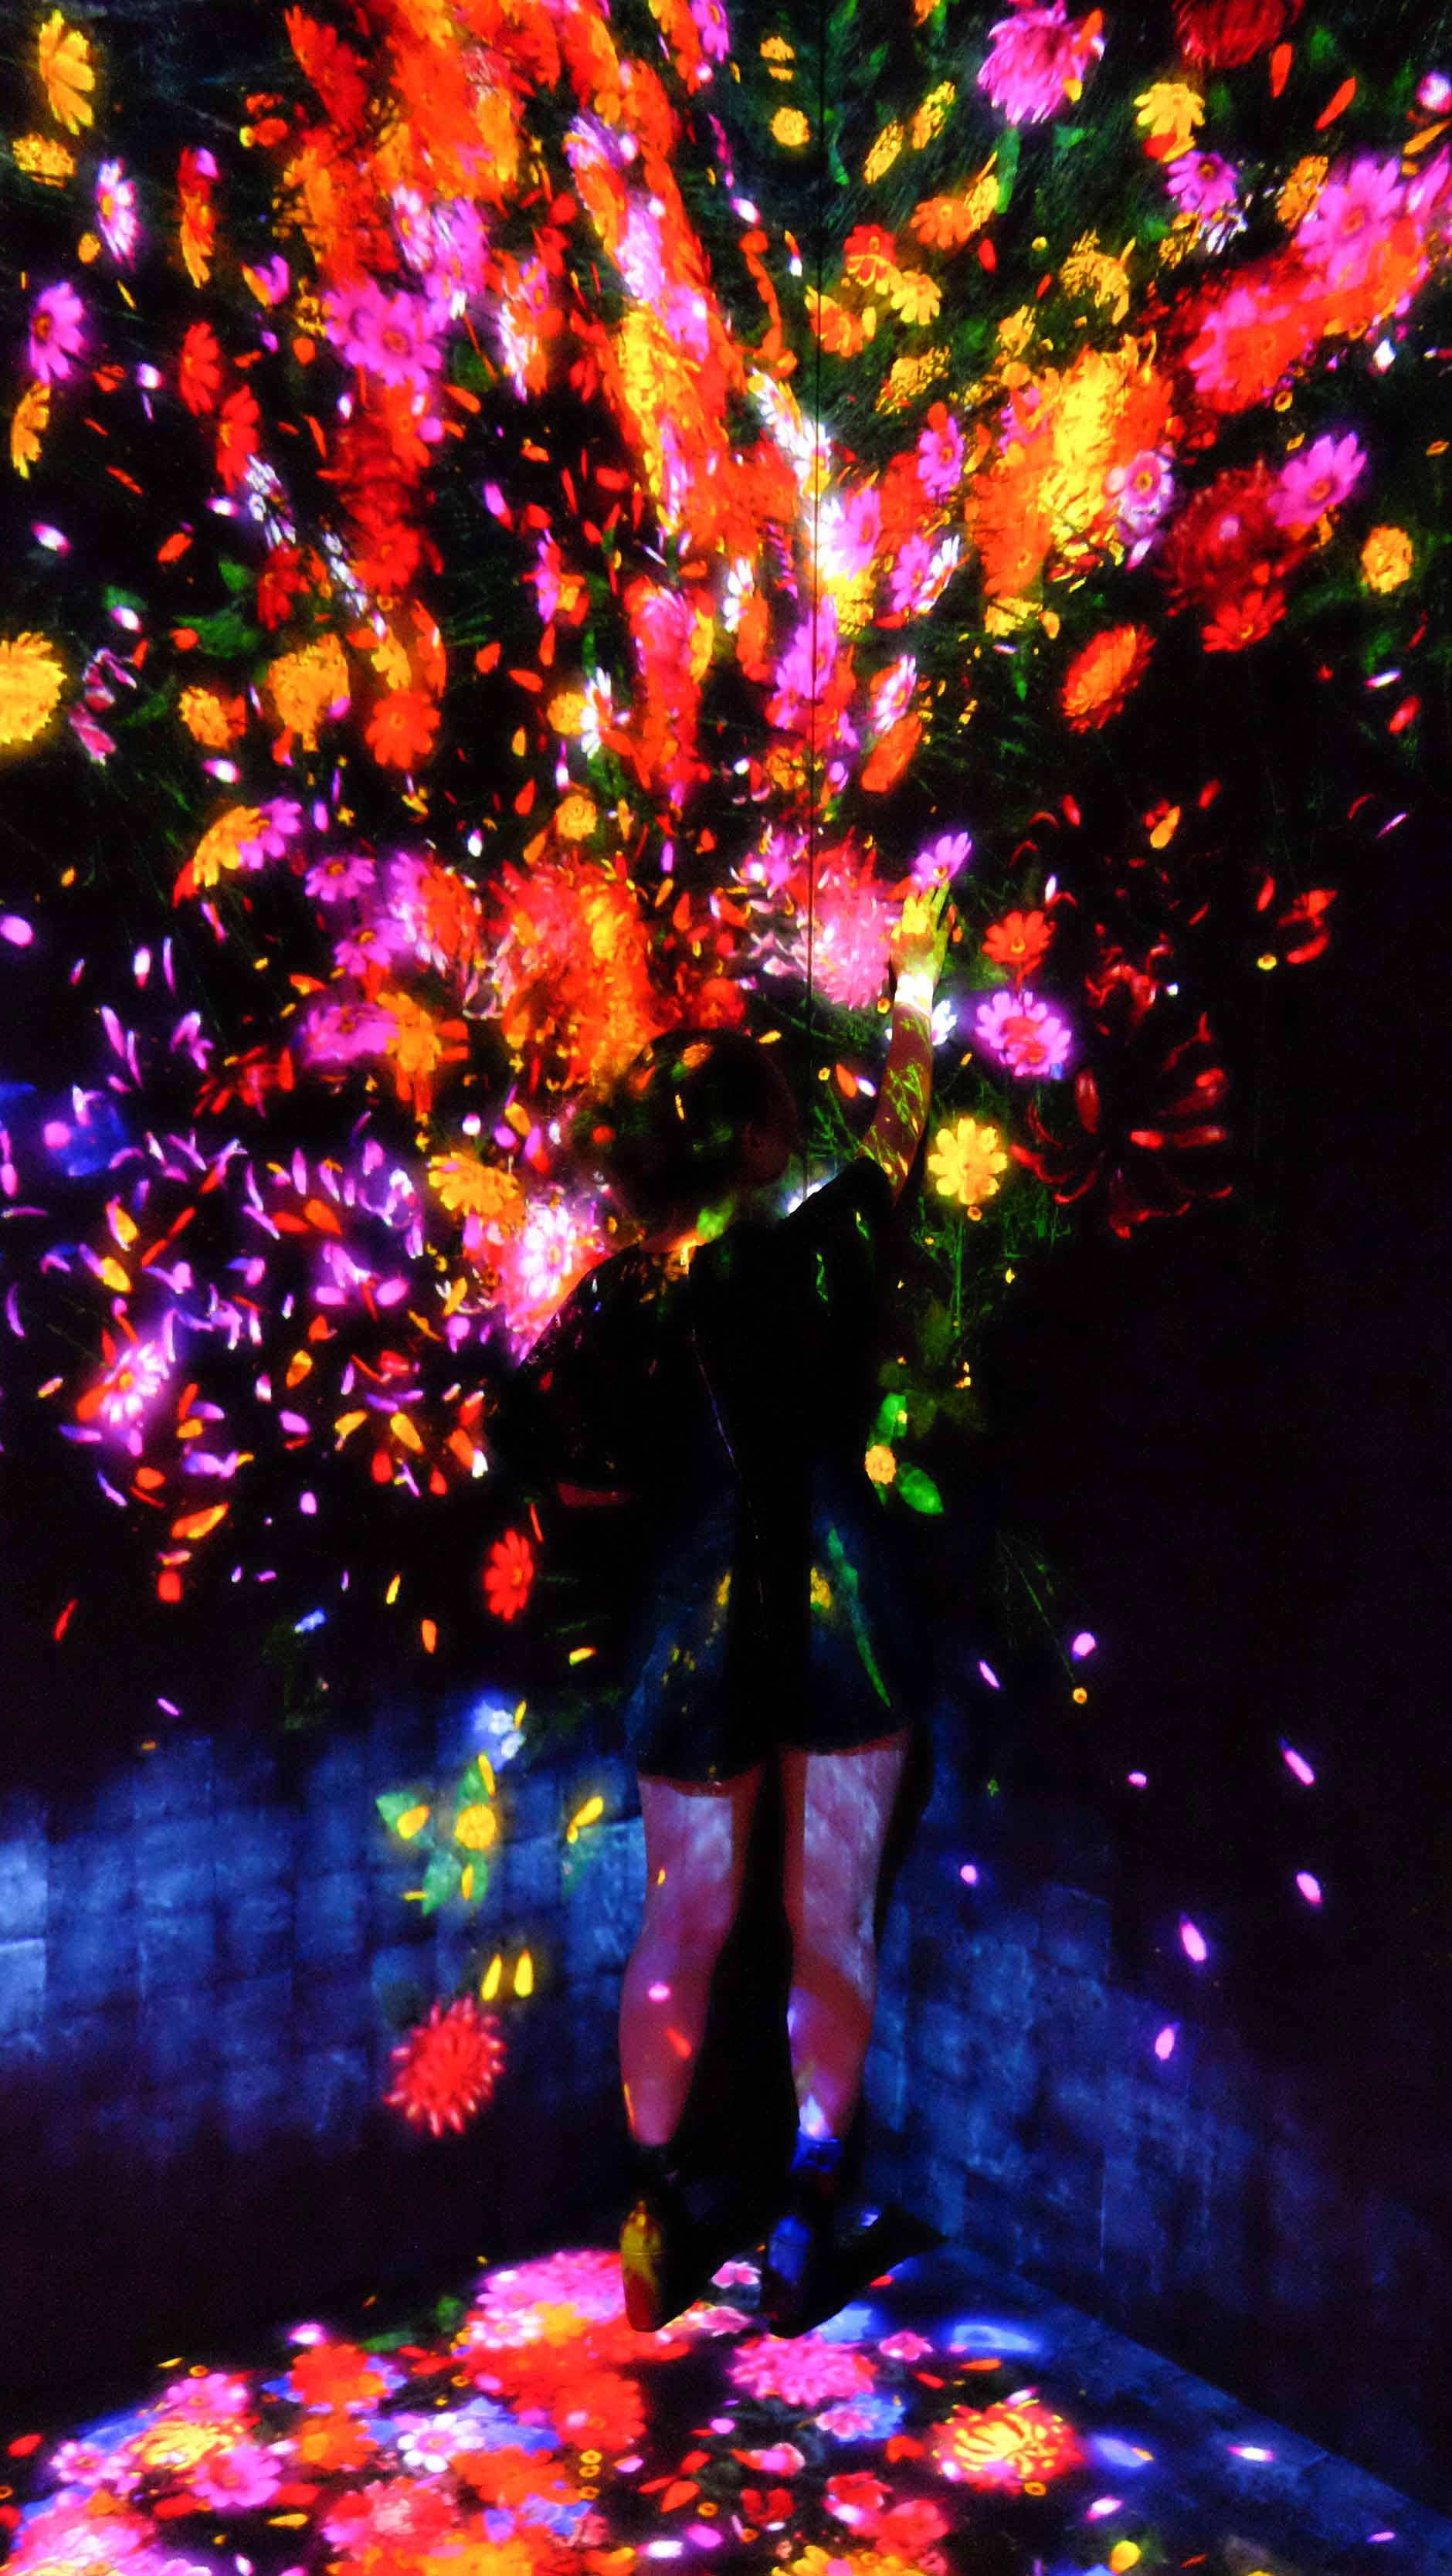
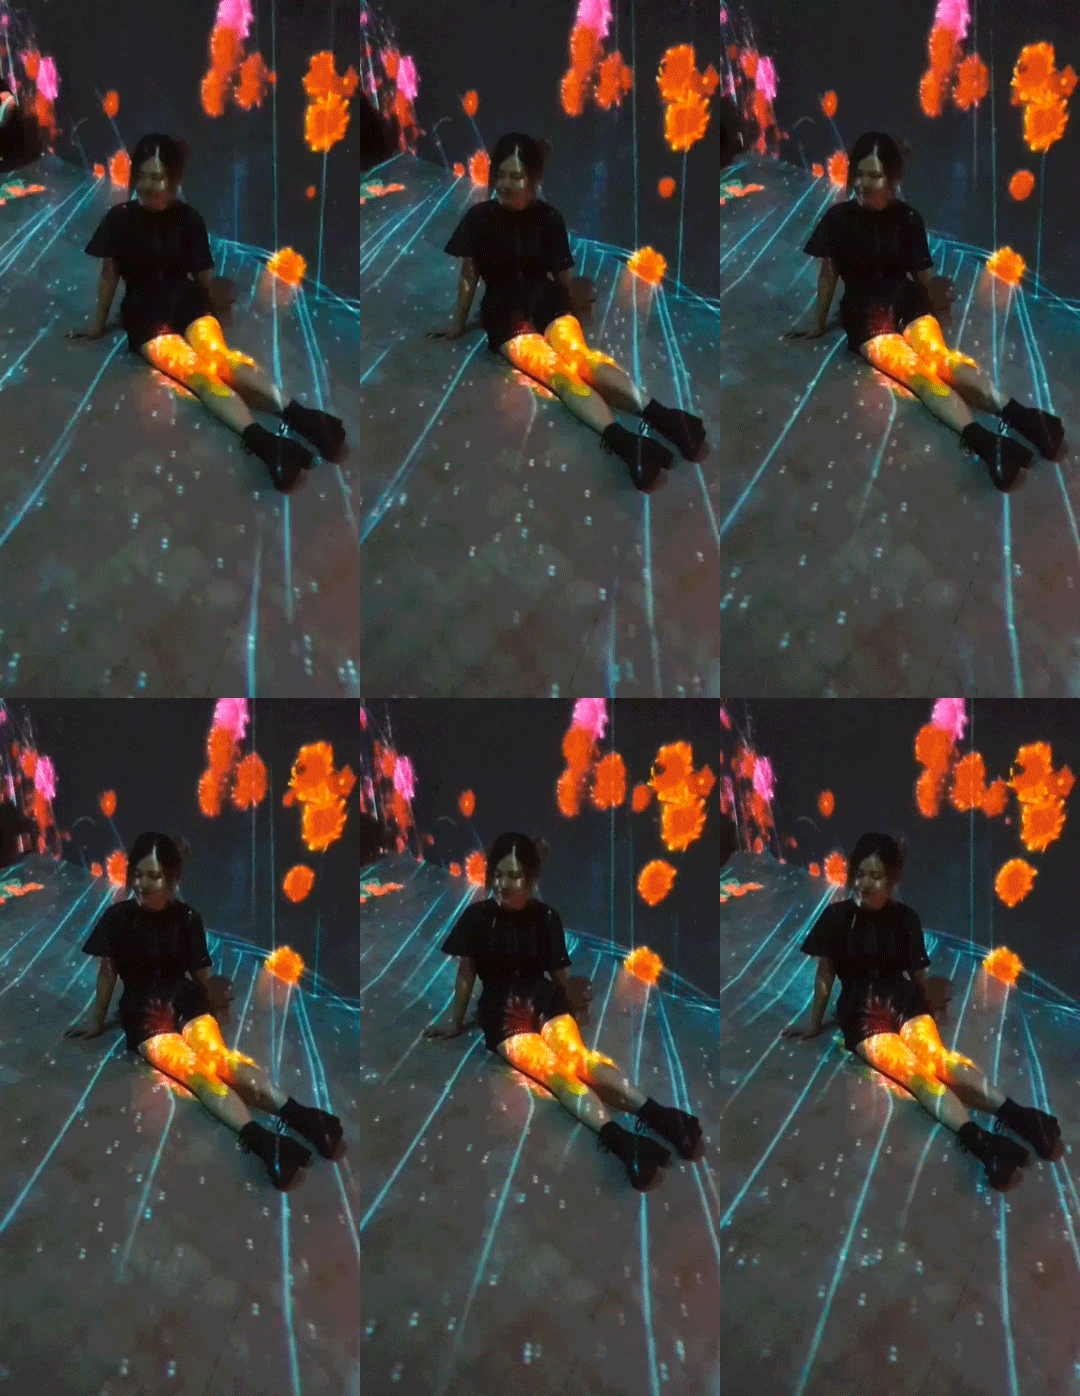
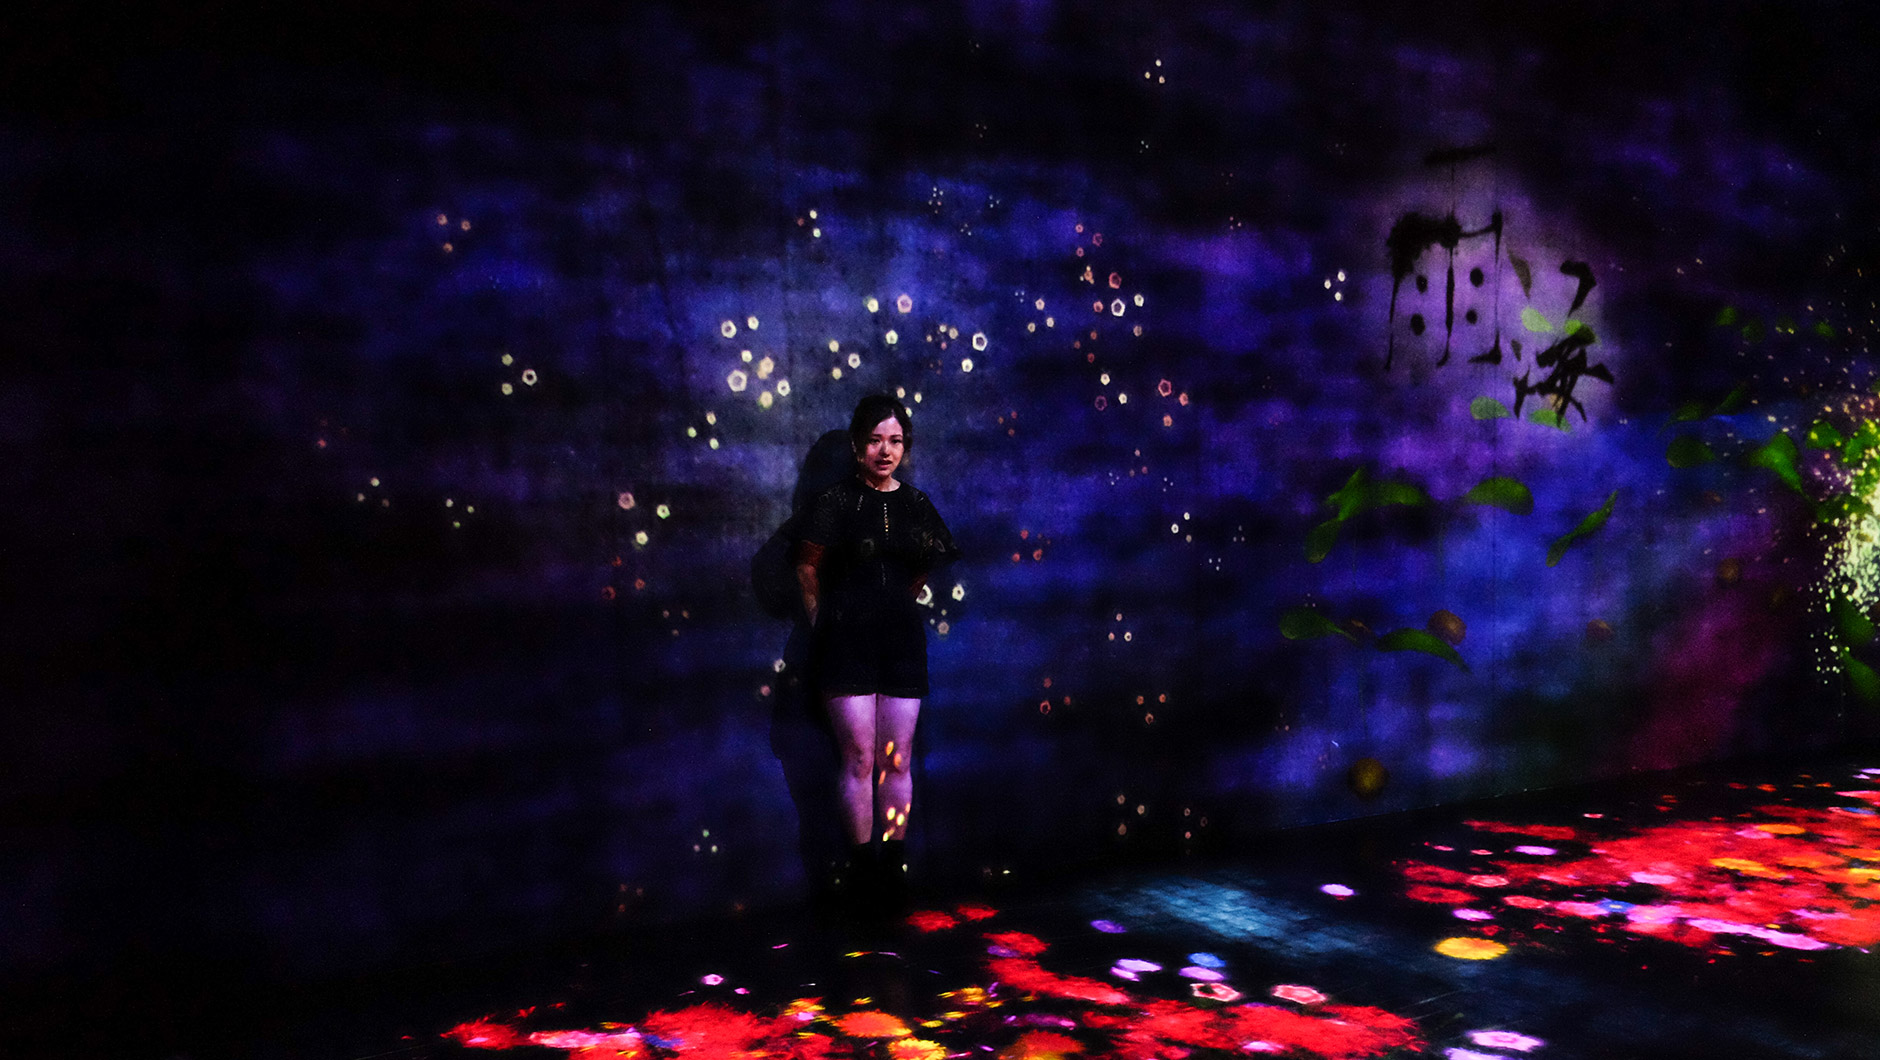
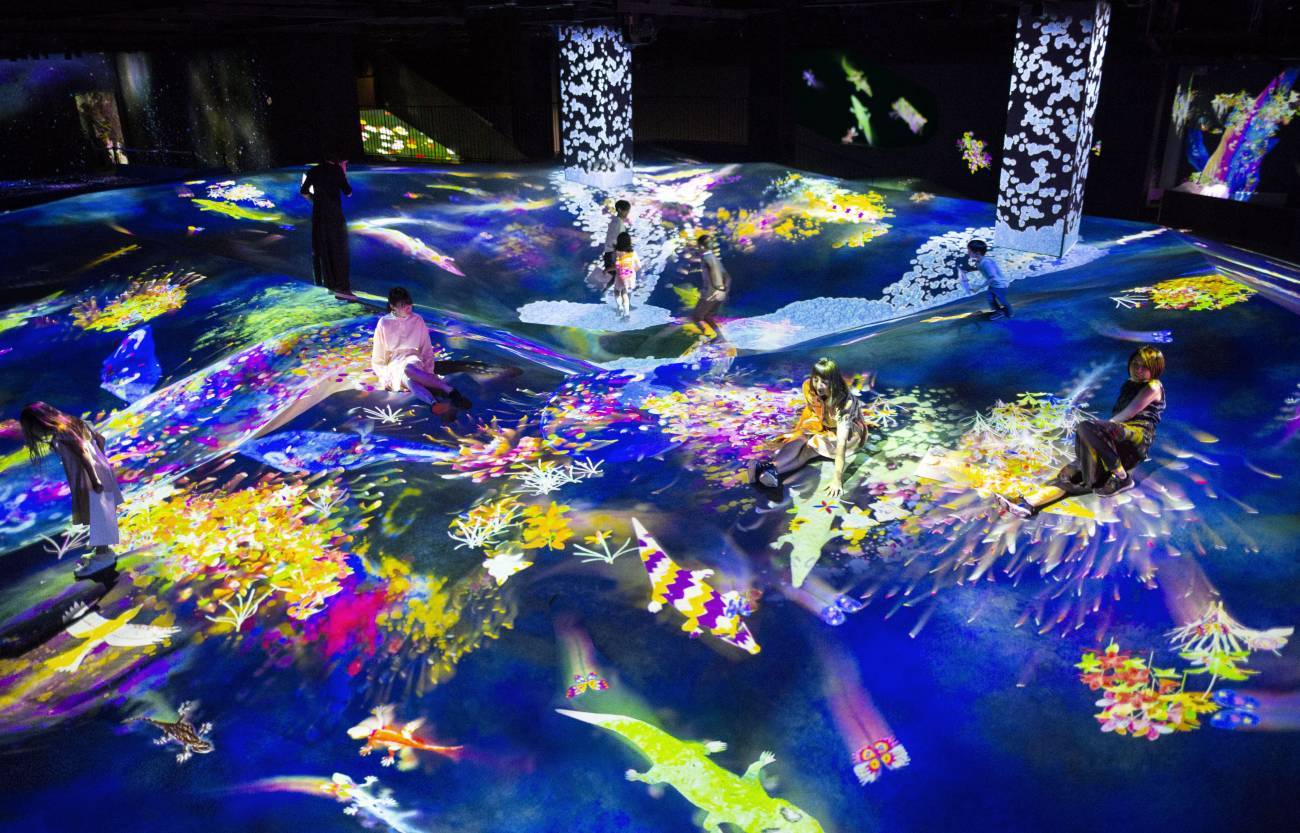
My second favourite installation for photos, Forest of Flowers and People explores the cycle of life, death, and rebirth. Here flowers grow from empty spaces spreading and thriving until the gradual changing of the seasons.
Photography Tips: For poses, try sitting down and use the mirrors to create interesting back-to-back shots.
Explore Tips: The butterflies will, umm, “die” when you hit them.
3. A UNIVERSE OF WATER PARTICLES ON A ROCK WHERE PEOPLE GATHER
Difficulty Level For That Perfect Shot: ★★★★
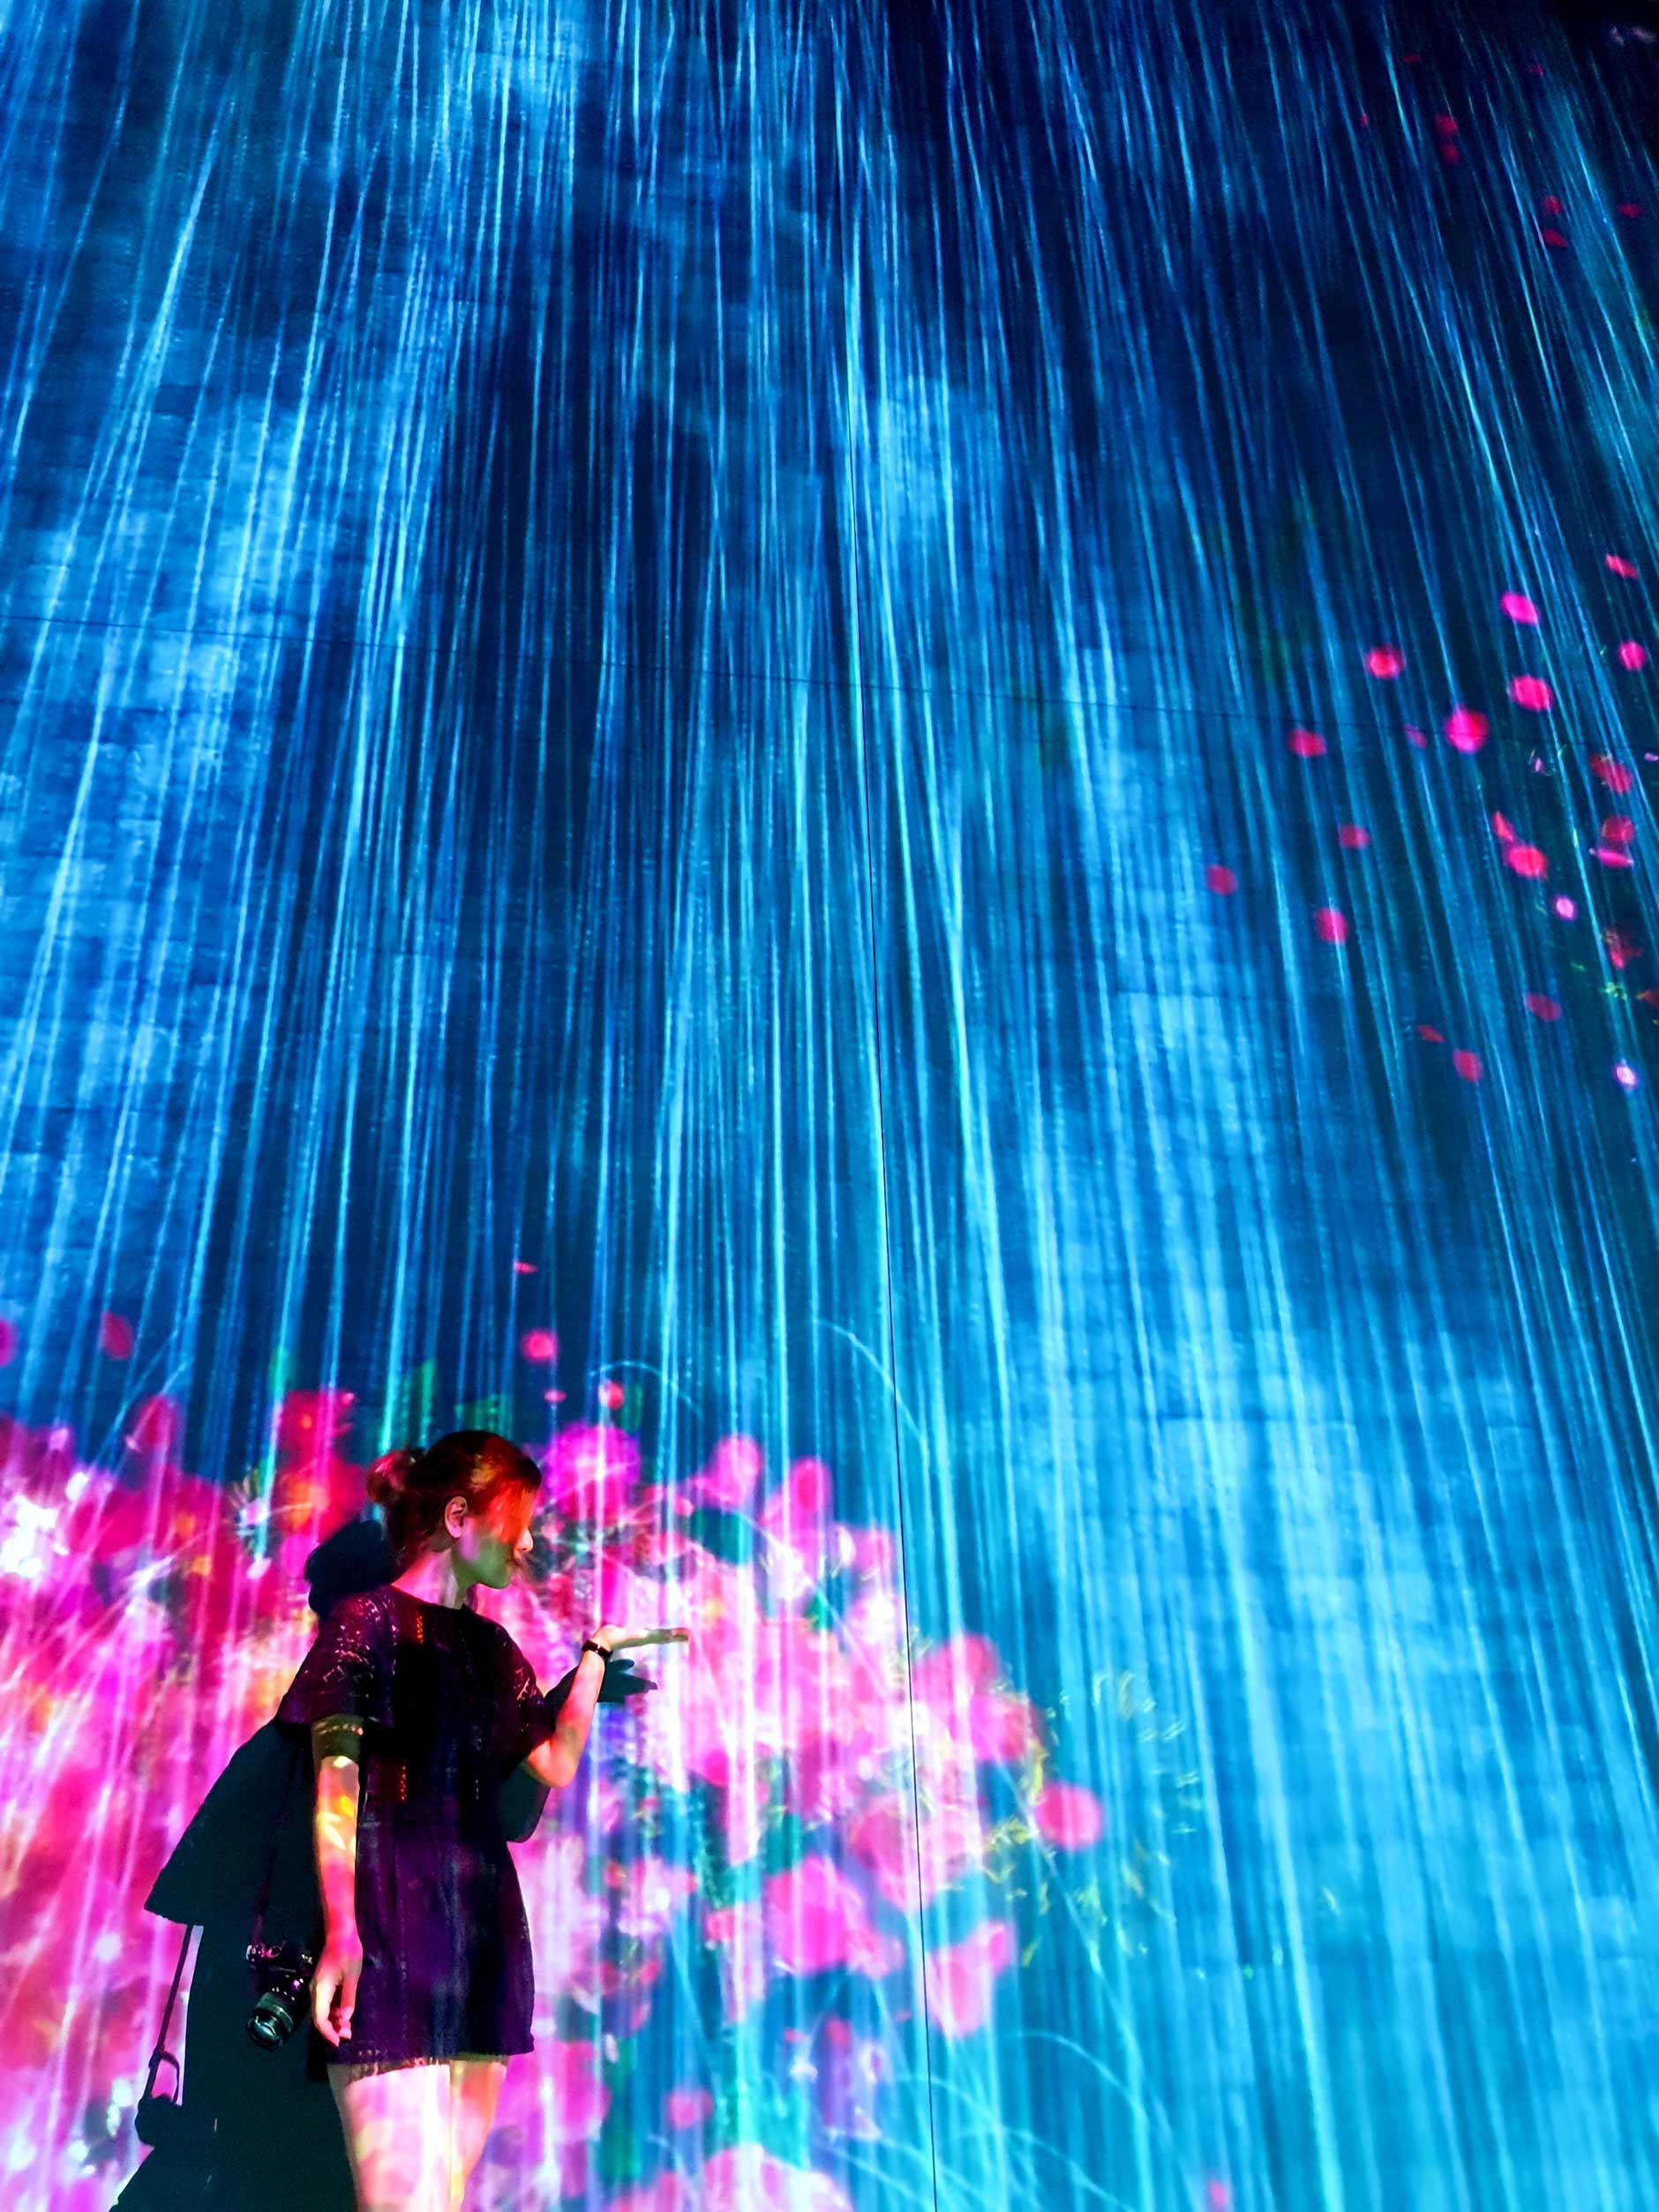
Okay, real talk. Where getting to the pointy end of achievable photos. In this installation, water flows from the “Athletics Forest, Graffiti Nature – High Mountains and Deep Valleys” installations, and accumulate into the waterfall of the Universe of Water Particles on a Rock where People Gather installation.
When the light particles hit the “rock” at the base of the waterfall, they disperse in different directions, creating the illusion of real water. The fun part is, you can climb onto the rock and as the particles hit you, you also change the direction of the water flow, just as if you were a rock in the water’s path. This means every visual artwork is
unique and no formation of water can ever be replicated or reoccur.
In the same room, the “Born From the Darkness a Loving, and Beautiful World” projection controls the room’s climate by catching words that represent different weather patterns as they fall from the sky.
Photography Tips: The best position to capture a photo is at the centre of the rock so try to wait until most people have left to sneak a photo (if you can – we couldn’t). For posing, I think sitting shots look nice, but also side and back profiles look great.
Explore Tips: The falling kanji on the wall changes the entire room’s animation.
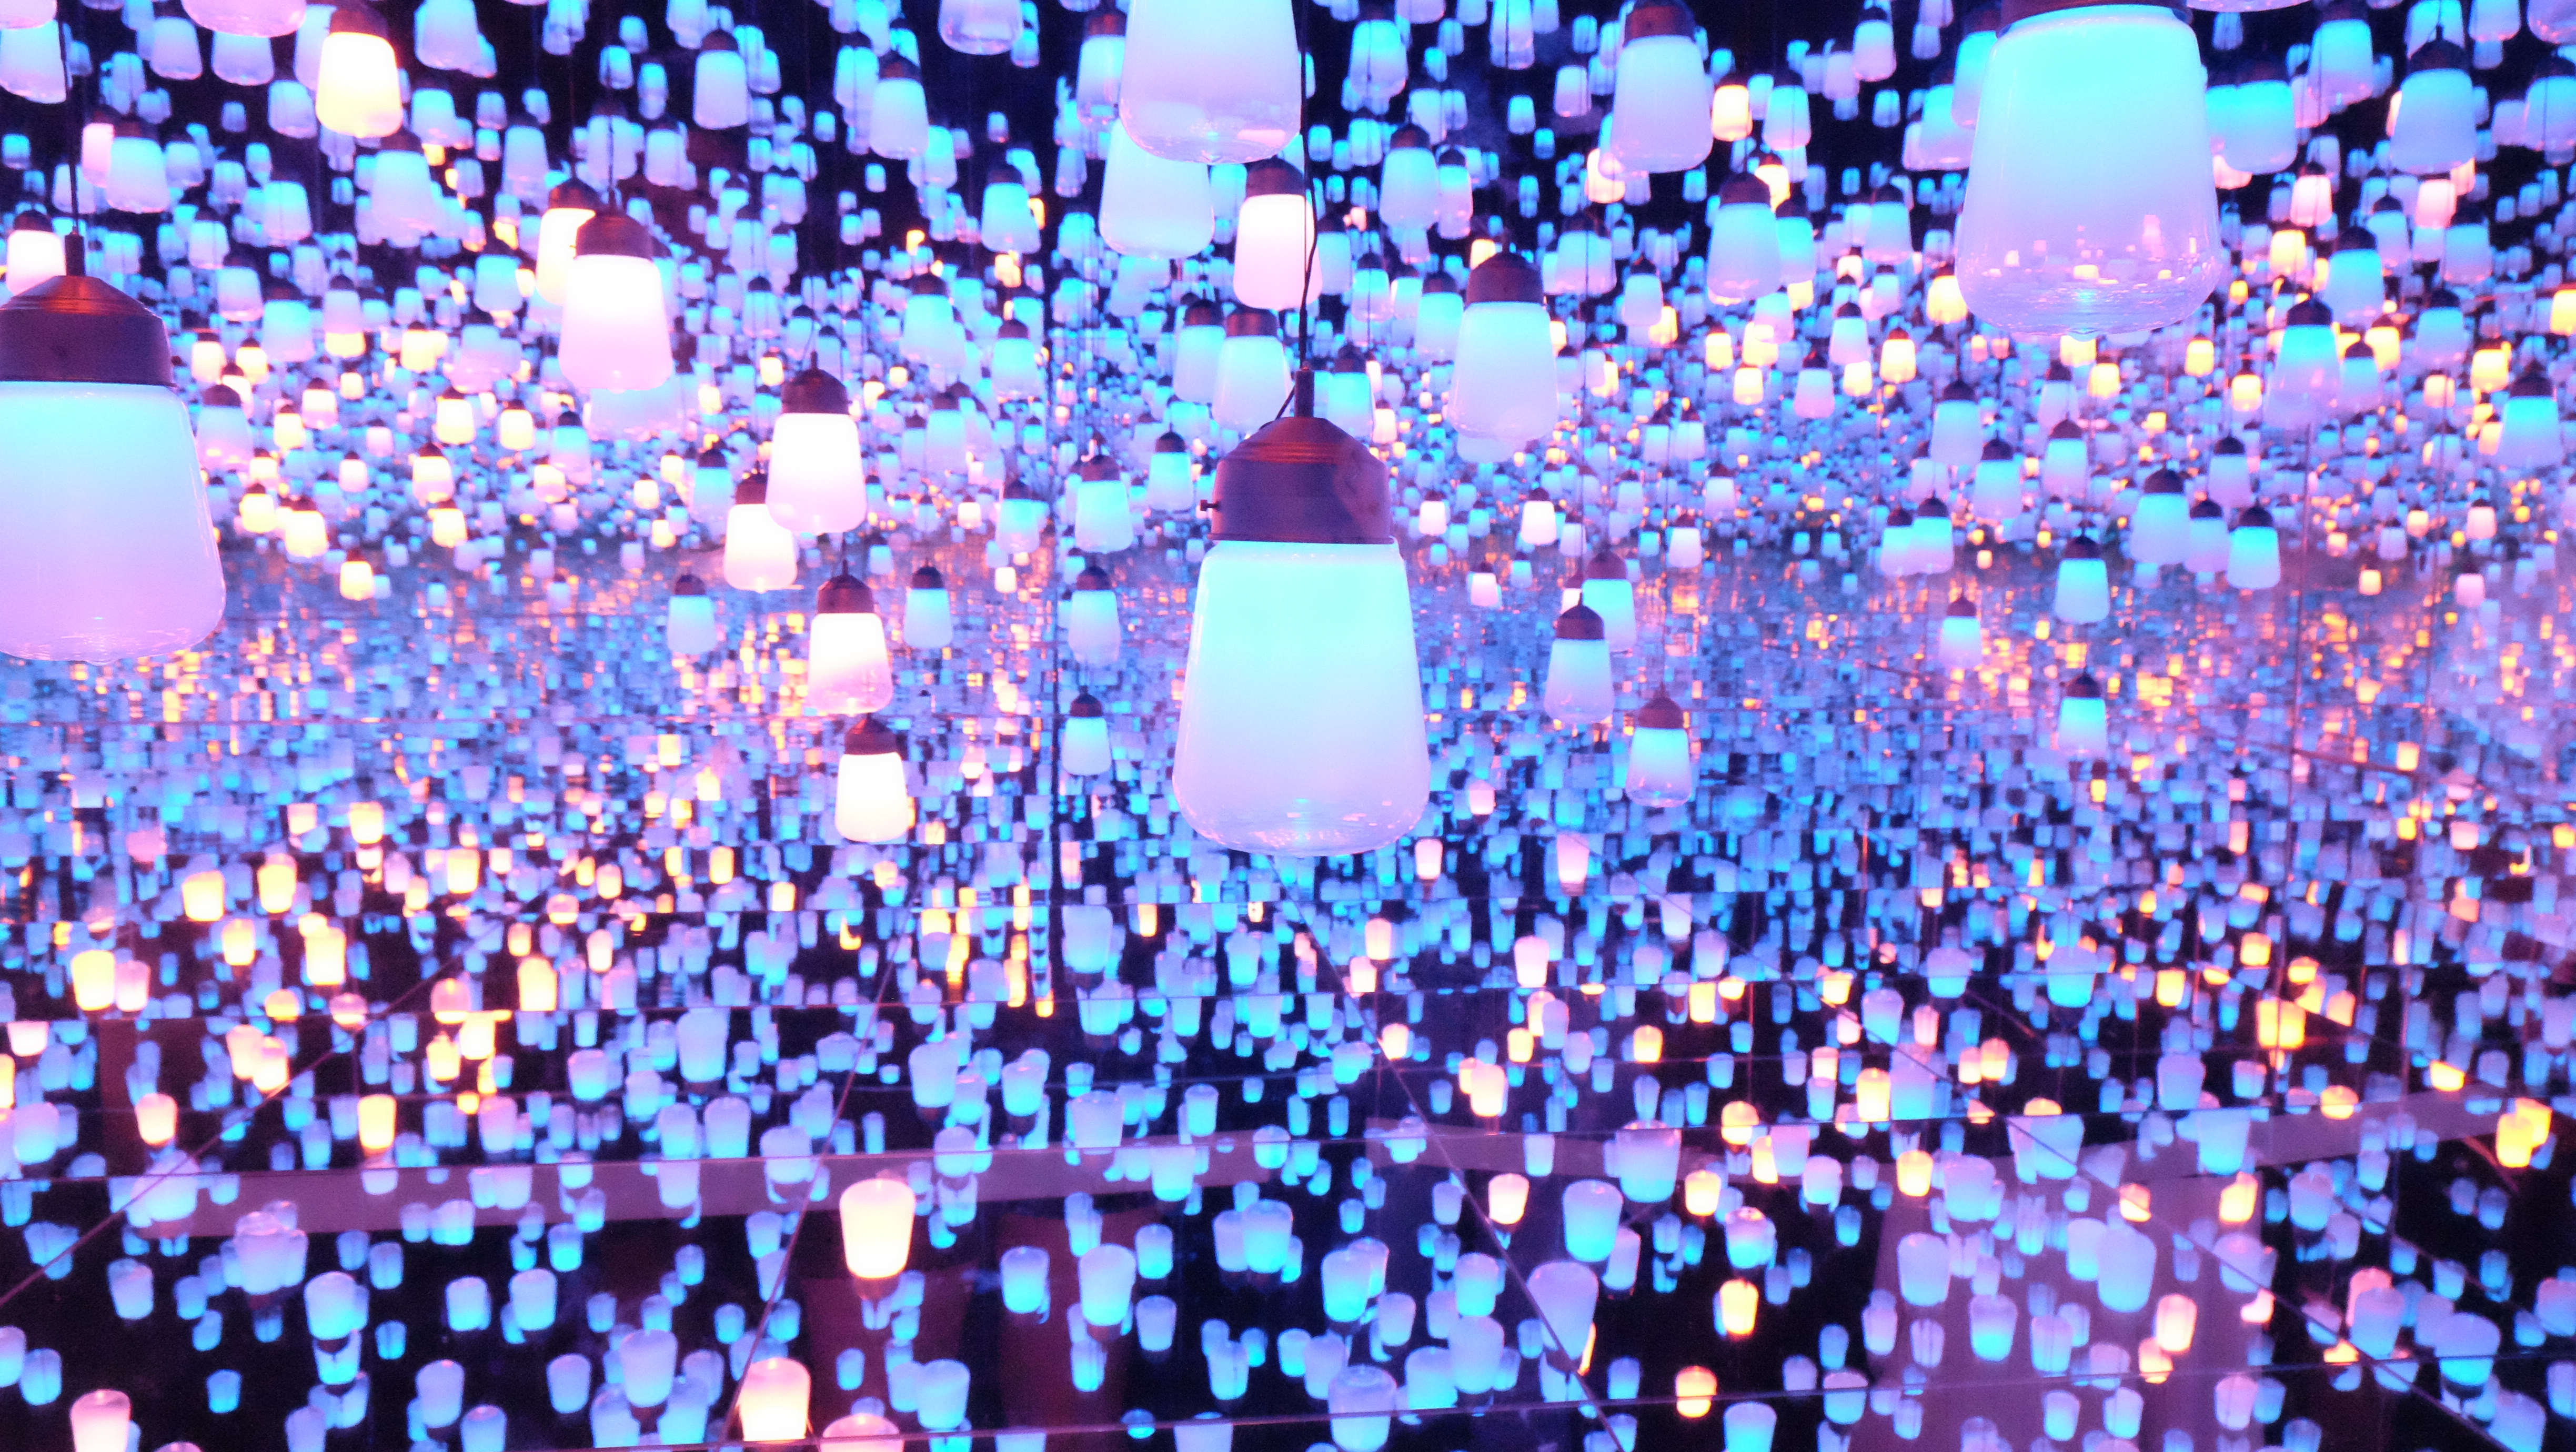
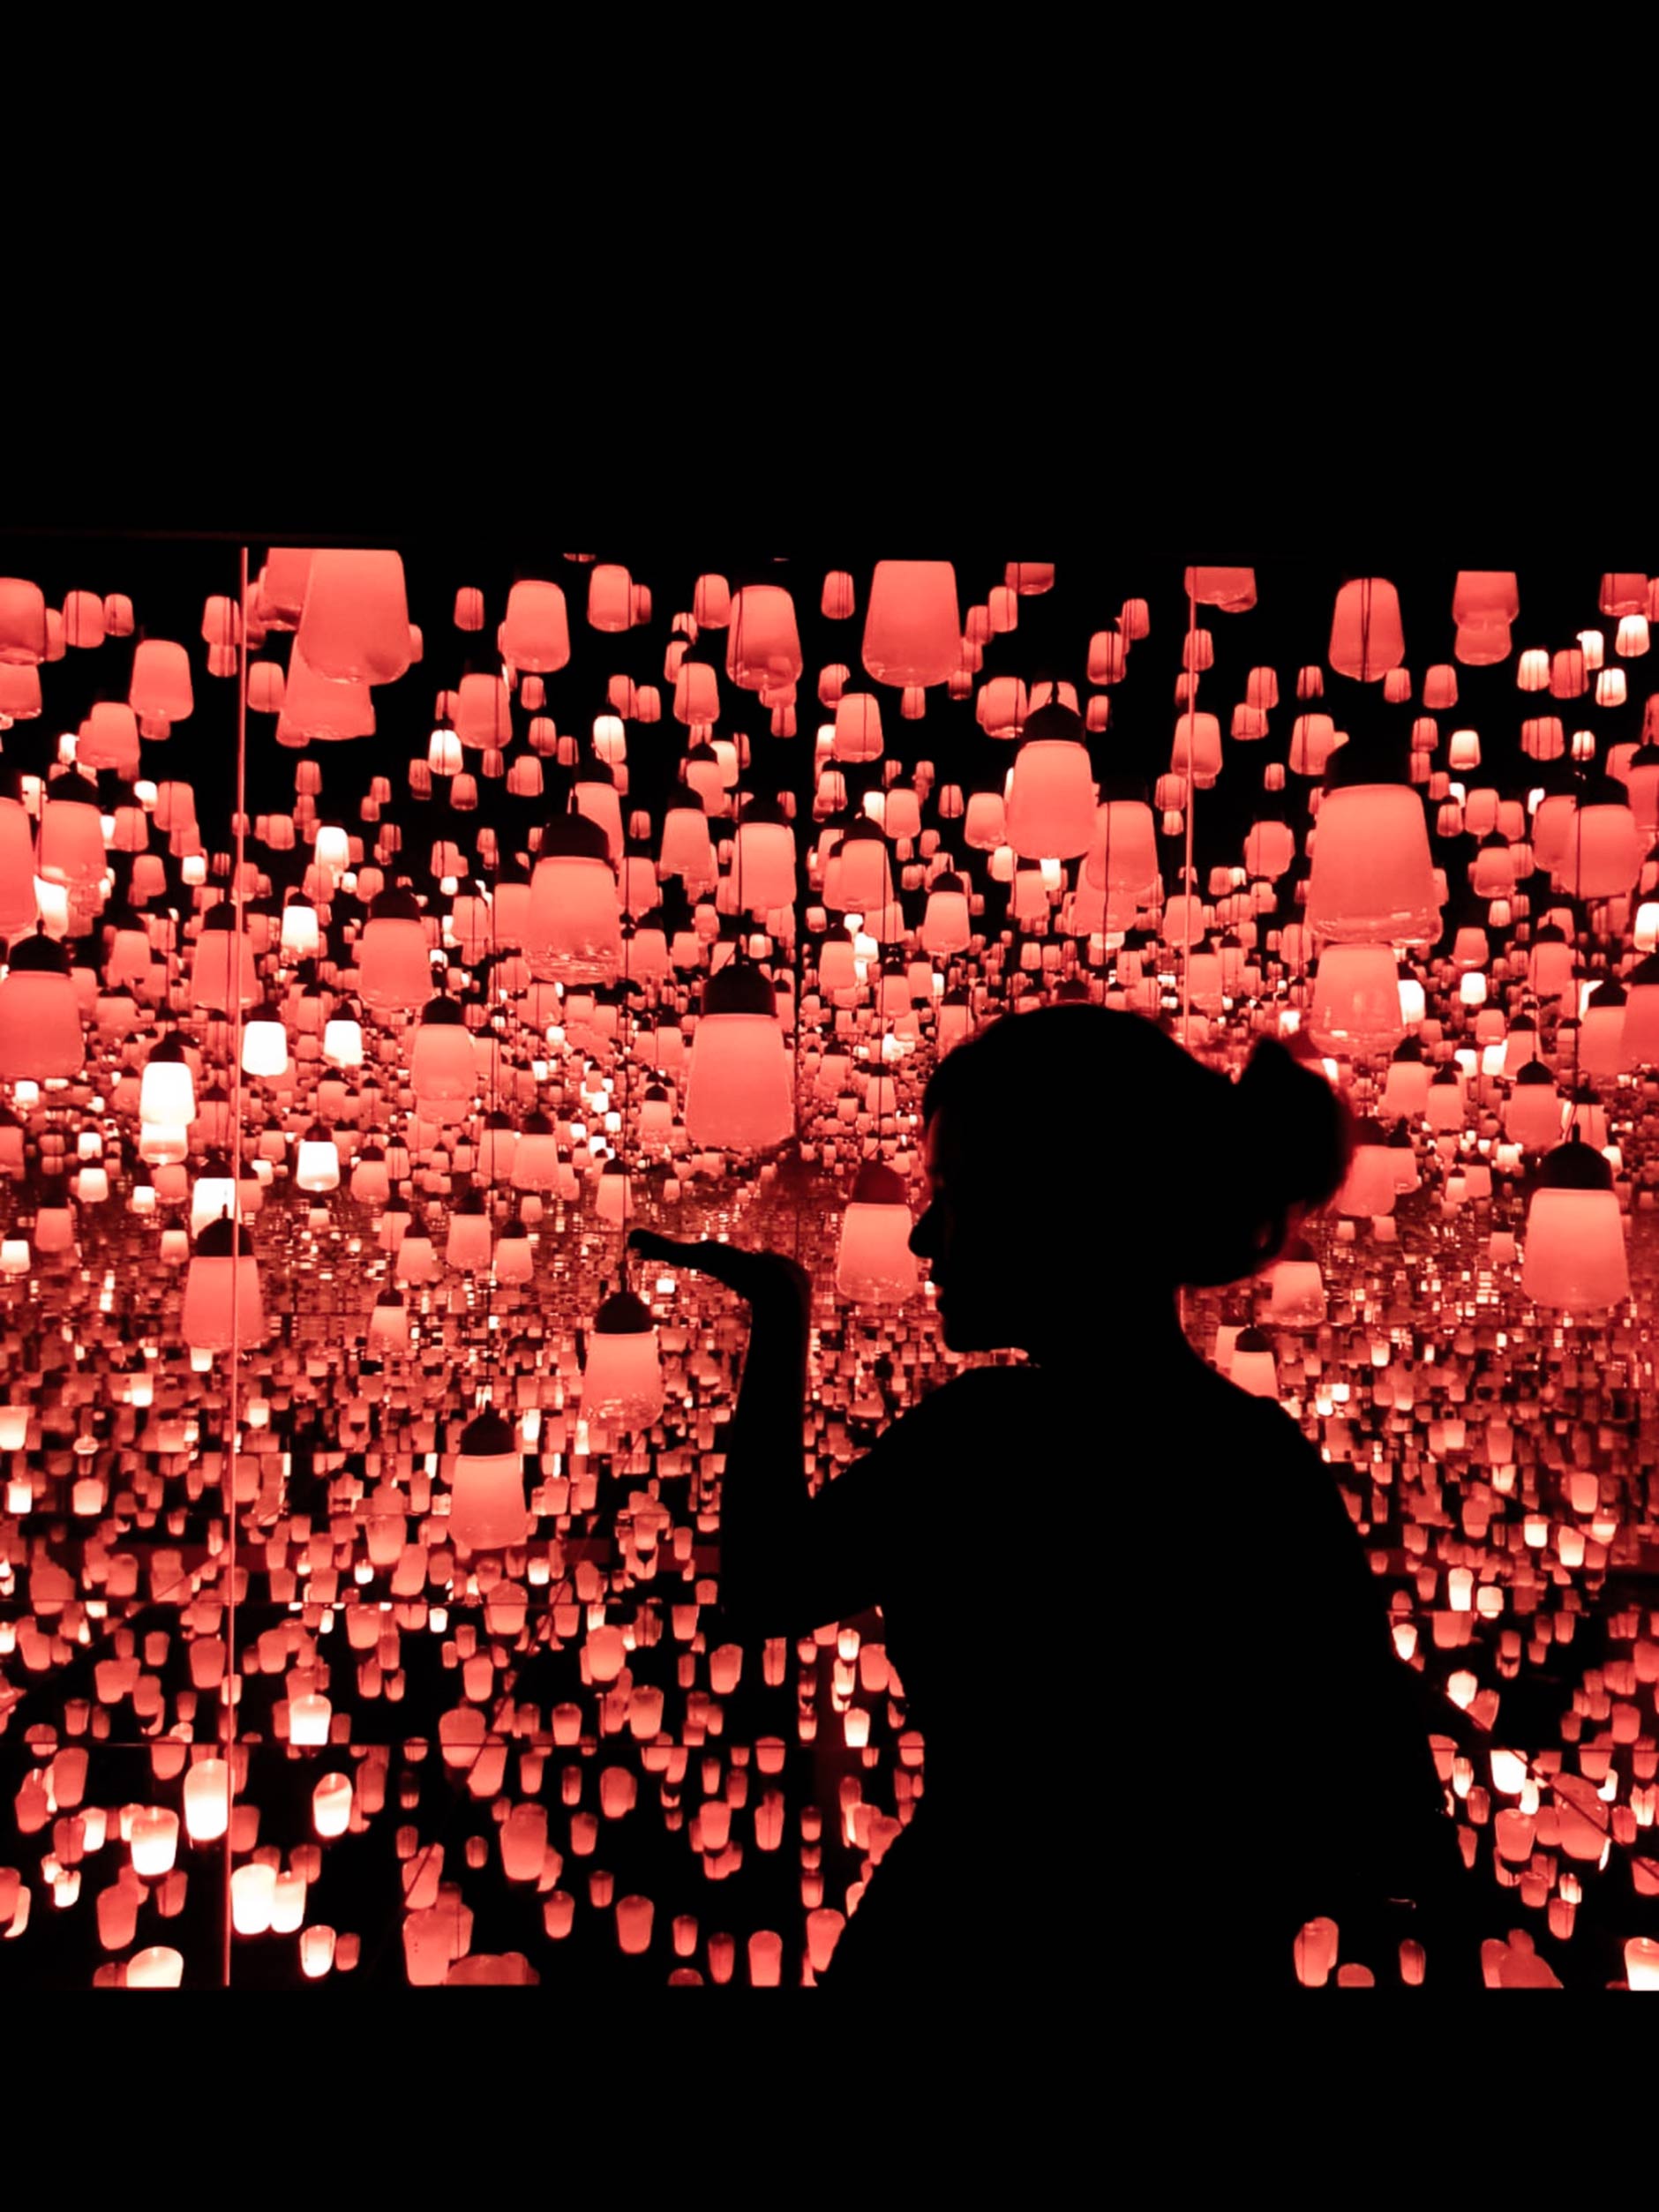
In this installation, light is emitted from one source and travels to another. As it spreads all lamps shine brightly in unison before returning back to its original source.
Although the most iconic room in the teamLab exhibition, it is, in my opinion, the hardest room to capture a great photo in.
First of all, entry to this exhibit is limited to specific session times and to avoid overcrowding during those session times, there’s also a limited duration of stay. If you plan to go inside please be aware of the session times to not miss out. I, unfortunately, missed out on going inside the room because of this.
Secondly, the advertised images of this space by your favourite Instagrammers is a
bit of a stretch for the normal ticket goer. For example, we absolutely love taramilktea’s curated image (below) but it was simply not achievable from my personal experience due to crowds and the fact that the room was closed. Whether you go early or go late to Borderless, Tokyo is just a super busy city that I can’t imagine you would be able to get an empty or even partially empty room for yourself.
Photography Tips: My suggestion is to make your photos work on a smaller level. No wide far away camera shots. Instead, more close up shots to avoid bumping into the lamps and to limit background interference. Or, you can fake a wide shot by posing at the window outside as I have (see below).
Explore Tips: Touching the lamps will change their colour.
Because the room was closed, this was shot from the window looking into the room. That’s the only reason why there’s no one in the background!
Top 3 places to explore
hile you’re exploring each room to the fullest, you will eventually make your way to the “Athletics Forest” – a space designed as a giant projected playground. The world is fully interactive and the floor dips and peaks like valleys and hills to challenge your body and understanding of the projected world in a 3D sense.
I personally feel these places are best for playing in rather than photo taking but you can still capture some fun Instagram Stories or Boomerang loop clips to upload to your social media.
1. WEIGHTLESS FOREST OF RESONATING LIFE
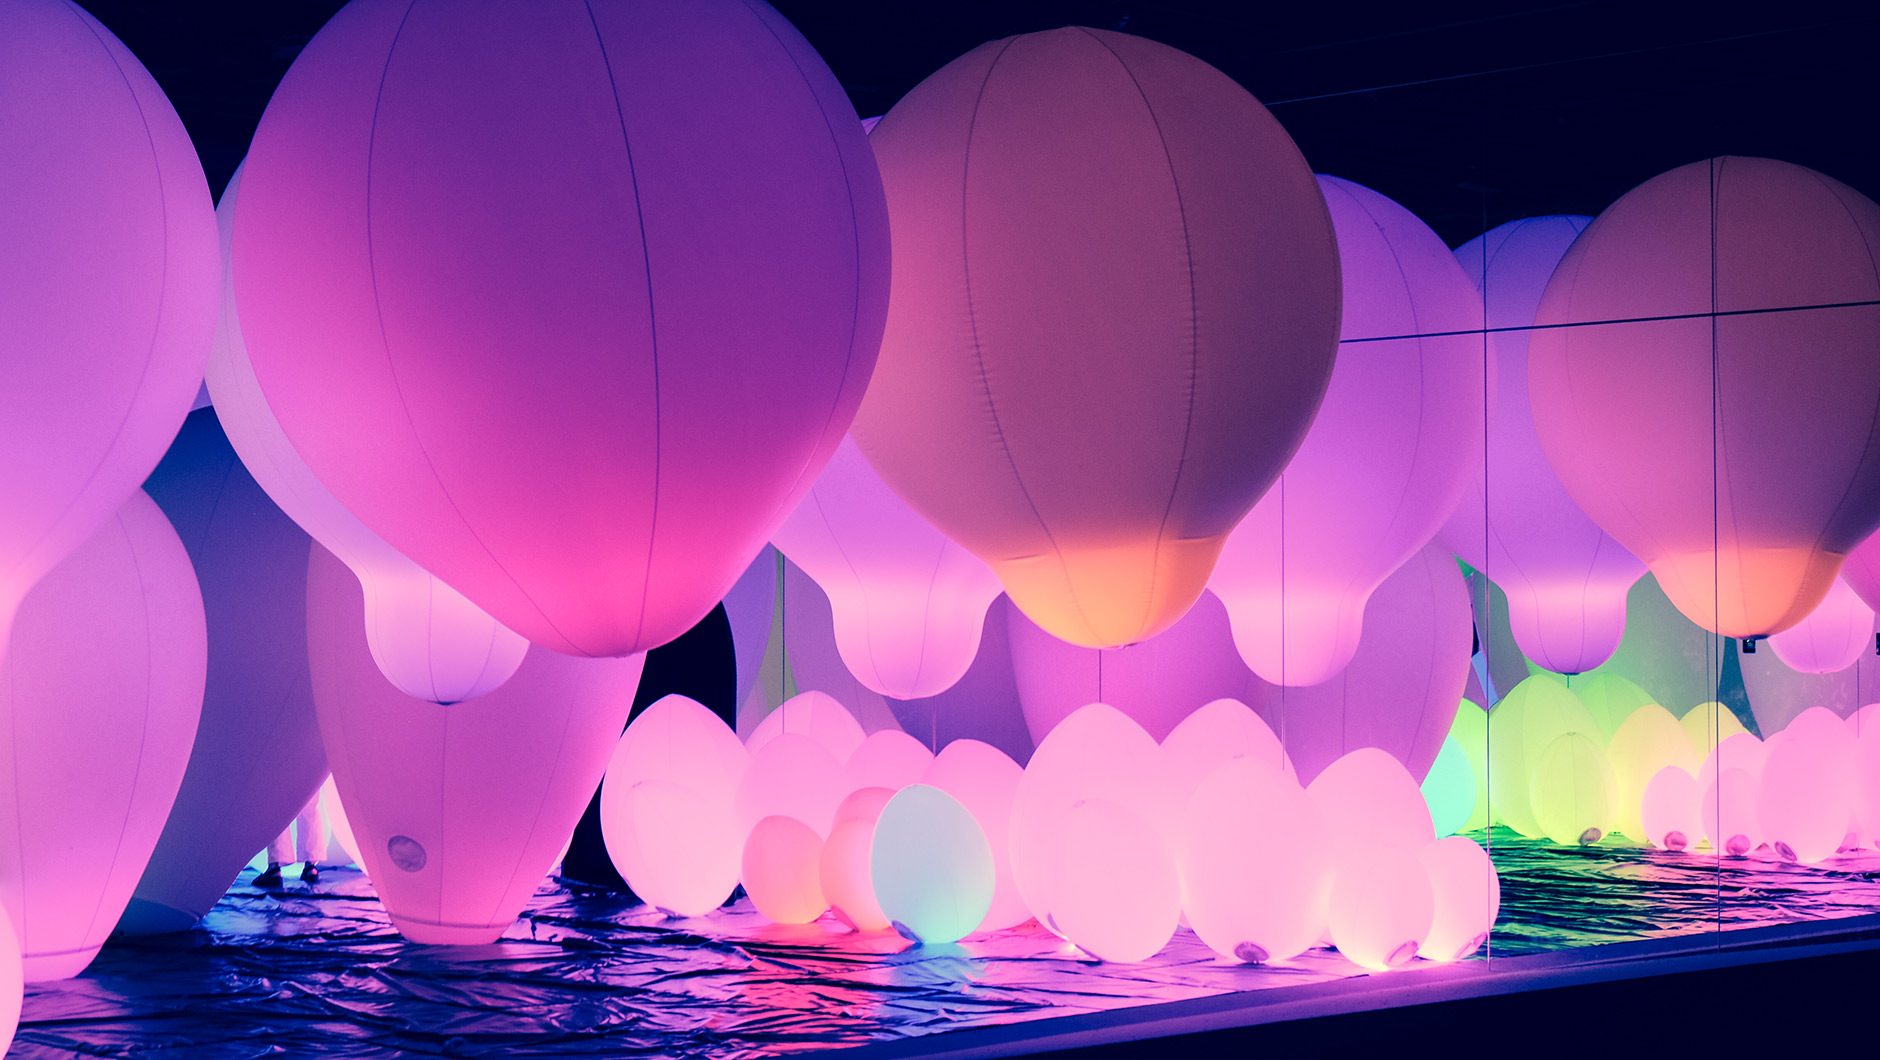
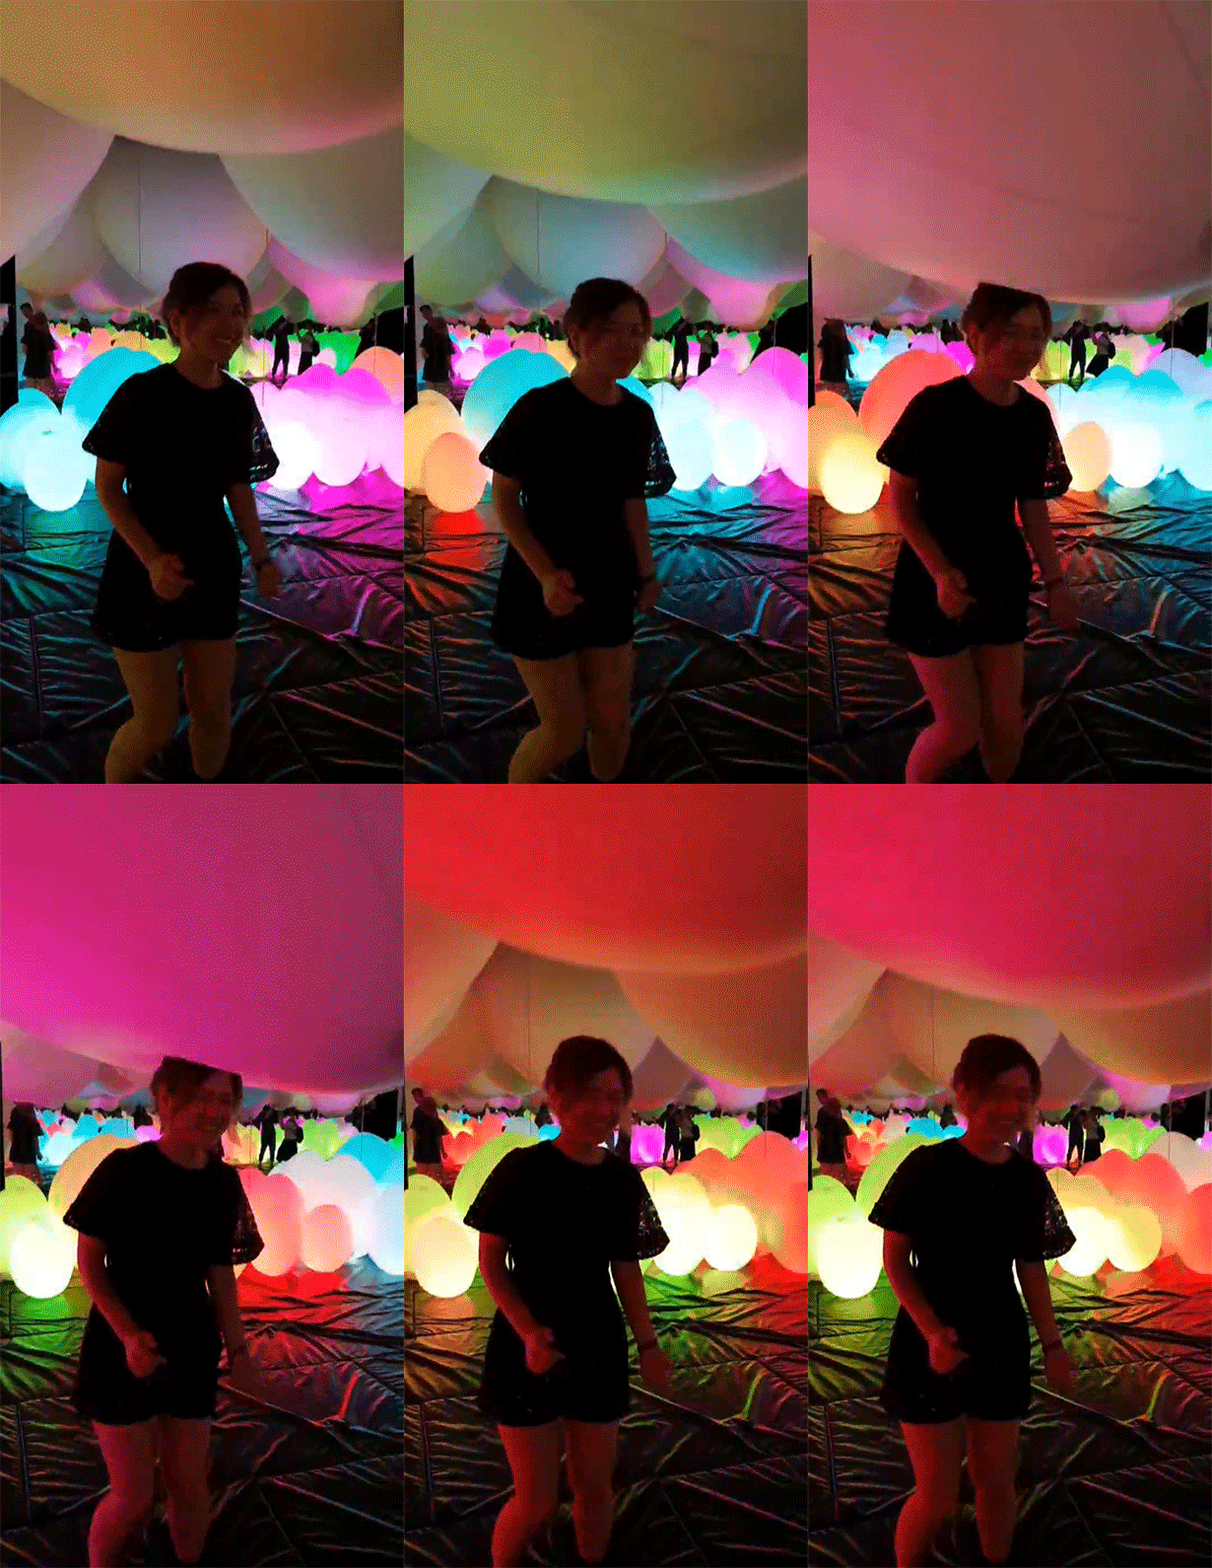
deconstructed jumping castle experience with oversized “balloons” that balance air and light. These balloons are inflated yet can stand upright or stay suspended in mid-air defying gravity and the laws of physics.
Explore Tips: I was surprised that the balloons are actually heavier than they look. Have fun headbutting, hugging and touching them but no punching!
2. Graffiti Nature - High Mountains and Deep Valleys
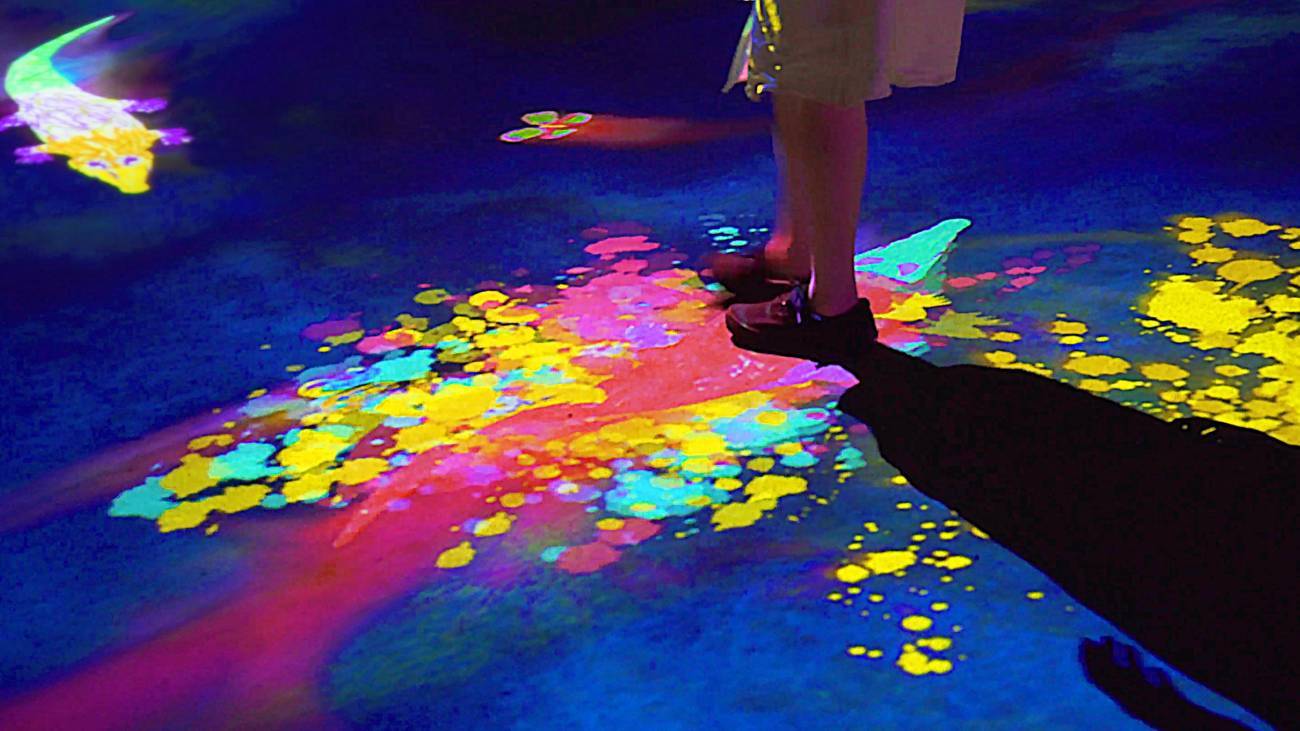
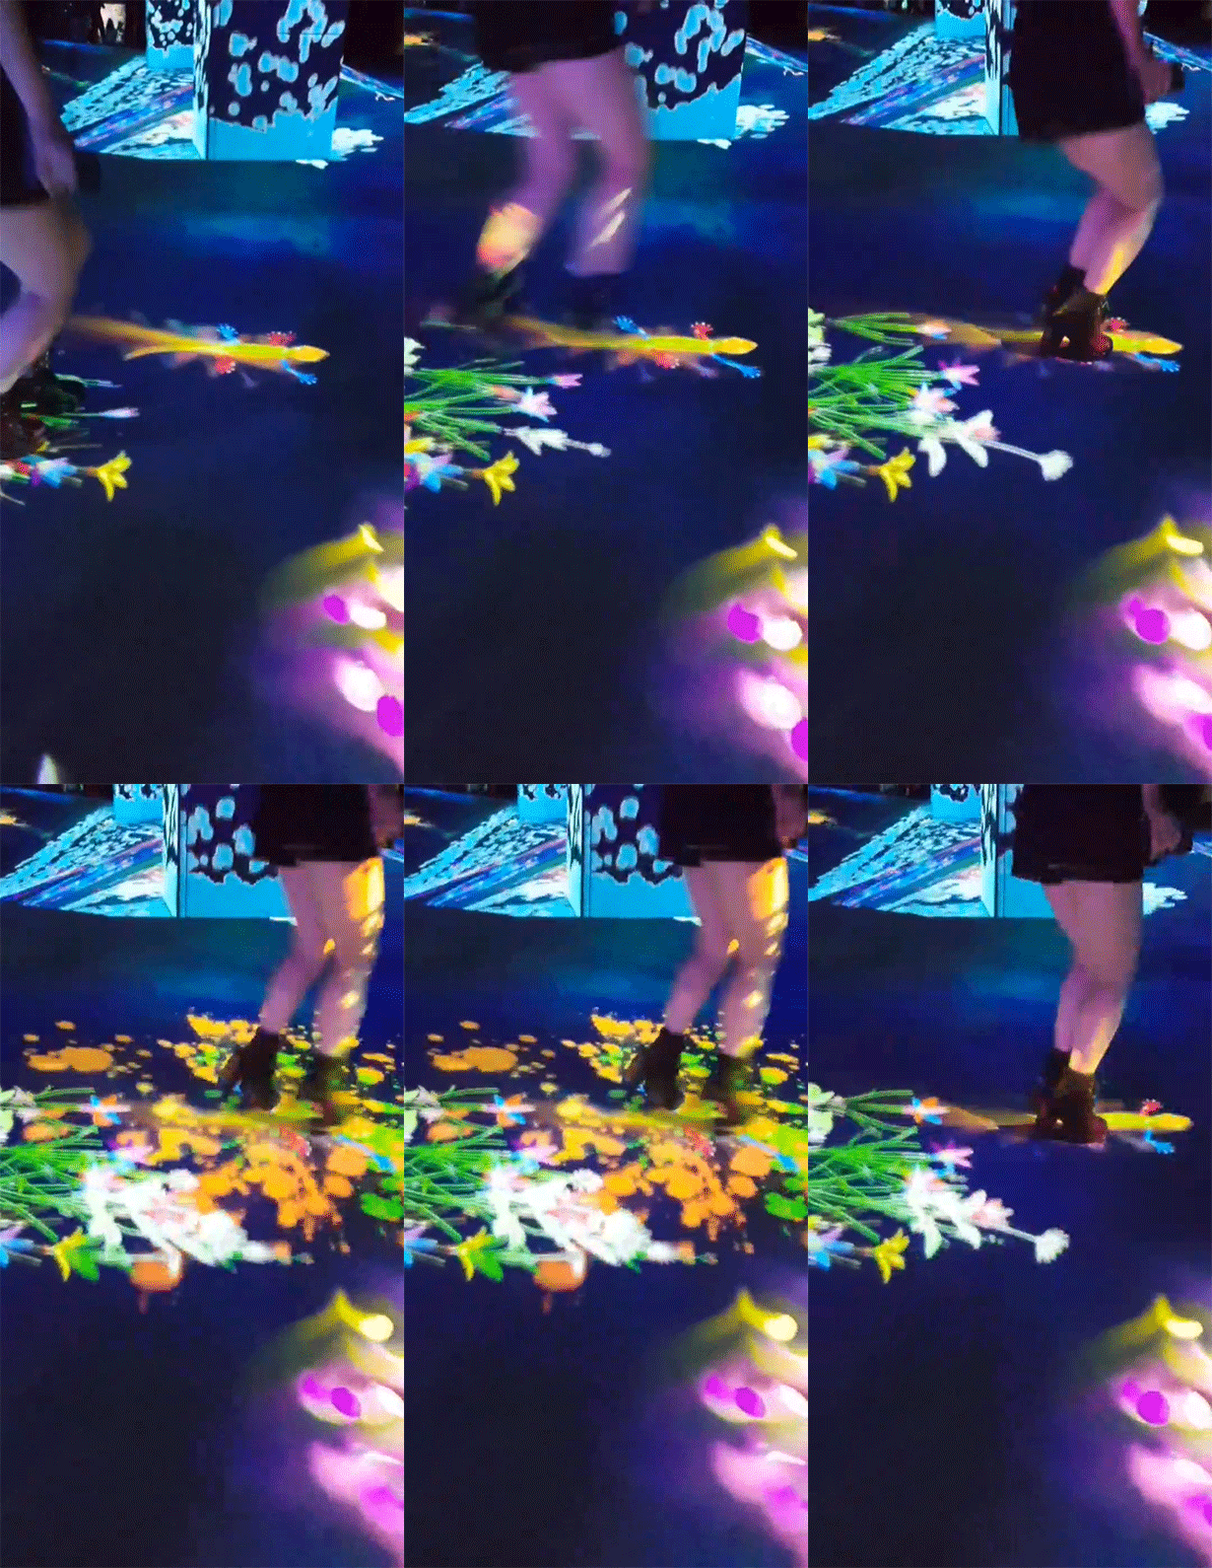
hand-drawn ecosystem were animals and plants co-exist. Animals will increase their numbers from eating other animals in the food chain. Flowers will bloom if you stand still and disperse when you walk around. Learn how to create and play here.
Photo Credit: borderless.teamlab.art (Website)
Explore Tips: The ground is like a giant hopscotch were you can try everything from hopping, skipping and jumping on similar animals and see how they “explode” with colour! Let your inner child out and stomp to your heart’s content!
Photo Credit: borderless.teamlab.art (Website)
3. Sketch Aquarium
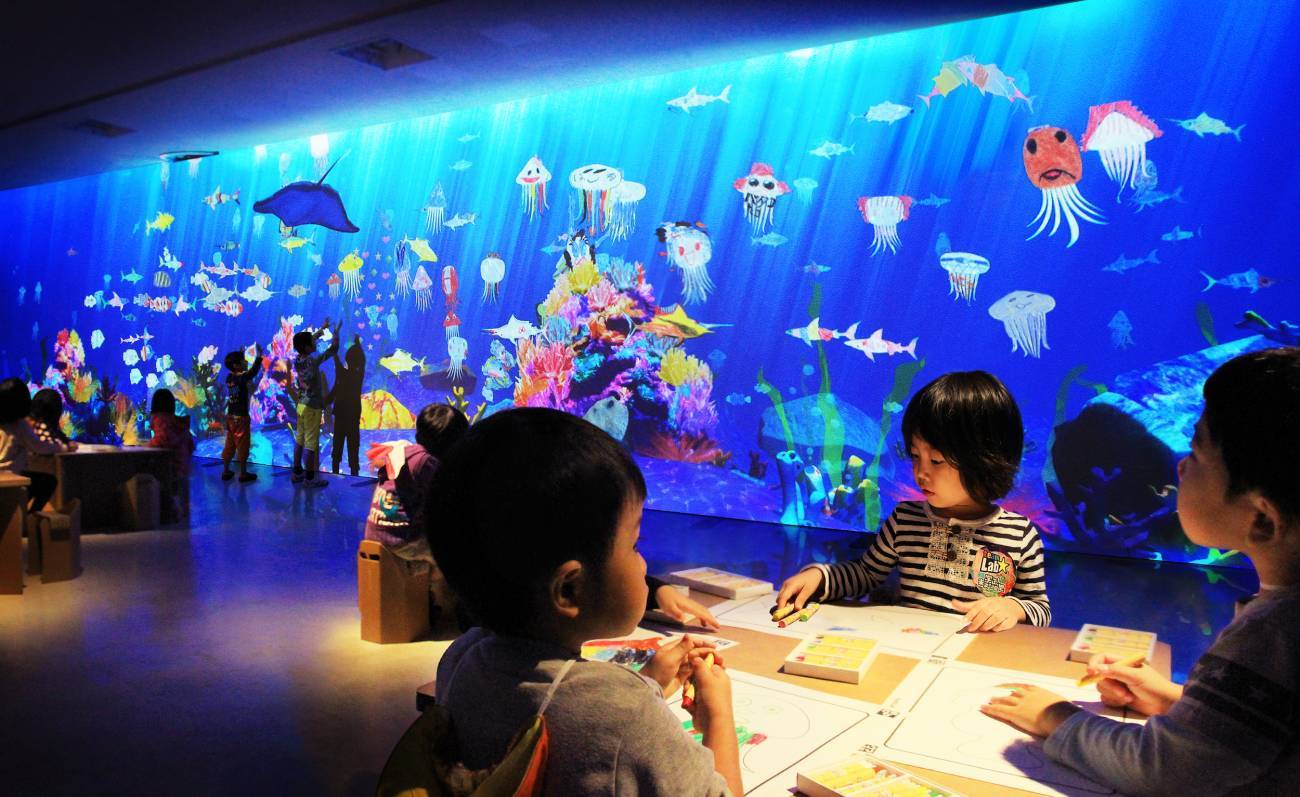
ithin the Athletics Forest is another world called “Future Park” – a creative world to teach and learn about ecosystems in a digital environment. Enjoy creating your own sea animal to live in the digital aquarium and watch how your creation comes alive and interacts with other digital sea creatures. Learn how to play here.
Photo Credit: borderless.teamlab.art (Website)
Explore Tips: It’s like digital sea monkeys meets a tamagochi, you can watch your “shy” creature start making friends and slowly cluster together with its own family. You can also touch the bags to release “food” for your fish friends to eat.
GENERAL INFORMATION
PRICE
Adults (15 years old and older) – JPY 3,200
Child (4 to 14 years old) – JPY 1,000
OPENING HOURS
Regular Hours Monday – Thursday, Sunday and Holidays 10:00- 19:00
Friday, Saturday and Holiday Eve 10:00- 21:00 *Closed: 2nd and 4th Tuesday of the month
FACILITIES
Lockers are available for JPY 100 (refundable) to put your belongings in.
Sneaker hire available on the 4th floor if you have unstable footwear like heels or clogs.
To avoid looking up your skirt, cover wrap skirts are available for visitors to use in areas with mirrors on the floor.
Inside drink vending machines and rest areas are located near the restrooms.
Wheelchair friendly exhibition, however, wheelchairs cannot enter the Athletic Area.
You can find more about the site, how to access and where to buy tickets here.
Run by two travel and lifestyle bloggers, The Hidden Thimble focus’ on creating truthful and in-depth travel guides, food & beauty reviews. Enjoy drool-worthy photography from around the world!


 Photo Credit: https://kinarino.jp (website)


 Photo Credit: www.yamanashi-kankou.jp (website)


 At the Hannoki Bayashi Shiryokan Museum, try your hand at touching the nijimasu that swim by. It’s not as easy as it sounds!


 Mount Fuji in the background when the sky is clear! Photo Credit: www.fun-japan.jp (website)